
3D Packaging Rendering: How Brands Get Shelf-Ready Pack Shots Before the Box Is Printed
3D packaging rendering means building your box, bottle or pouch as a 3D model, wrapping your real print artwork around it and rendering photorealistic pack shots before anything is printed. You get listing images, retailer sell sheets and launch visuals while the packaging is still a PDF, and you can change the artwork without a reshoot.
Here is the usual situation. The product is ready or nearly ready. The packaging designer has delivered a dieline with artwork, the printer needs six weeks, and marketing needs images for the pre-order page, the Amazon listing and the buyer meeting now. A photographer cannot shoot a box that does not exist yet. A free mockup template gets you a generic box that is almost the right shape. This guide covers the third option, when it is worth it, and when a mockup tool is honestly enough.
What is 3D packaging rendering?
It is the CGI version of a packaging photo shoot: the pack is modeled to its real dimensions, the flat artwork is mapped onto it panel by panel, and materials and light are set up so the result reads as a photograph. The input is the same file your printer gets. The output is a still image, a 360 view or an animation.
Packaging software maker Esko’s guide to 3D packaging rendering splits the output into three types, which is a useful way to plan a shot list:
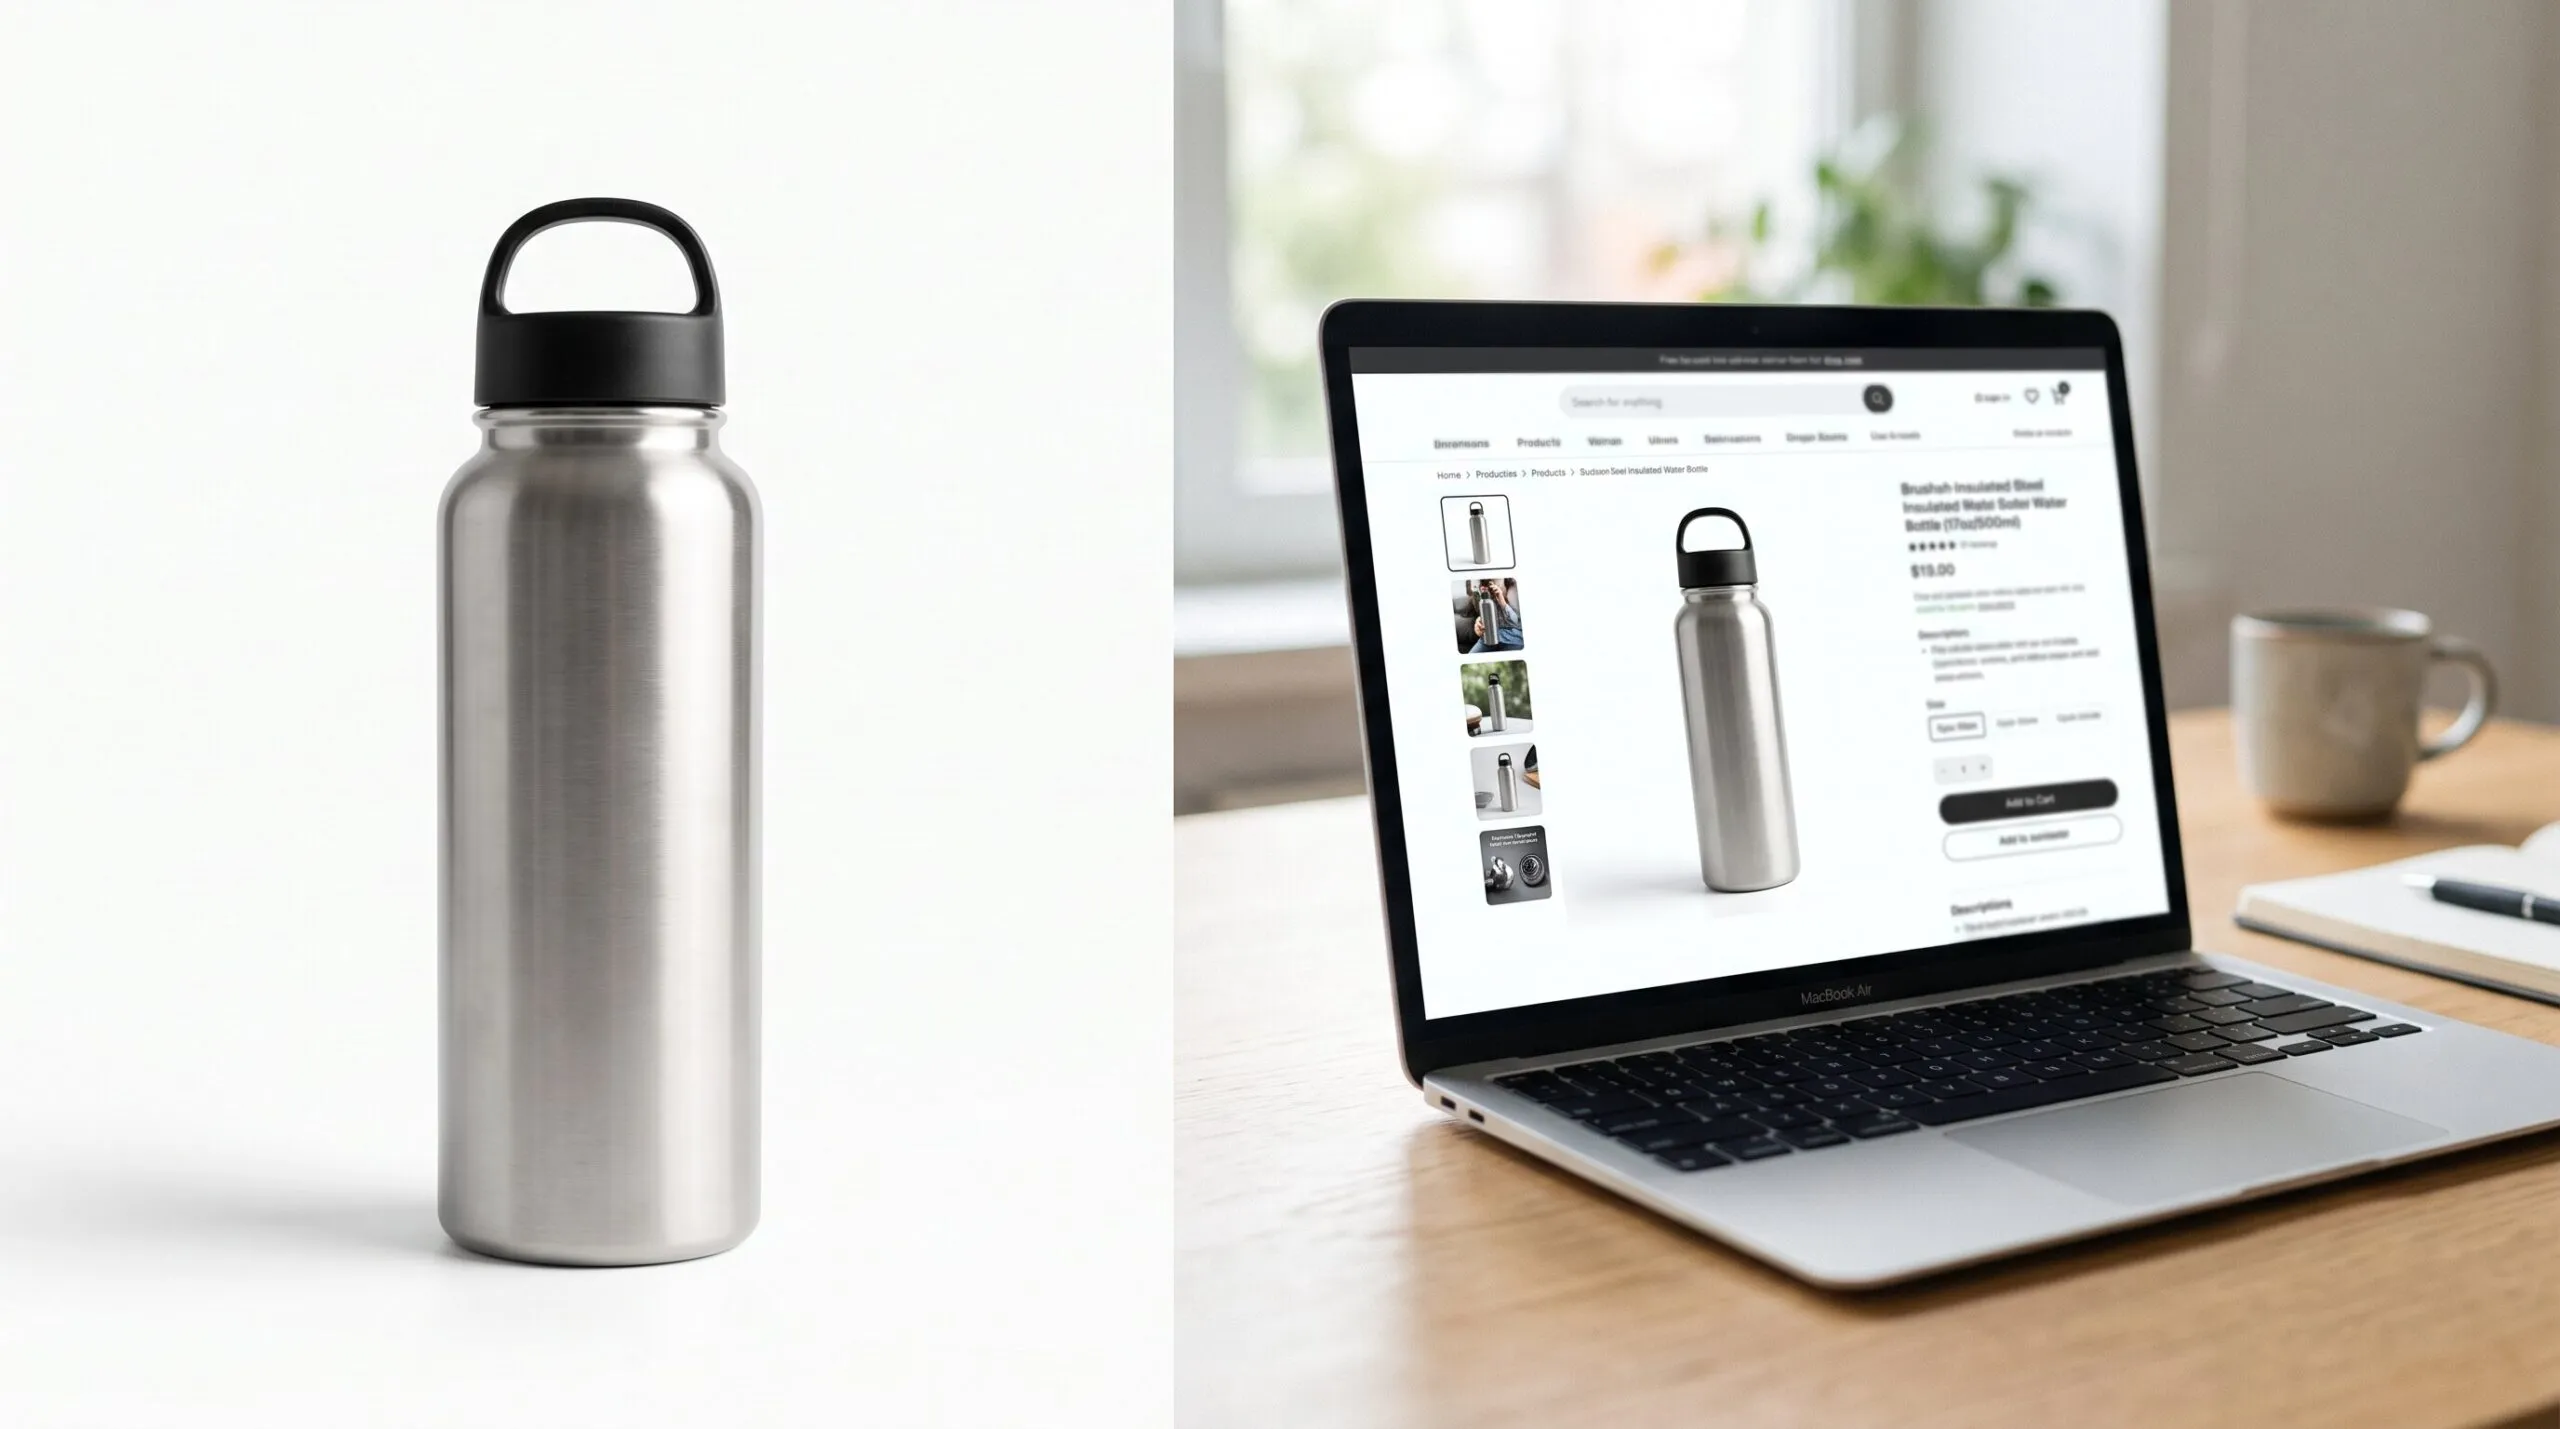
- Packshots. The pack alone, clean, usually on white. This is your marketplace and catalog image.
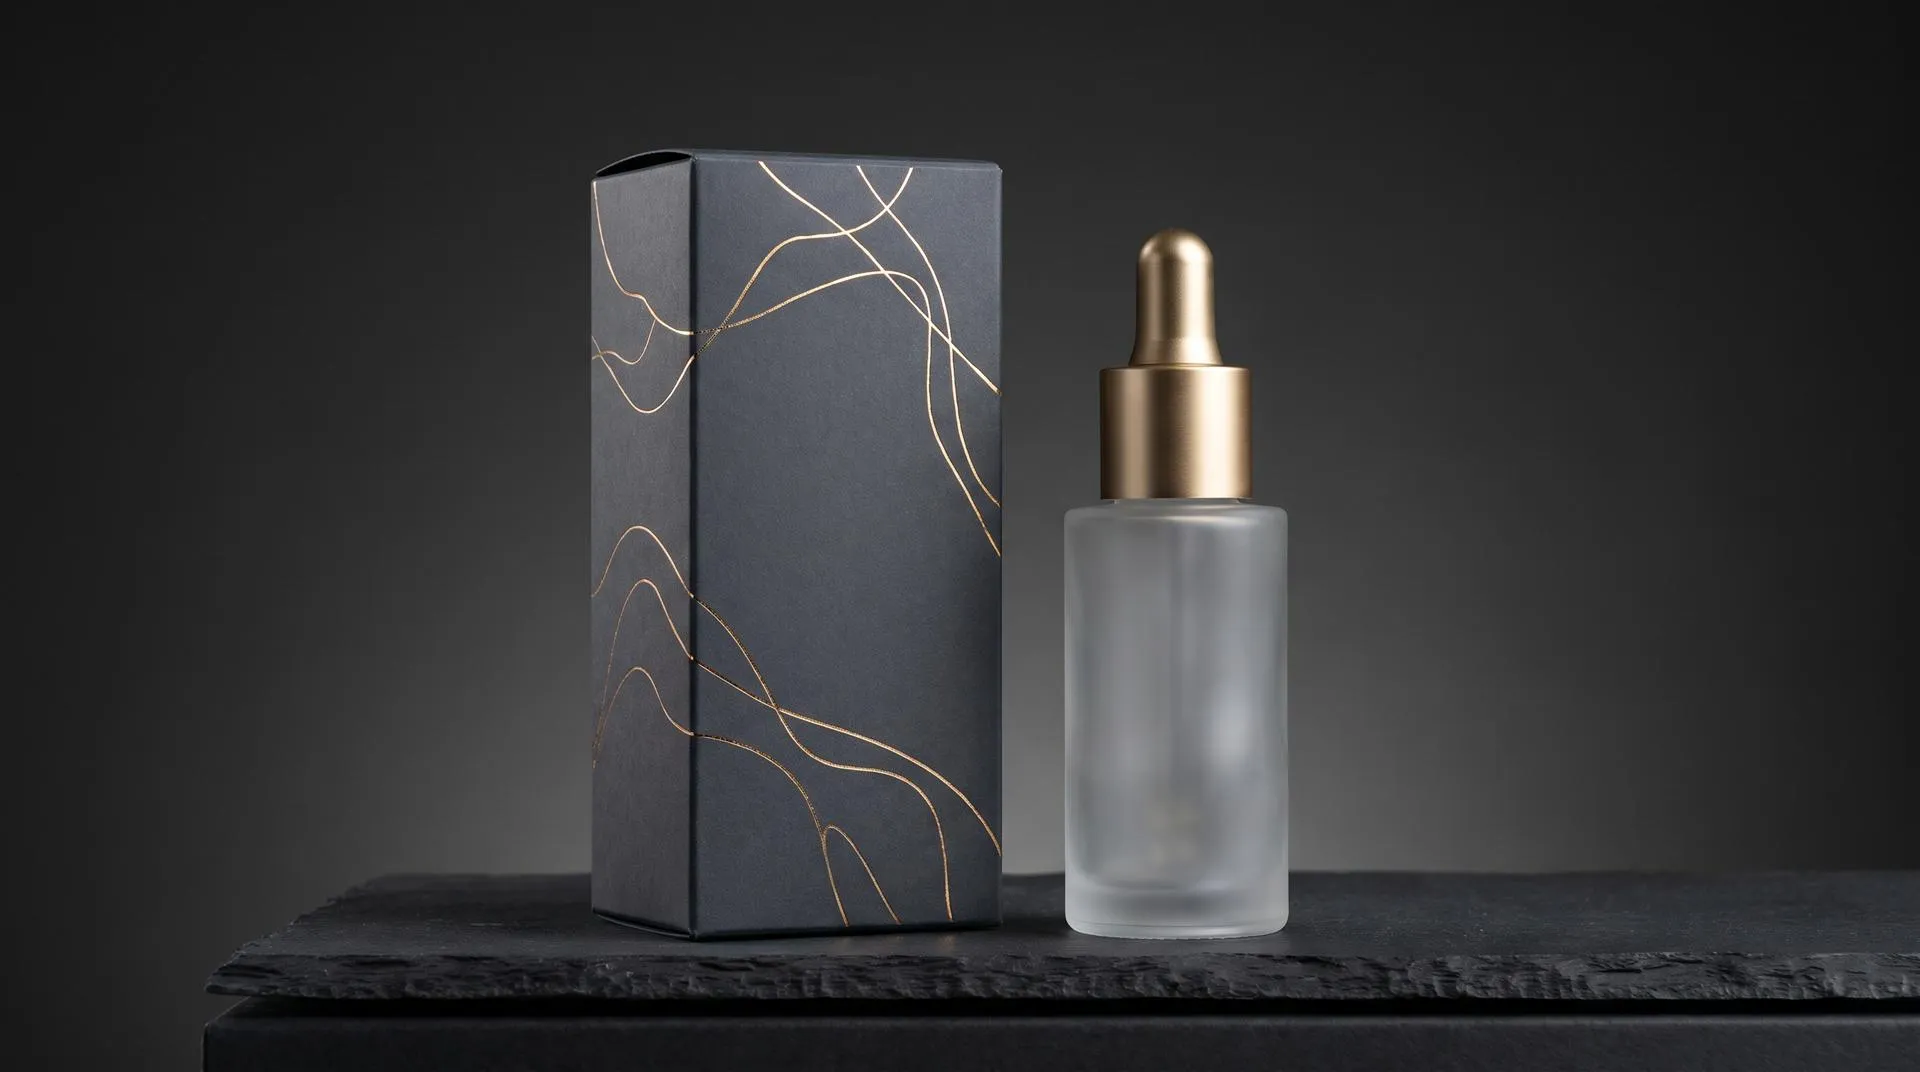
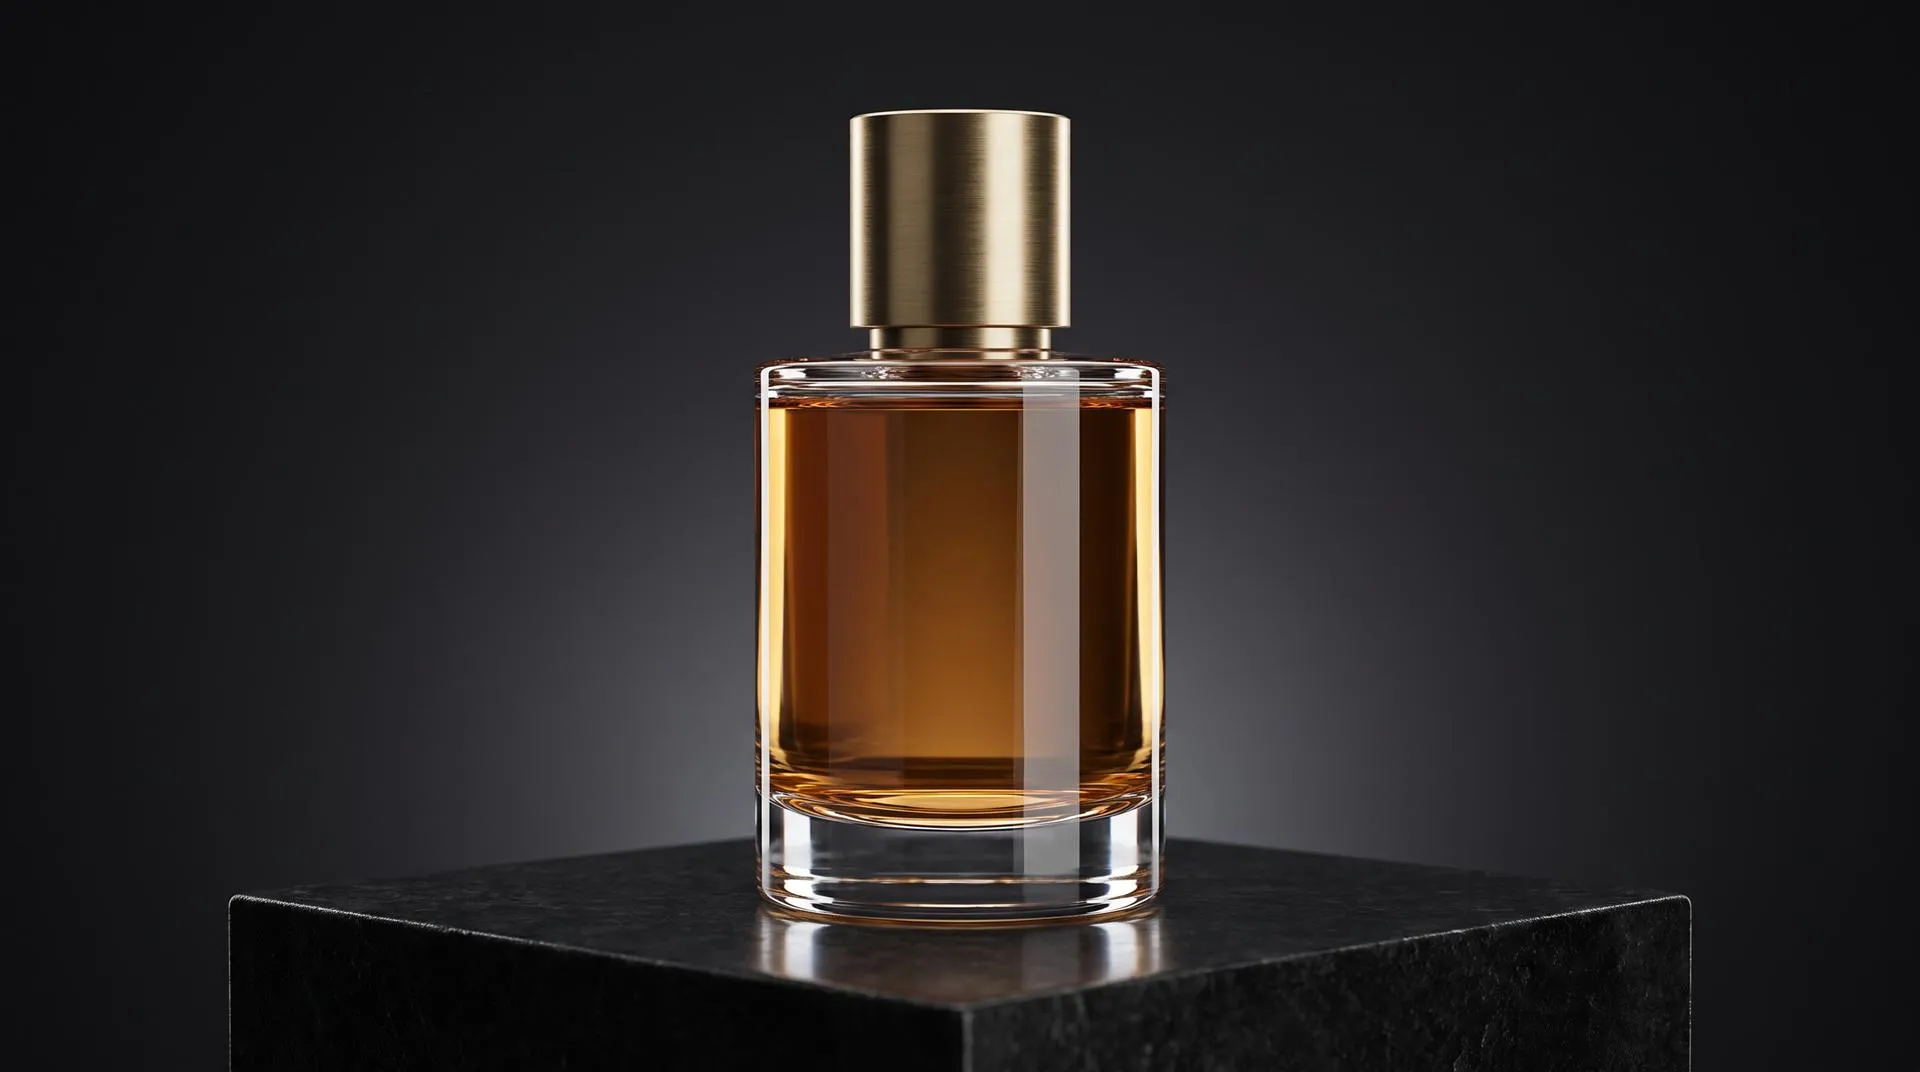
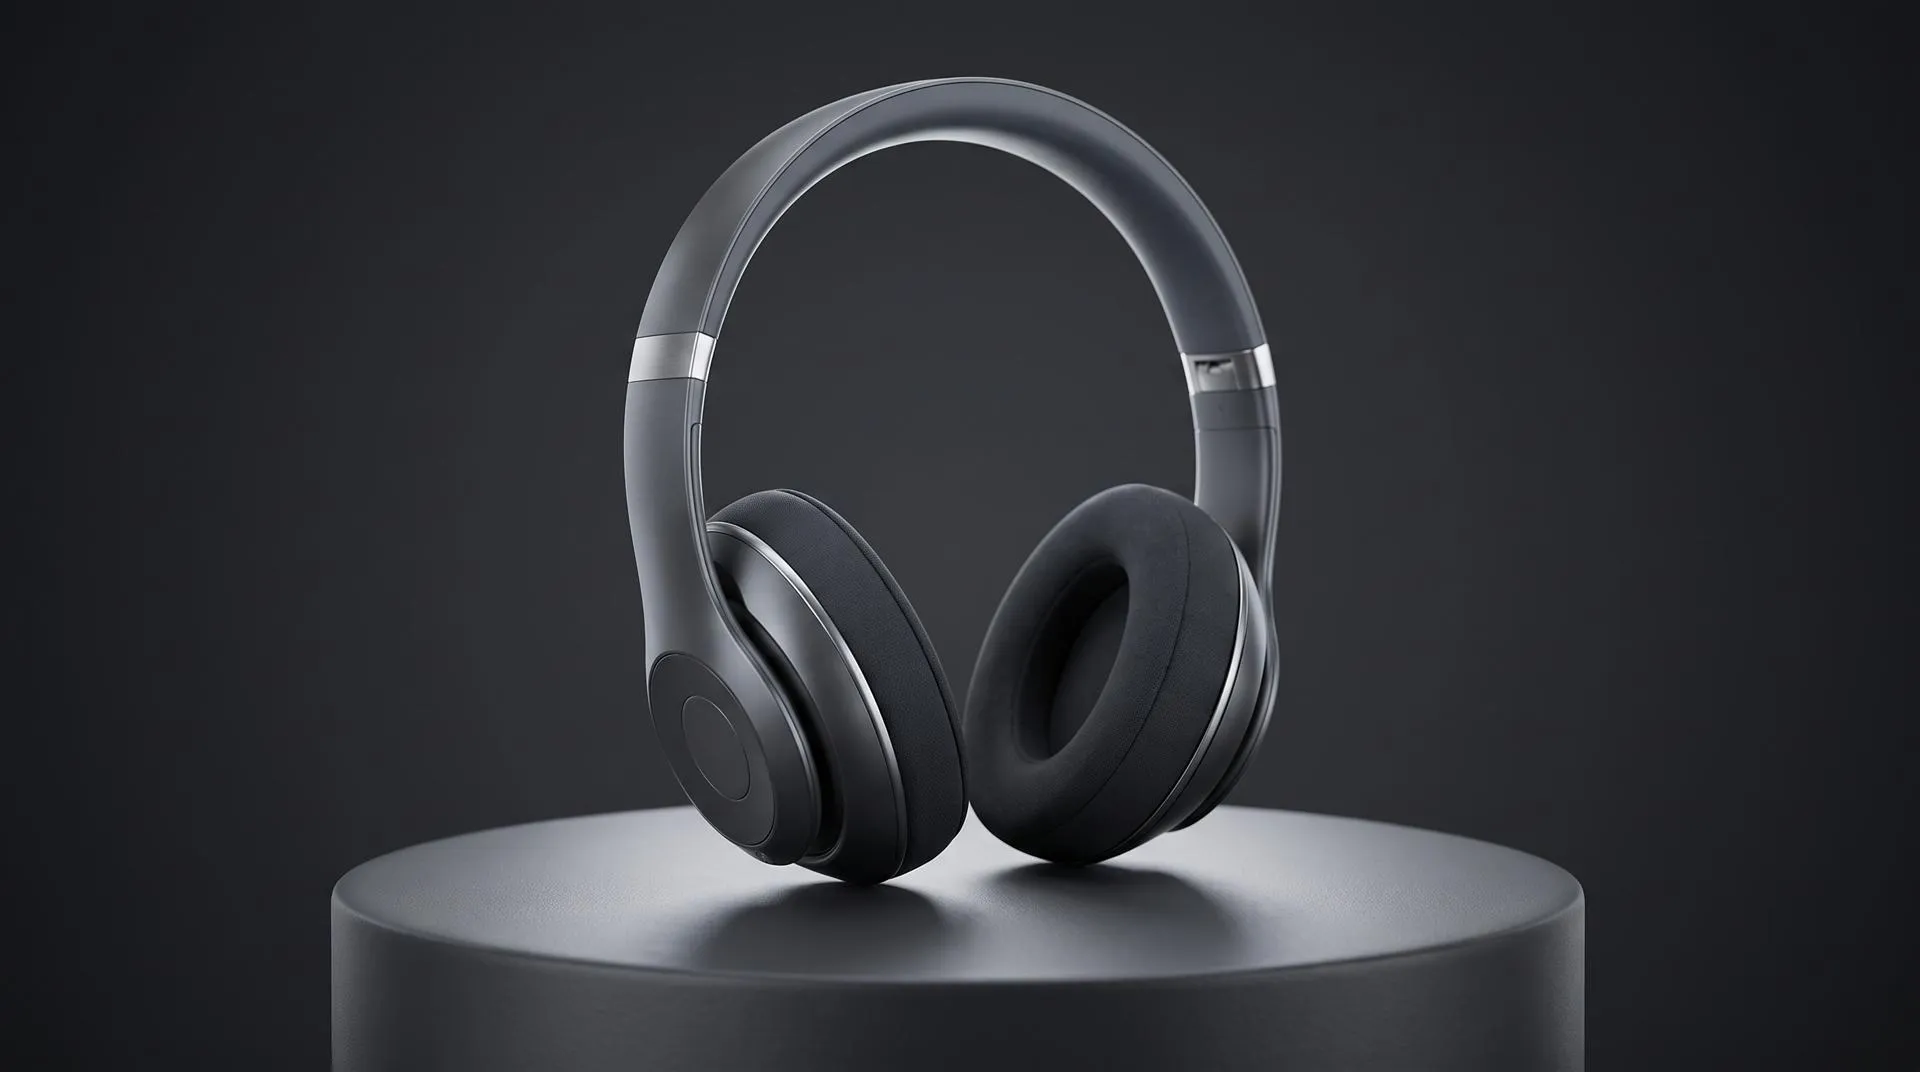
- Beauty shots. Styled light and a designed background that show off the finish: foil, emboss, soft-touch, glass.
- In-context shots. The pack on a shelf, a bathroom counter, a desk, next to the product.
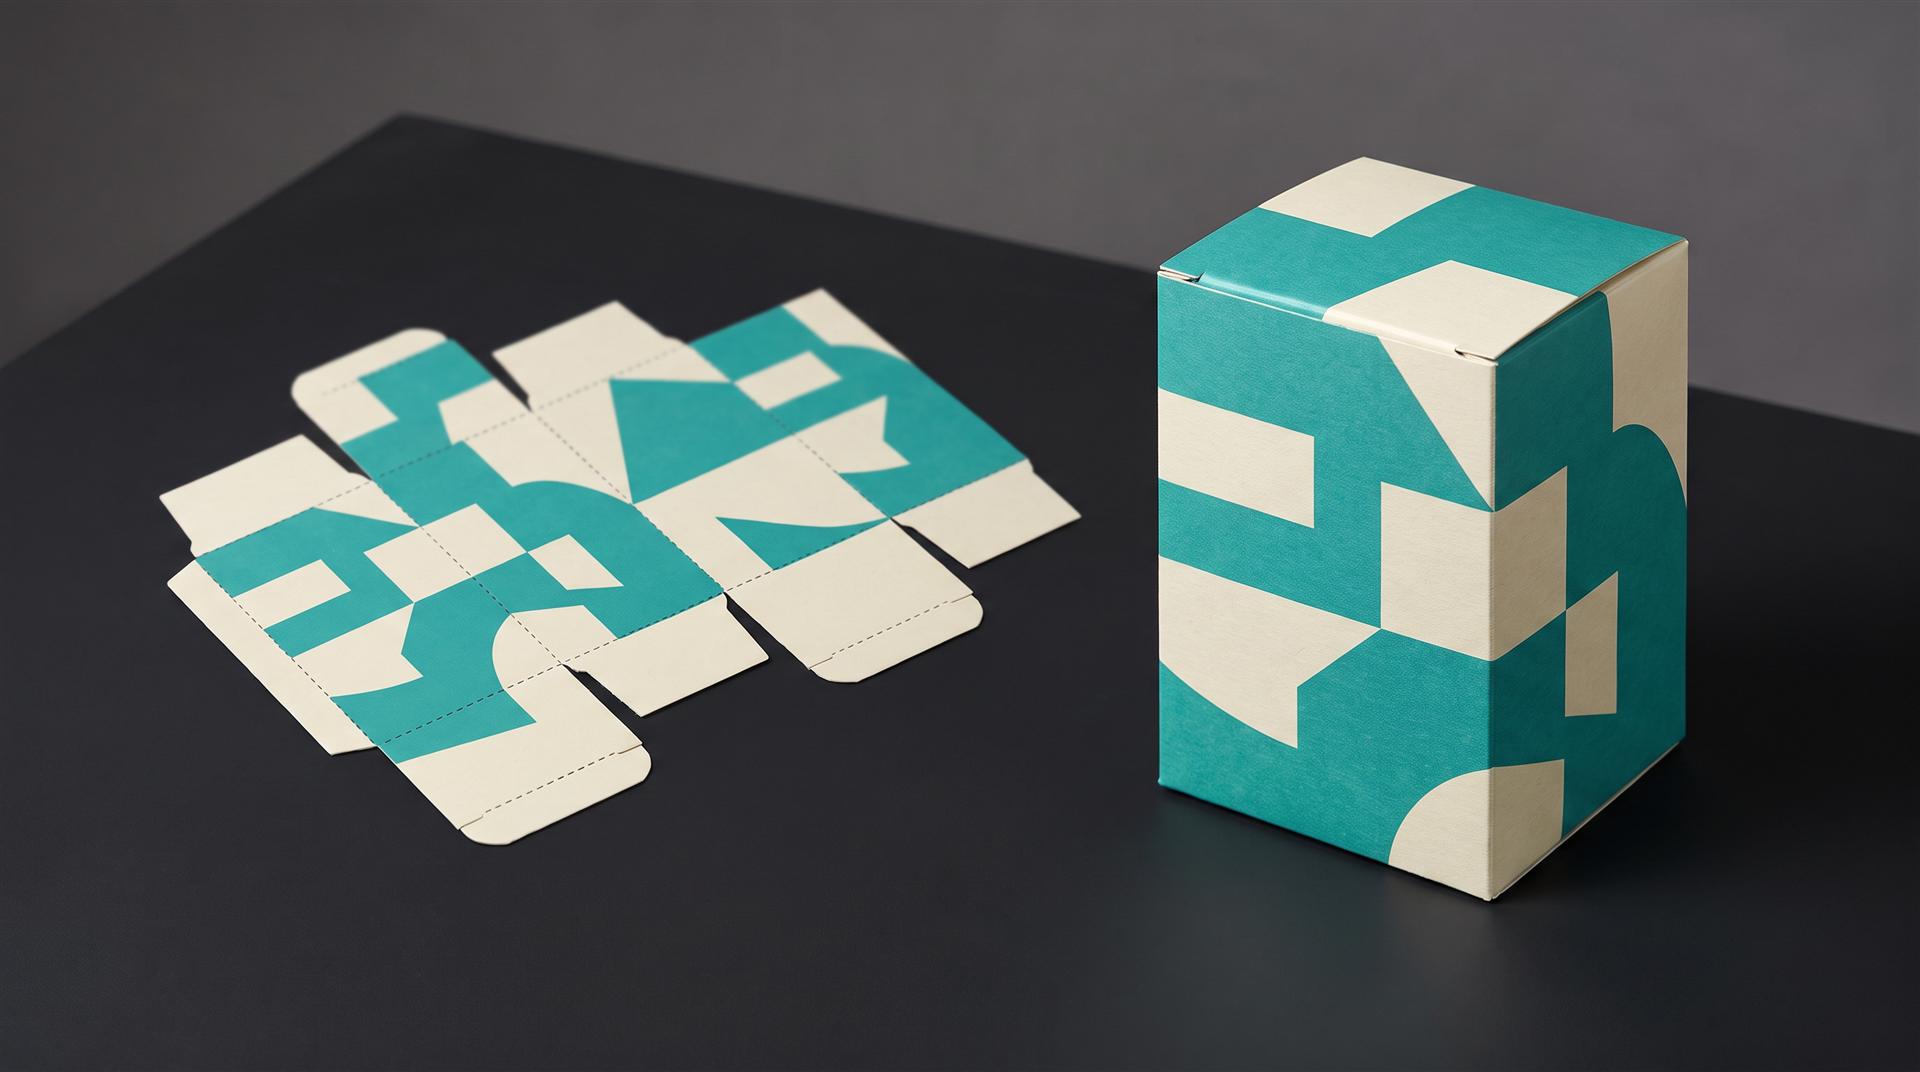
The dieline is what makes a packaging render accurate. When the 3D box is built from the same dieline the printer uses, the artwork lands on the panels exactly where it will land in print, including what wraps over the edges and what disappears under a flap. That is also why a render is a good last check before you sign off the print proof. Misaligned panels look obvious in 3D.
Mockup tool vs studio render: which one do you need?
If you need a few presentable images of a standard box shape for an internal deck or a quick social post, a browser mockup tool is enough. If the images will sell the product, show a special finish or sit next to a real product, a studio render is the safer choice.
Tools like Pacdora let you pick a box template, enter dimensions, drop in your artwork and export a rendered image. At the time of writing they run on a free tier plus monthly plans, and the higher plans include higher render resolutions. For a standard tuck-end carton they do a decent job, and we tell people that.
Where tools run out is anything that is not a template:
| Mockup tool or template | Studio 3D render | |
|---|---|---|
| Pack shape | Library of standard shapes, adjustable dimensions | Any shape, built from your dieline or CAD |
| Bottles, jars, pumps, droppers | Generic stand-ins | Your actual container, modeled from CAD or drawings |
| Foil, emboss, spot UV, soft-touch | Approximated or missing | Built as separate material layers that react to light |
| Glass, clear plastic, liquid inside | Usually flat or fake-looking | Real refraction and fill level |
| Product and pack in one scene | Product photo pasted next to the box | Both modeled, lit together, same shadows |
| Colorways and SKU variants | One by one, by hand | Swap artwork on one scene, re-render |
| Animation (opening, unboxing) | Simple preset spins | Any motion, including inserts and the product coming out |
| Who adjusts light and composition | You | A 3D artist |
| Cost | Subscription or free | Per project (see below) |
The honest middle ground: if you have an in-house designer who already renders products in KeyShot, packaging is often within their reach. KeyShot’s label system is built for placing artwork on surfaces, and an unlimited number of labels can stack on one material. What usually stretches an in-house person is not the box but the finishes, the glass and the time.
What makes a packaging render look real
Packaging looks fake in 3D when every surface reflects light the same way. Real print has layers: the board, the ink, a coating, and then the special finishes on top. Each one has its own shine.
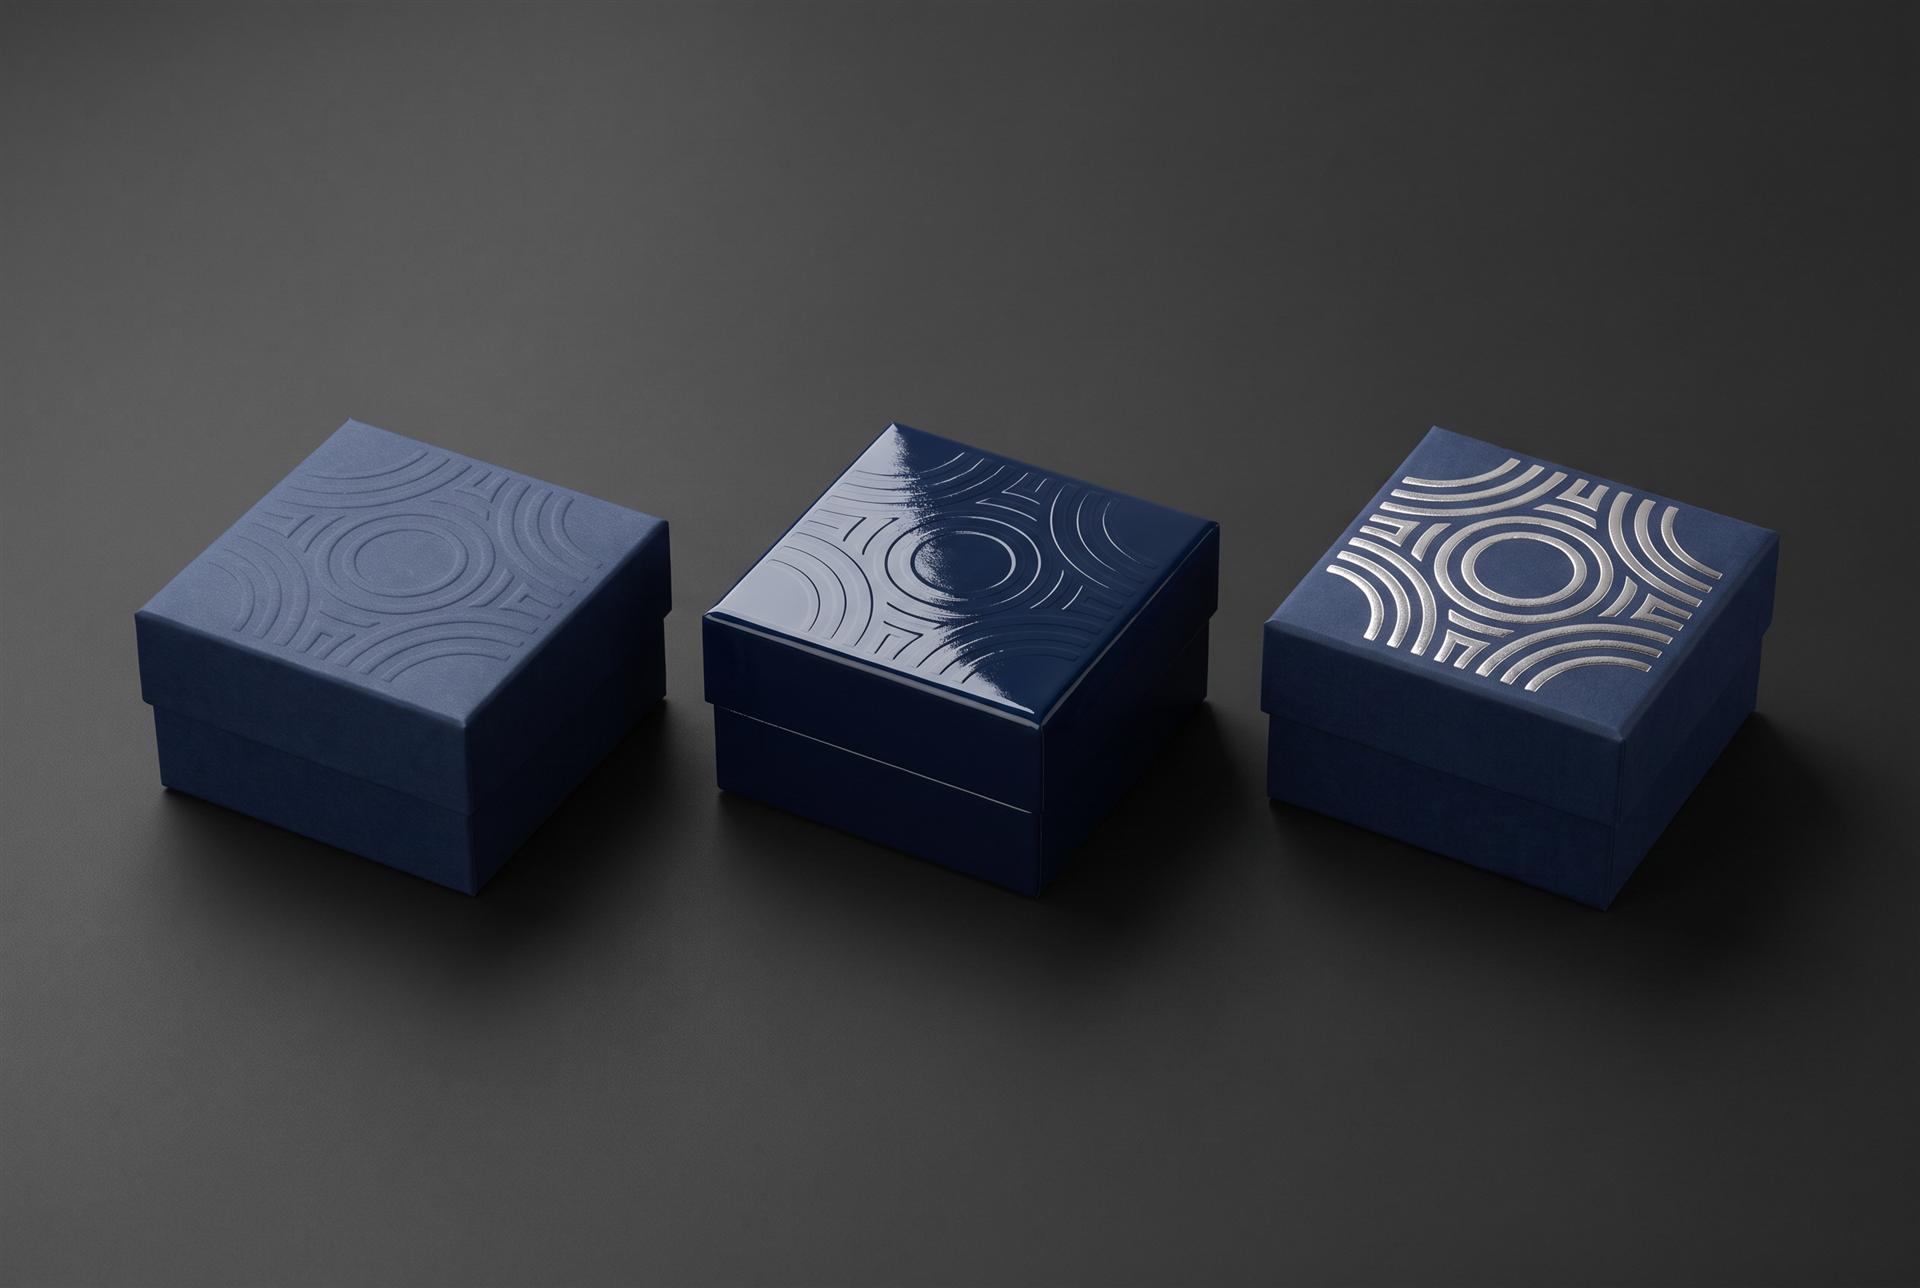
Finishes need their own map. Your printer gets a separate plate or layer for foil, spot UV and embossing. Send those same layers to the 3D artist. They become masks that tell the render where the surface is metallic, where it is glossy and where it is raised.
Color needs a reference, not a screen. Brand colors in packaging are usually specified as Pantone spot colors, and X-Rite’s Pantone coated vs uncoated guide puts it plainly: the same Pantone color printed on coated and uncoated paper looks quite different. Send the spot color numbers and the paper type, and if a printed proof exists, a photo of it in daylight. Then judge renders against the proof, not against your monitor.
Small imperfections sell it. Slightly soft board edges, a crease that is not perfectly sharp, a faint texture on uncoated stock. A perfectly crisp box with razor edges looks like a mockup.
Our own work on personal care packaging shows what this looks like in motion. The label, the colored liquid window and every color variant come from one model:
Packaging and product in one scene
The strongest pack shot usually shows the product and its box together, and that is where CGI pulls furthest ahead of mockups. A cream jar next to its carton, earbuds in front of their box, a serum bottle leaning on its sleeve. Both objects share the same light, shadows and reflections, so the image reads as one photograph.
Amazon’s own product photo guide says: “If your brand has beautiful packaging, show it off so customers know what they can expect.” The same guide asks for product shots on a pure white background (RGB 255, 255, 255) with the product filling 85% or more of the frame. Rendering on white with the camera framed to that rule from the start is easier than cutting a photo out later. Check the current listing requirements for your category in Seller Central before you lock the shot list.
If you sell into retail, ask the buyer which image standard they use. A common reference is the GS1 Product Image Standard, which defines how product images are named, framed and delivered, and covers rendered images alongside photographs. It is far cheaper to set the cameras to the right views before rendering than to redo them.
For more on the single image that carries a launch, see our guide to the product hero shot.
Packaging animation: opening, unboxing and reveals
A short 3D animation of the pack opening is one of the cheapest ways to make packaging part of a launch video or an ad. The lid lifts, the insert rises, the product turns to camera. No hands, no setup, no fingerprints on gloss board.
Common packaging moves we see work:
- Lid lift and reveal. Two-piece rigid box, lid rises, light spills in. Works as a 6 to 10 second ad opener.
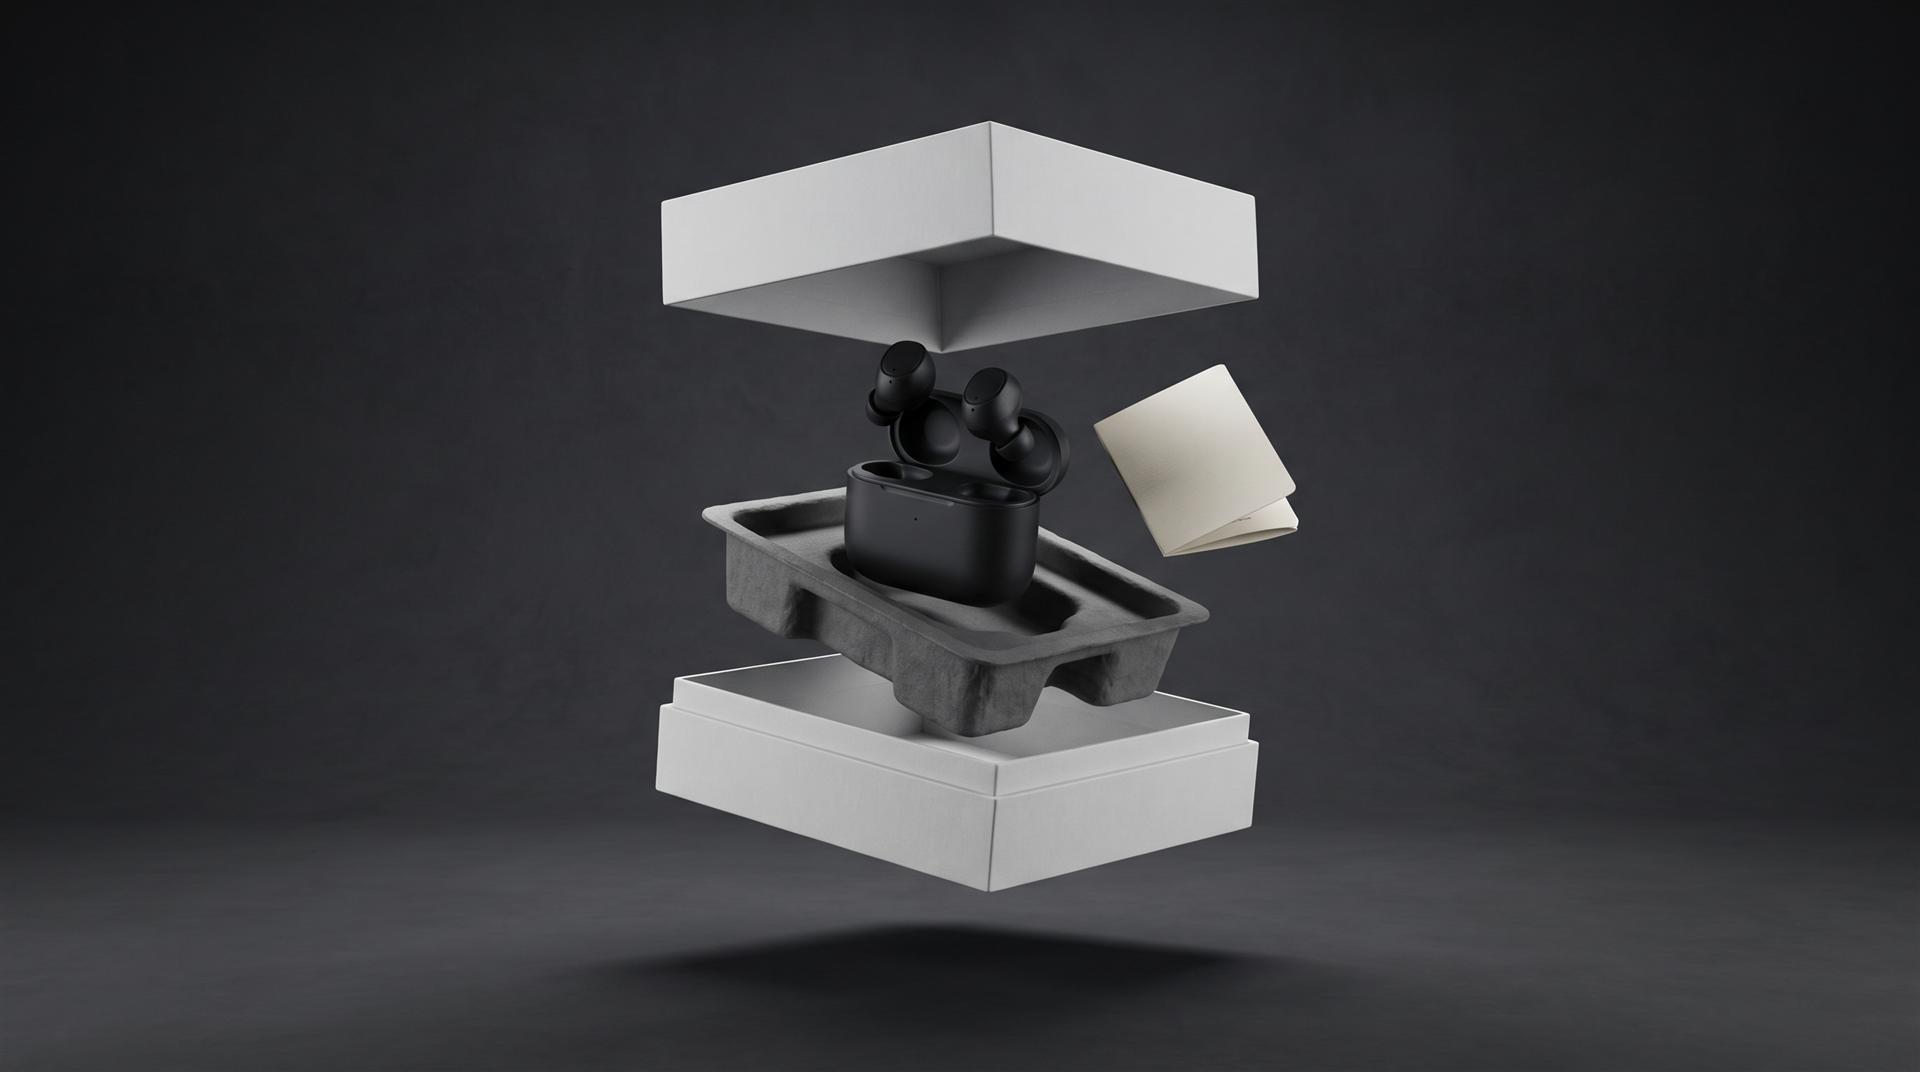
- Exploded pack. Lid, insert, product, card and accessories separate in the air, then settle back. It shows everything that ships in the box.
- Fold-up. The flat dieline folds itself into the box. Good for sustainability messaging and for printer or converter brands.
- Variant line-up. The same carton steps through every flavor or shade. One scene, artwork swapped per SKU.
This kind of work is common in cosmetics, where the box is part of the product. Our article on 3D animation for luxury cosmetics goes deeper, and here is one of the films from it, with bottles and their boxes built from the same files:
What to send when you hand packaging off for rendering
Send the print-ready files, not screenshots of them. The checklist:
- Dieline with artwork as a PDF or AI file, with the cut, crease and bleed lines on their own layers.
- Finish layers: foil, spot UV, emboss and deboss as separate layers or files, named.
- Spot colors and stock: Pantone references and the paper or board type (coated, uncoated, kraft, rigid board wrap).
- Container CAD for bottles, jars, caps, pumps and tubes. STEP is fine. If there is no CAD, dimensioned drawings plus photos of a sample.
- Product CAD if the product appears in the scene.
- A physical sample or printed proof, if one exists, or photos of it under daylight.
- The shot list: which views, which backgrounds, which aspect ratios, and how many SKUs.
- Retailer or marketplace specs you have to meet.
Ask about the 3D files in the quote. Owning the rendered images does not mean you own the 3D scene and models. If you want to re-render new SKUs next year with another vendor or in-house, agree on delivery of the source files up front.
What does 3D packaging rendering cost?
With us, a set of up to 10 pack shots on a plain or transparent background starts at $550 when you supply usable CAD, and at $750 when we build a simple box from your dieline. Both numbers come from the calculator on our 3D product rendering page:
| Line | Price |
|---|---|
| 3D model from your usable CAD | $200 |
| Simple object modeled by us (for example a carton from a dieline) | $400 |
| Medium complexity object (for example a pump bottle without CAD) | $800 |
| 1 to 10 images | $250 |
| Plain or transparent background | $100 |
| Detailed 3D background (shelf, bathroom, lifestyle scene) | $500 |
| Extra 1:1 or 9:16 version | $100 each |
A short opening or unboxing animation of 10 to 30 seconds on a simple single-color background is $1,200 with your CAD, using the same model as the stills. A set of 10 stills from CAD is typically delivered in about a week, and a 30 second animation takes about 10 to 15 days.
Square and vertical versions are not a free crop. Each one is a reframed camera, which is why they are priced separately.
For market-wide price ranges and what pushes them up, see how much 3D product rendering costs.
Common mistakes
- Rendering from an outdated artwork file. Version control matters. Render from the same file that goes to print, or the images will show last month’s claims.
- Flattening the finishes. A single flat image of the artwork with the foil baked in as yellow ink. It will look printed, not foiled.
- Ignoring the inside of the box. Unboxing shots show the inner print, the insert and the board edge. Decide what is inside before the camera opens the lid.
- Judging color on an uncalibrated laptop. Compare against the printed proof.
- Ordering hero shots only. Most of the use is in boring views: front, back, side, top, open. Plan those first.
- Not reusing the model. The same pack model can serve listings, sell sheets, ads, the launch video and next year’s SKUs. Make sure you can get it back.
FAQ
What is a 3D packaging mockup?
A 3D packaging mockup is a digital model of a box, bottle or pouch with your artwork applied, used to preview and present packaging. Template tools make quick mockups. A studio render builds the exact pack and its finishes for marketing images.
Can you render packaging before it is printed?
Yes. That is the main reason brands do it. The render is built from the dieline and artwork files, so images are ready while the printer is still producing the run.
What files do I need for packaging rendering?
The dieline with artwork (PDF or AI), separate finish layers, spot color references, the board type, and CAD or drawings of any container. A printed proof or sample helps match color.
Is a free mockup tool good enough?
For internal reviews, early concepts and simple boxes, often yes. For listings, retail sell sheets, glass, special finishes or product and pack in one scene, a proper render holds up better.
How much does packaging rendering cost?
With us, 10 pack shots on white start at $550 with your CAD or $750 when we model a simple box from your dieline. Animation starts at $1,200.
Can the same model be used for animation and AR later?
Yes, the model built for stills is reused for animation. For web or AR viewers it usually needs to be optimized, which is a separate step.
Have a dieline and a deadline?
Send us the dieline and whatever CAD you have. We will tell you whether a mockup tool will do the job or whether a render is worth it, including when the answer is that you do not need us.
Related Articles
Product Hero Shots: What They Are, Why Brands Now Render Them in CGI, and What They Cost
How Much Does 3D Product Rendering Cost in 2026? Per-Image Prices, What Drives Them and How to Pay Less
AI Product Video Generators vs 3D Animation: What They Get Right and Wrong for Physical Products (2026)
What Software Can You Use to Create 3D Product Images for Amazon Listings?
360 Product Spins: Photographed on a Turntable vs Rendered From CAD (Cost, Frames, Where to Use Them)
Your Catalog Keeps Growing and Every New Product Means Another Photoshoot. Build the Asset Library Instead
 Rachel A