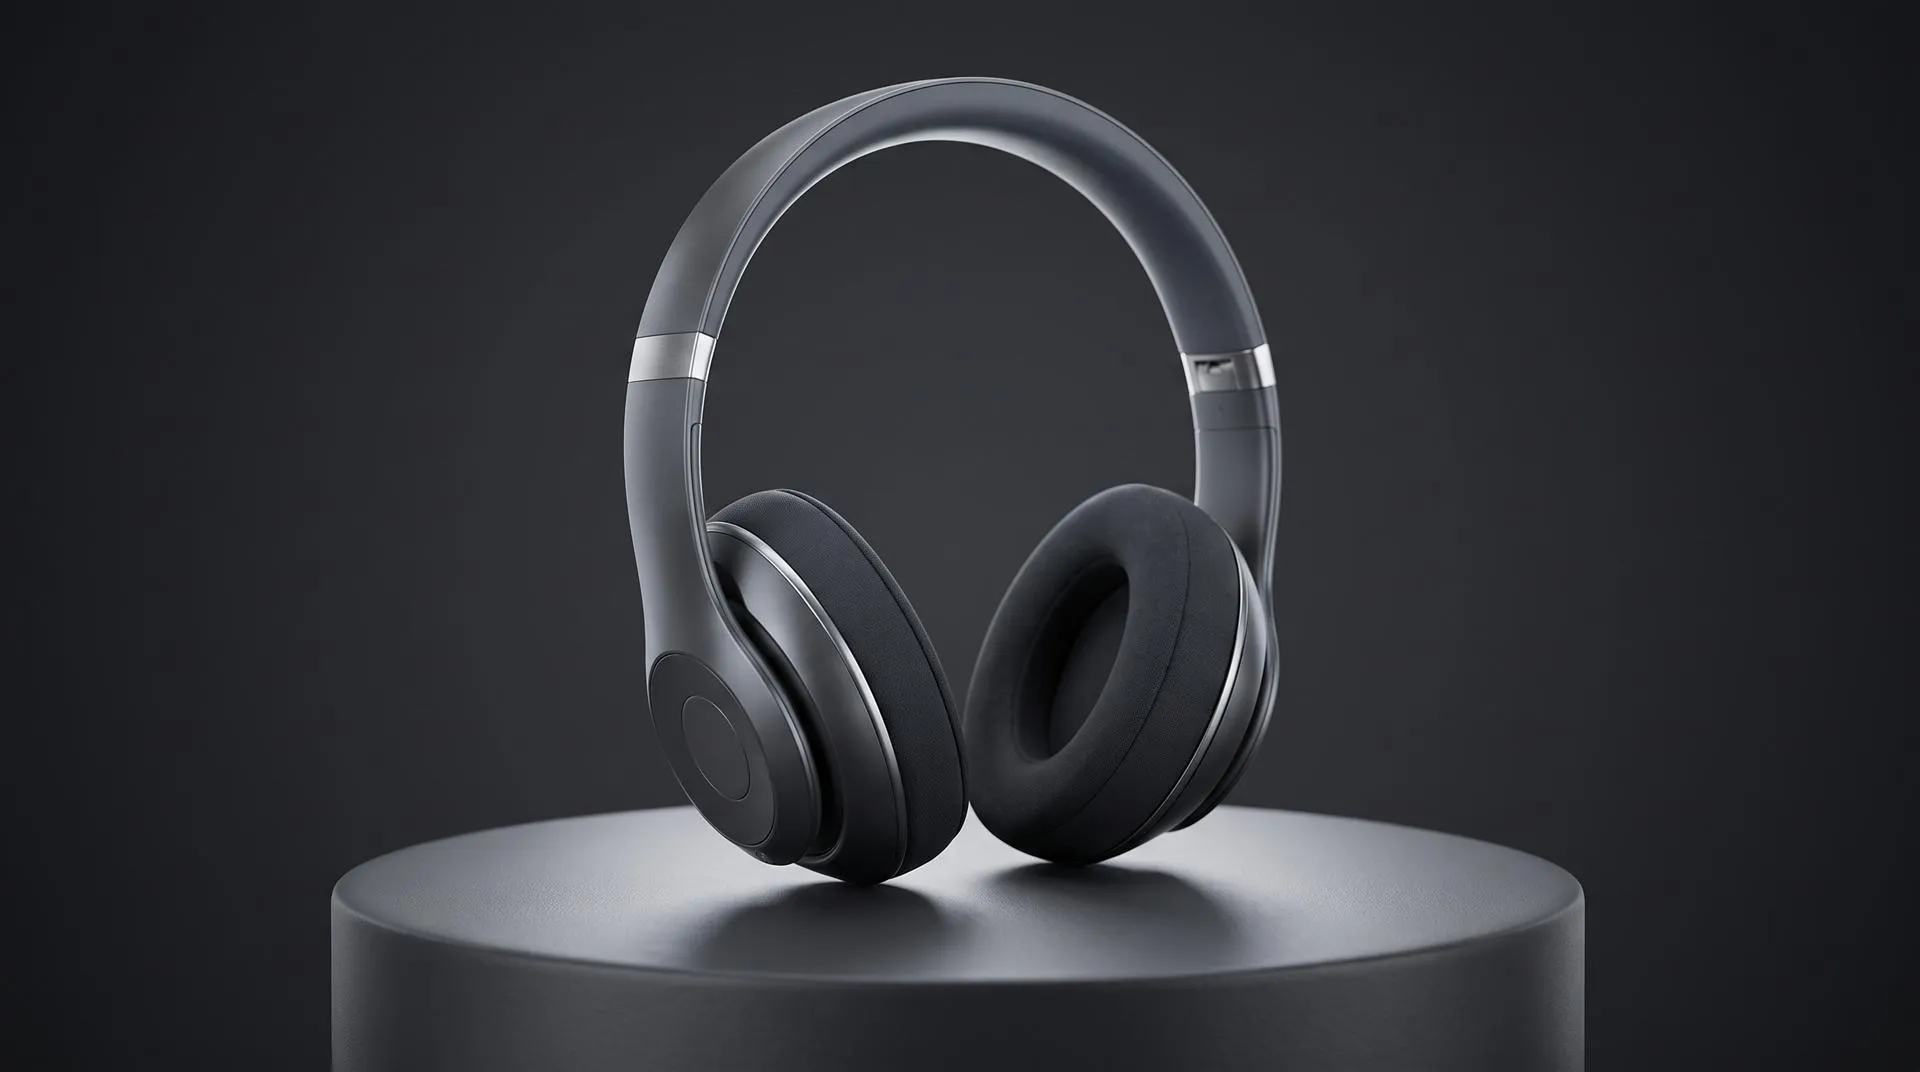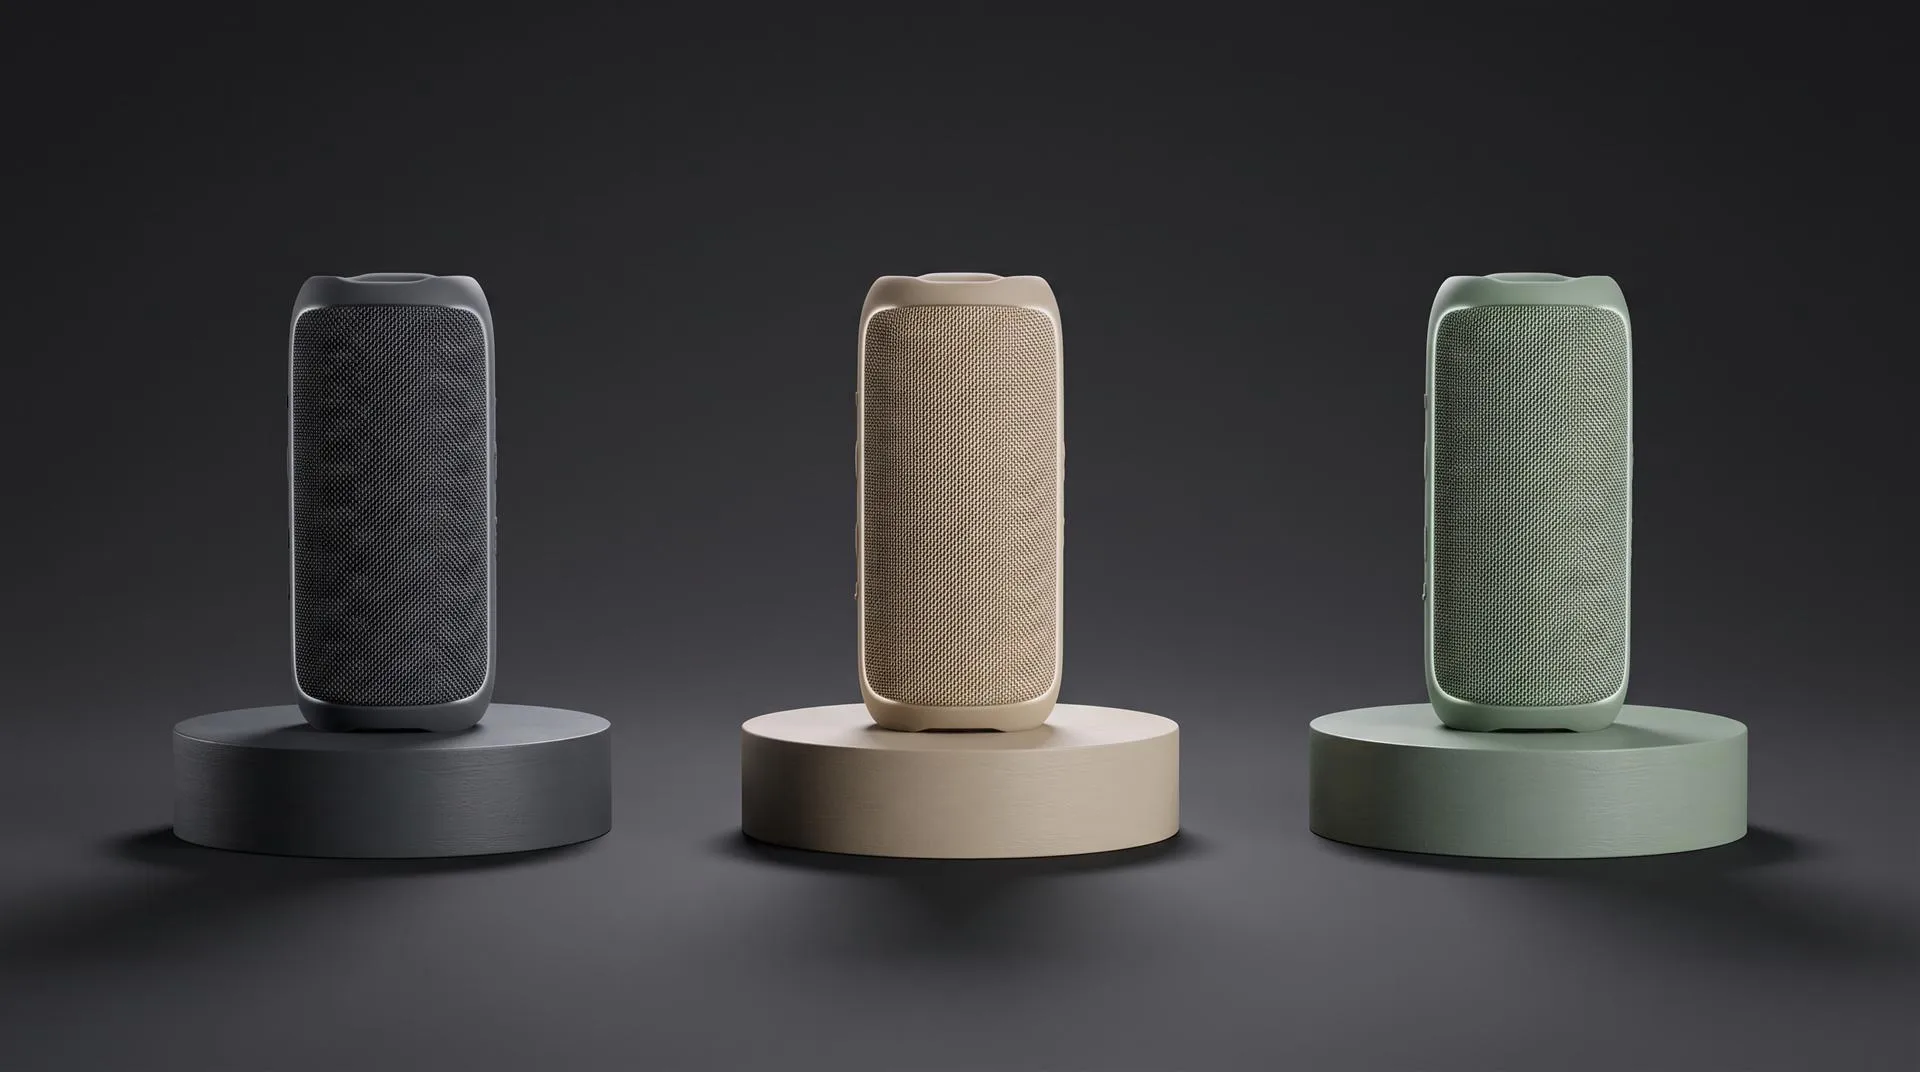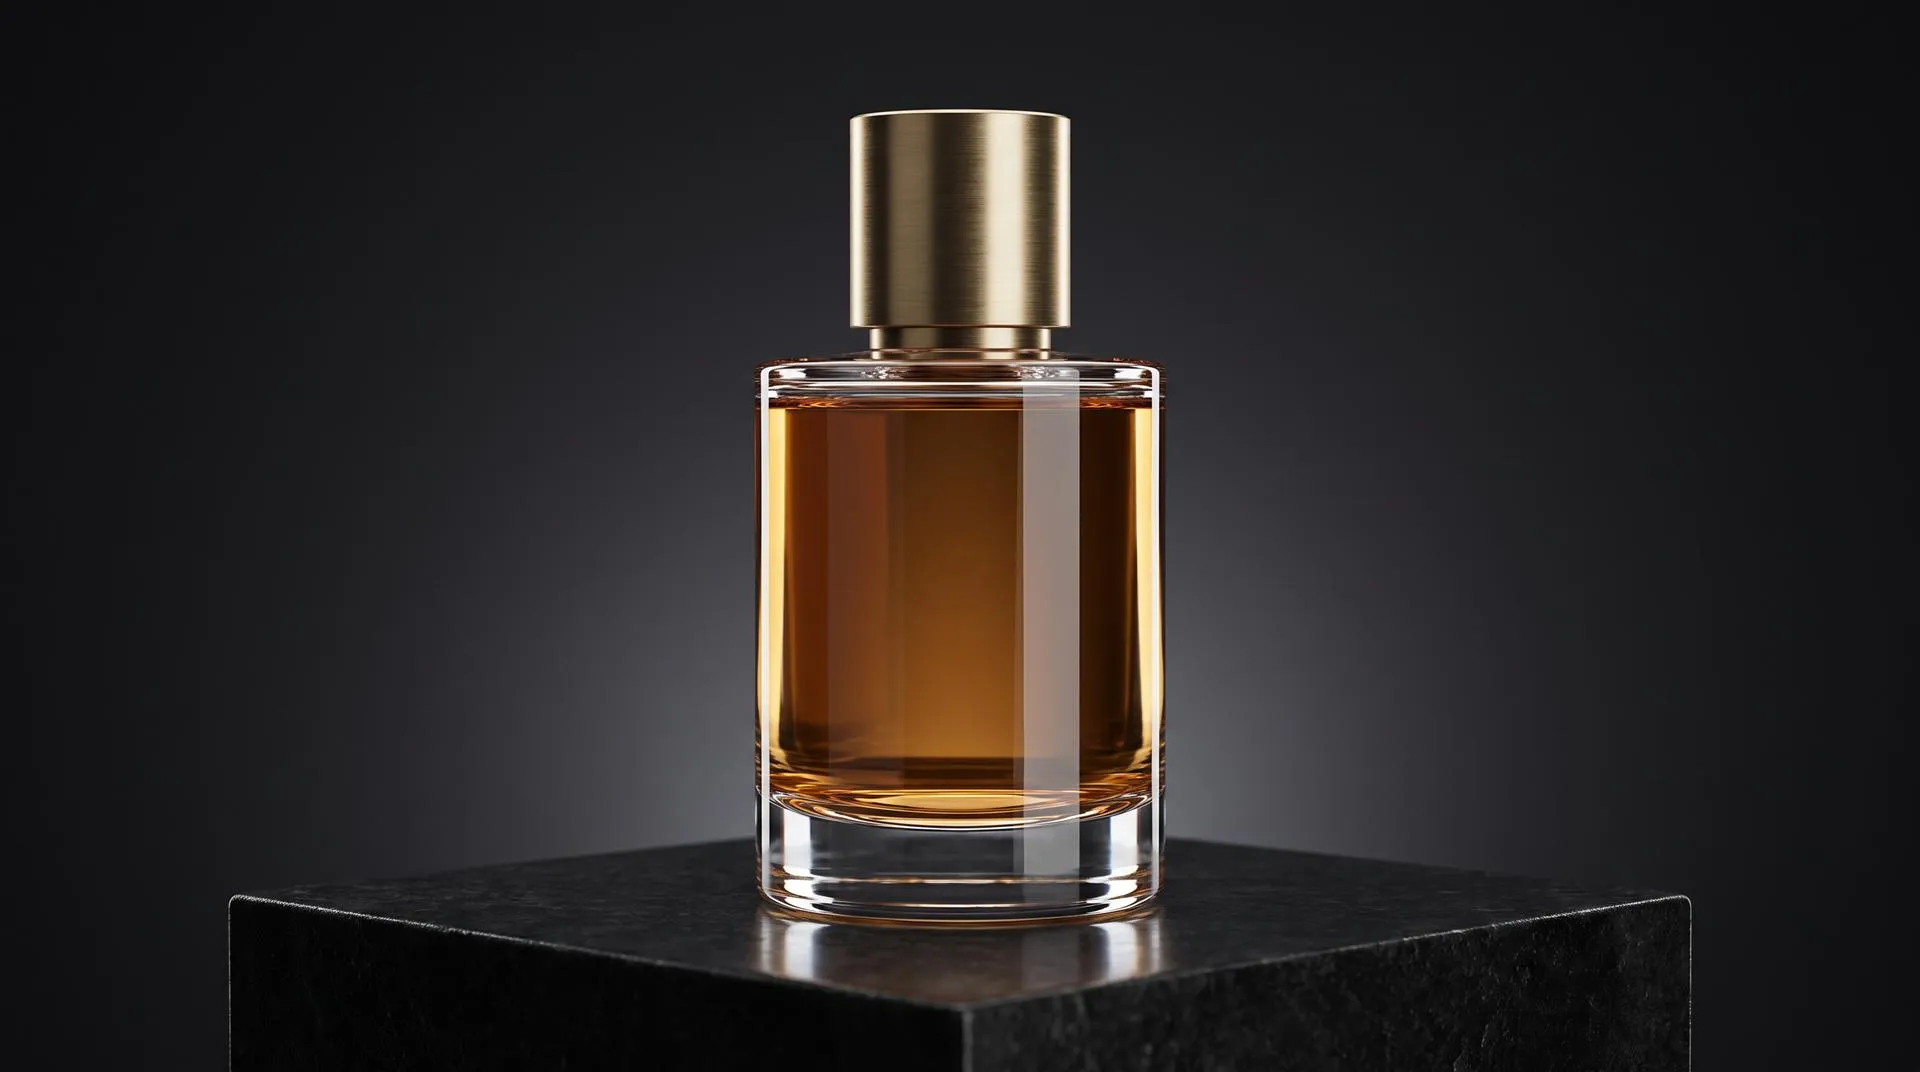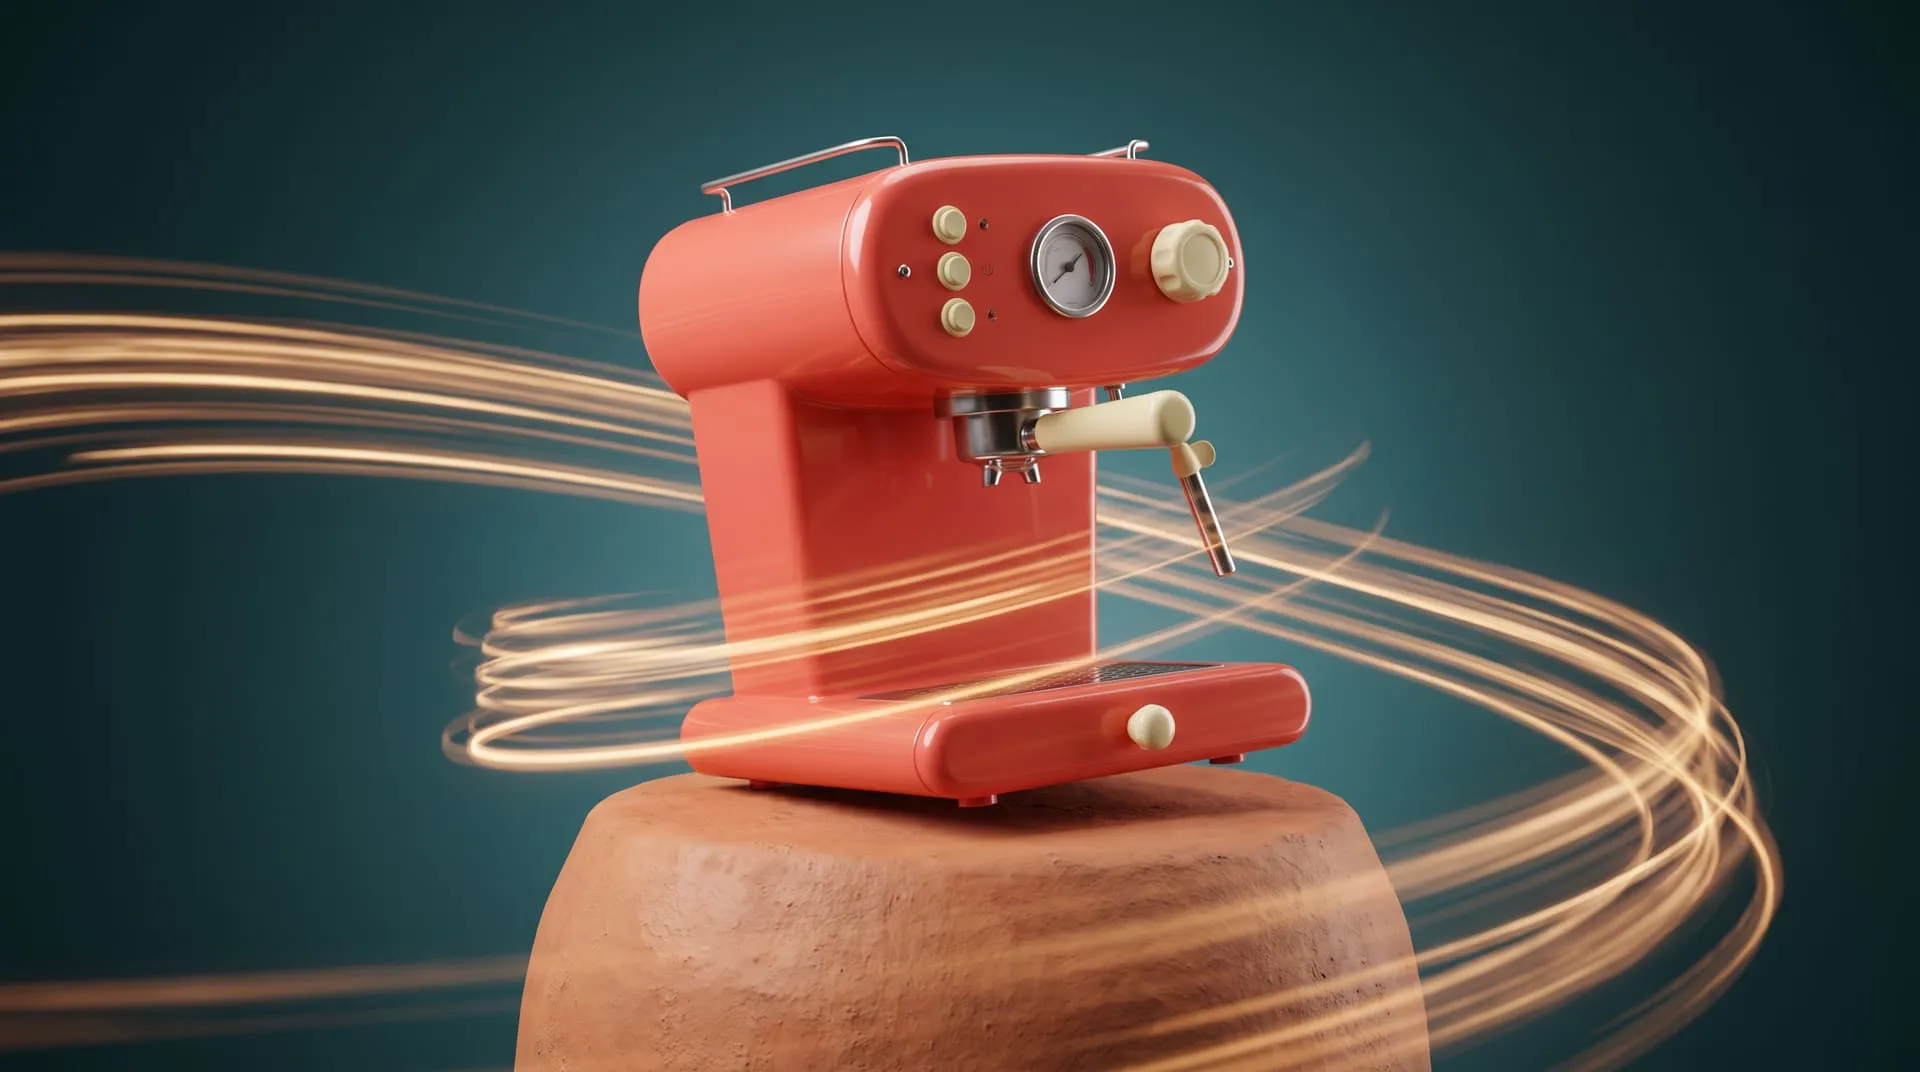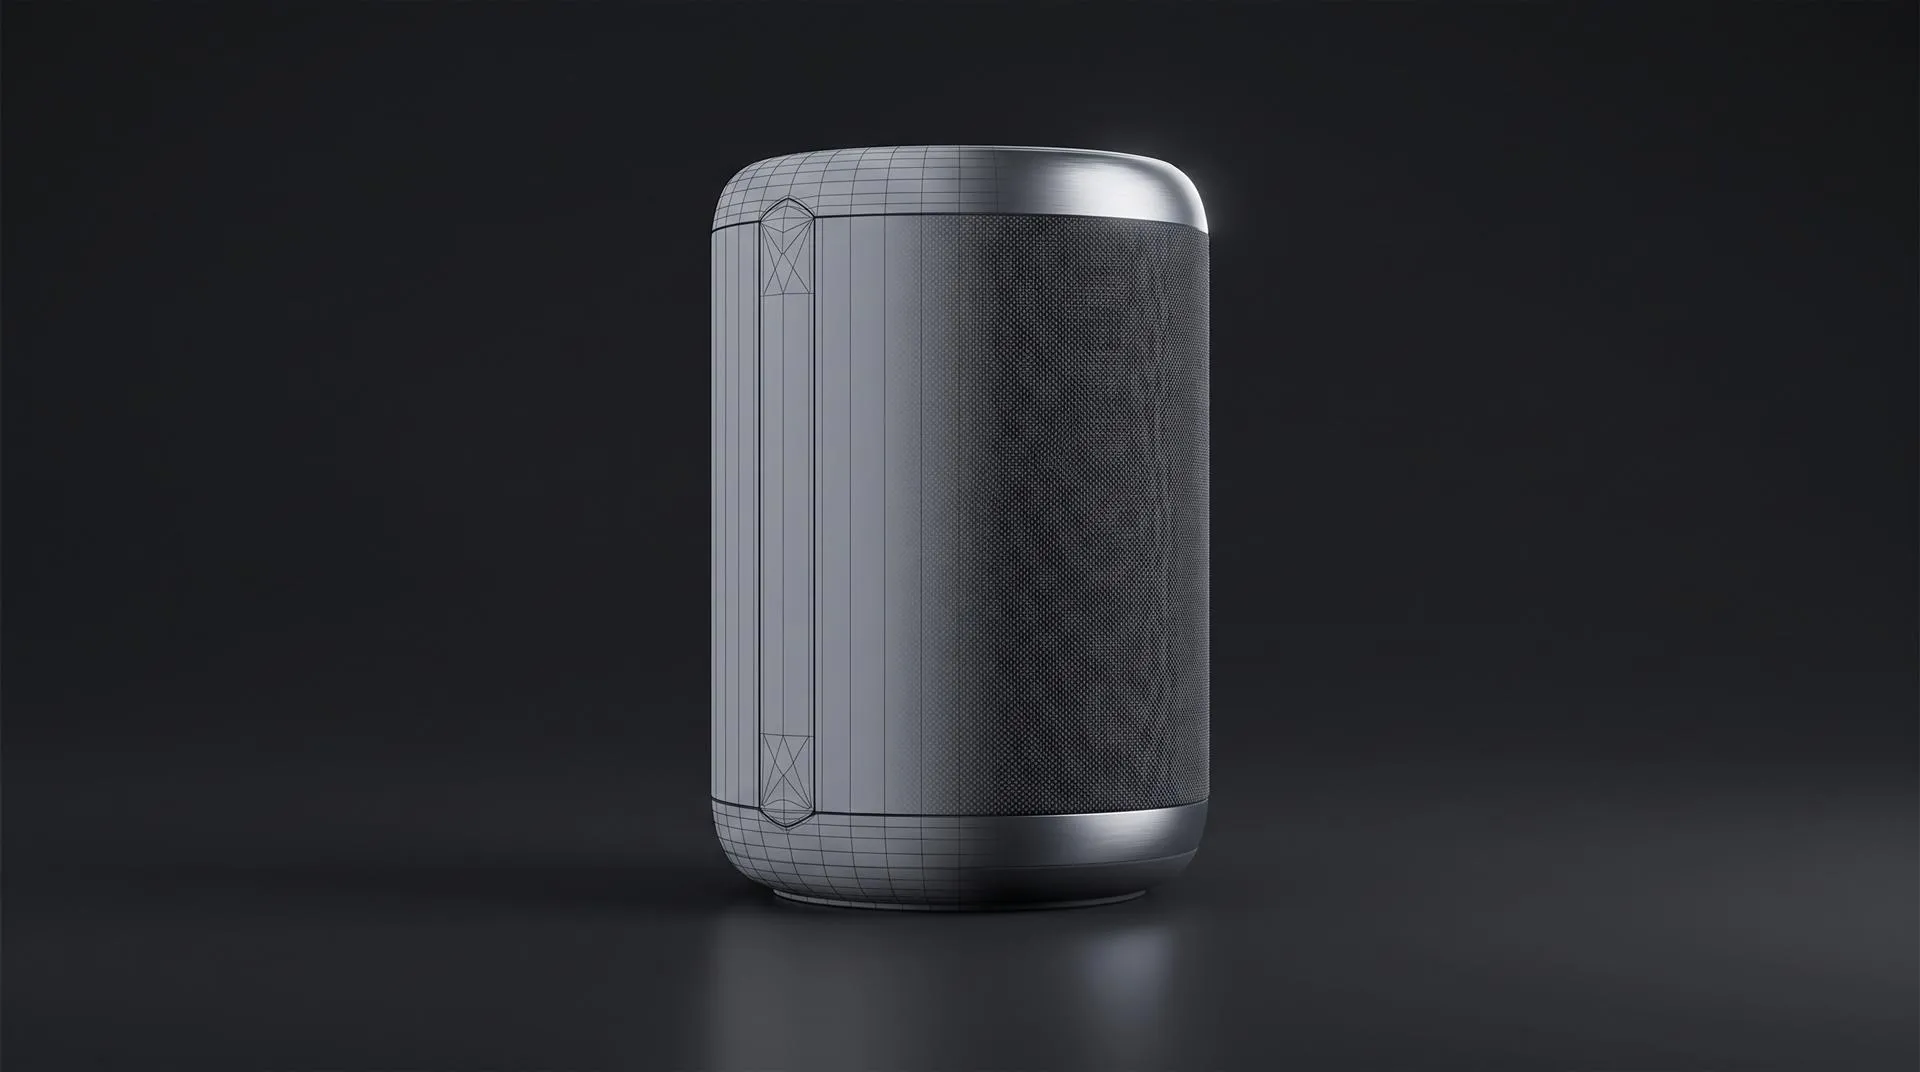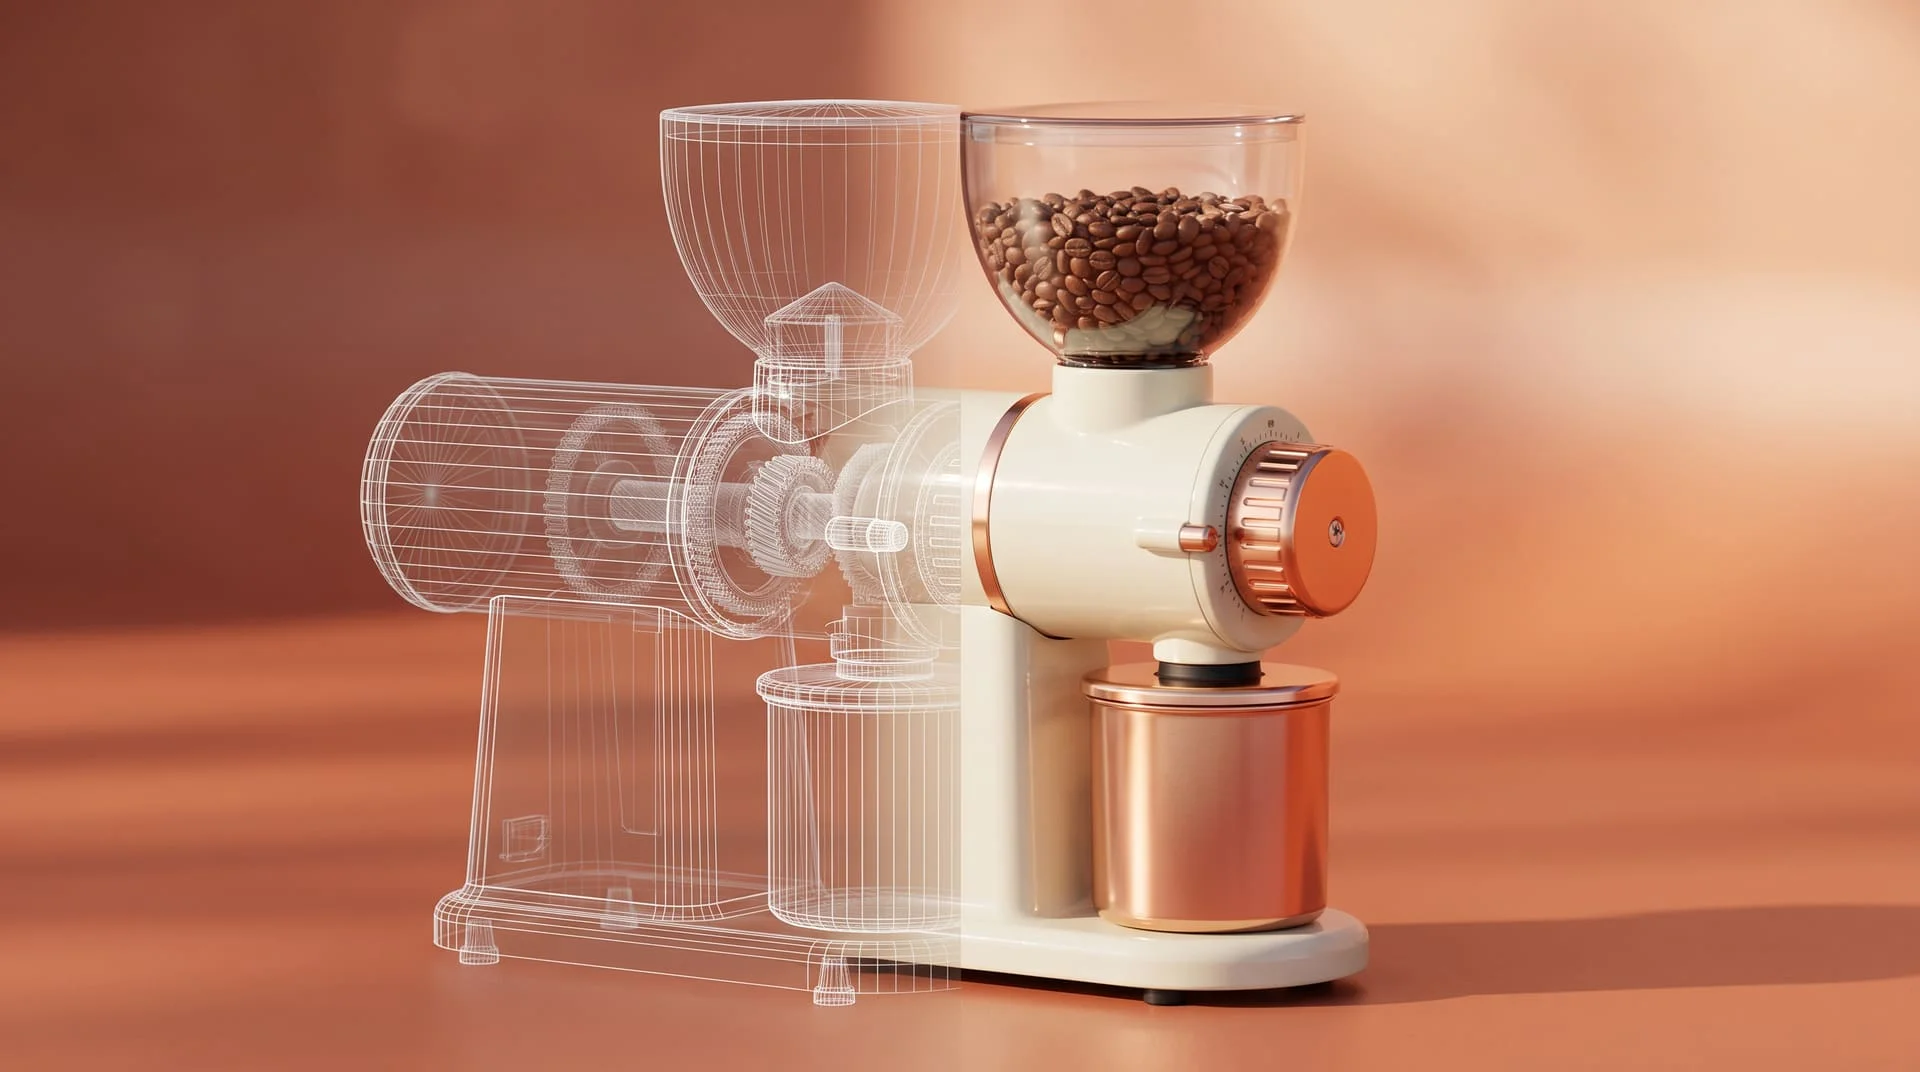
3D product rendering is the process of creating photorealistic images of a product from a 3D model instead of photographing it. A 3D artist builds or imports the product, gives it real materials, lights it in a virtual studio and renders the final image. Once the model exists, every new angle, colorway or scene is a new picture of the same digital product, not a new shoot.
That is the short version. If you are reading this, you probably have a product launching soon, an engineering team with a CAD file, and a marketing calendar that needs images before the first production units exist. Or you have a KeyShot designer who makes good stills and you want to know what a studio would add.
This guide covers what a product render actually is, how one gets made, which types exist, what you need to send, and what it costs. It also says when you do not need a studio at all.
What is 3D product rendering?
A product render is a computer-generated image of a physical product, built from an accurate 3D model and made to look like a photograph. The word “rendering” refers to the last step, when software calculates how light bounces off every surface and turns the scene into pixels. In everyday use, people mean the whole job.
It is not the same as a CAD screenshot. Your engineers can already export images from SolidWorks or Fusion. Those show the shape, but not what the product looks like on a shelf. A real render adds the things that sell: the right plastic finish, the brushed metal, reflections, soft shadows, a composed camera angle.
It is also not AI image generation. A render starts from your actual geometry, so the ports, buttons, seams and proportions are correct. An AI generator guesses at them. For a product page, an ad or a retailer listing, that difference matters, because the image has to match what arrives in the box.
Brands use product renders for:
- Amazon and Shopify listings (silo shots on white)
- Launch pages and pre-order campaigns, before the product physically exists
- Colorway sets, where photographing every finish would be slow and expensive
- Feature callouts, exploded views and cutaways that a camera cannot capture
- Ads, social posts and email, cut to different formats
And because the model is reusable, the same file can later drive an animation, a 360 spin or a web configurator.
How does the 3D product rendering process work?
A product render goes through seven steps, from brief to final file, and with a clean CAD file a set of about 10 stills takes roughly a week. The durations below are typical for that kind of project. Building a model from photos instead of CAD adds time to step 2.
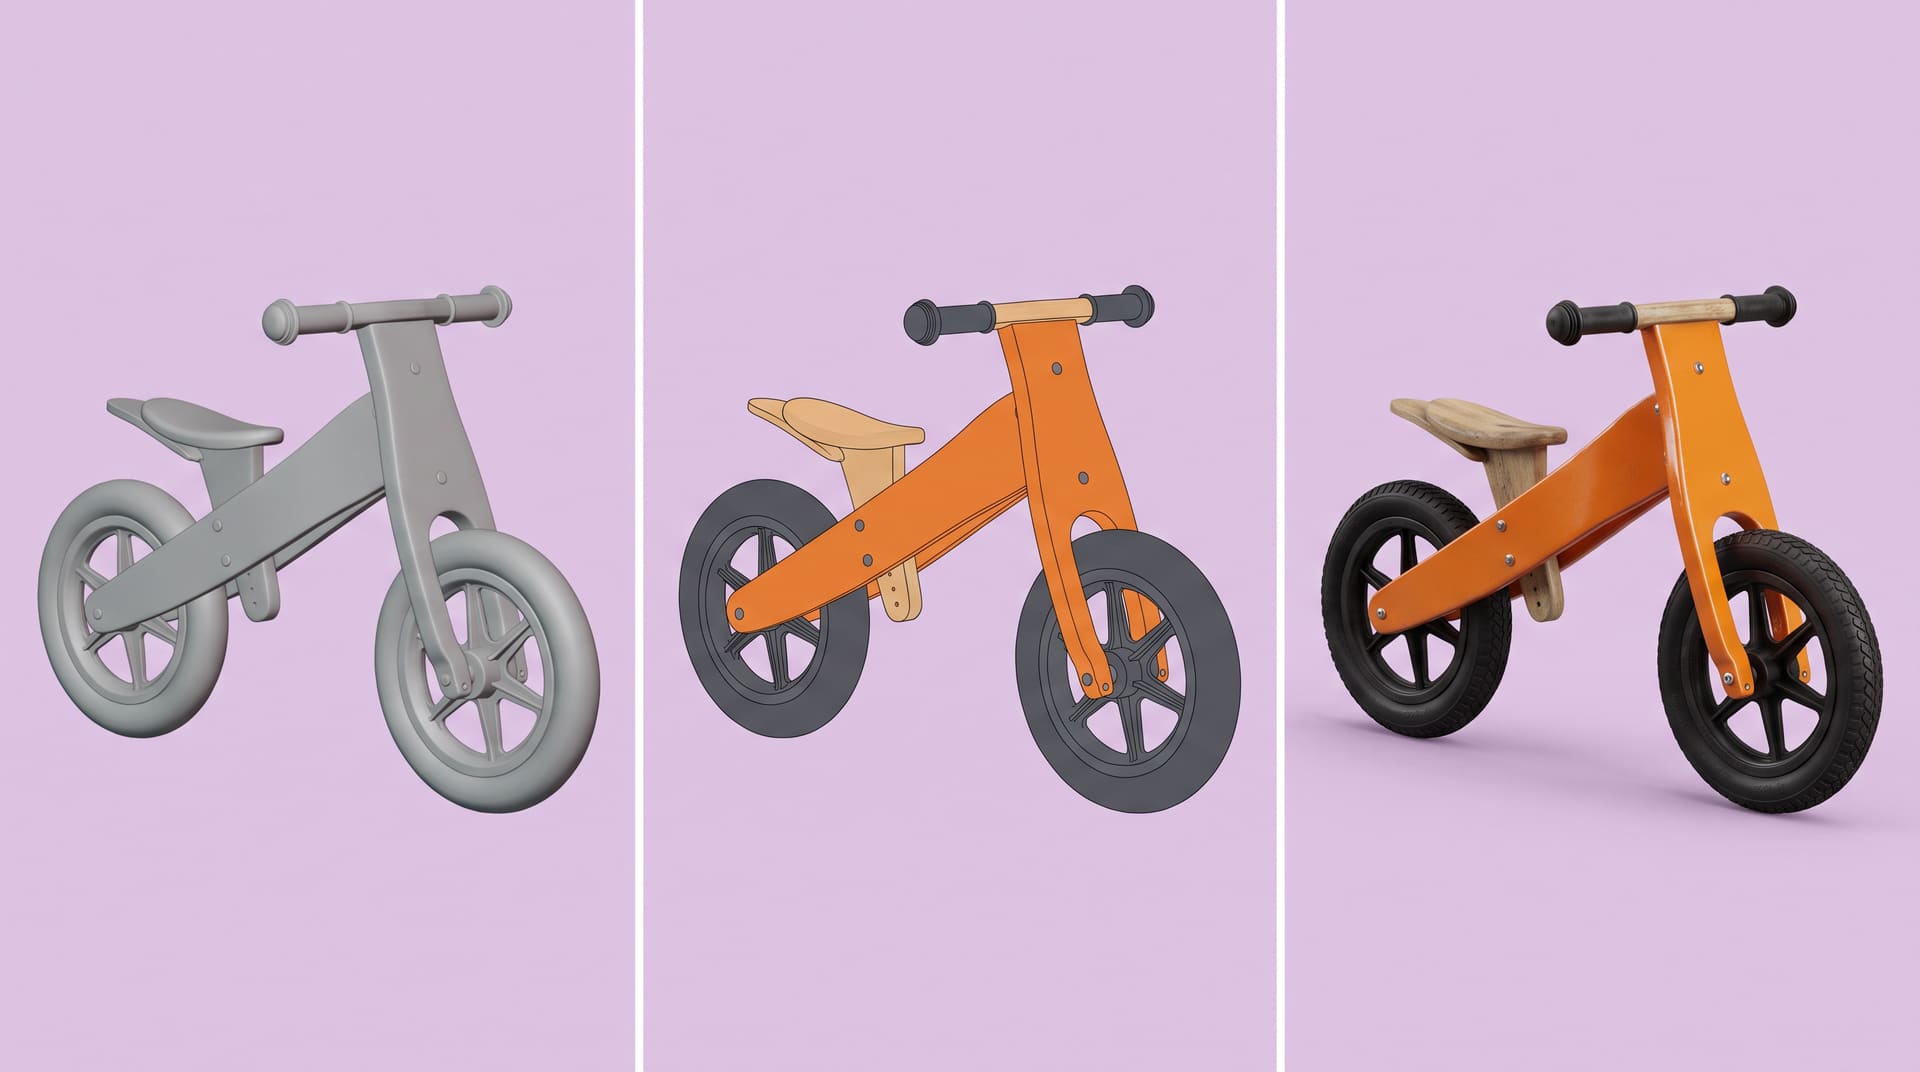
- Brief and references (about half a day). You send the files, the shot list, where the images will be used, and two or three reference images whose look you like. The studio confirms the formats, backgrounds and number of angles before any work starts.
- 3D model from CAD or from scratch (about a day from CAD, longer from scratch). A STEP or SolidWorks file is imported, cleaned up and checked: small gaps fixed, hidden internal parts removed, surfaces smoothed so edges catch light the way real ones do. If there is no CAD, the product is modeled by hand from photos, dimensions and samples. That is the step that varies the most.
- Materials and textures (about a day). Every part gets a physically accurate surface: matte ABS, anodized aluminum, soft-touch rubber, clear polycarbonate. Logos and labels go on as real artwork, not approximations. Tools like Blender’s Principled BSDF shader or KeyShot’s material library are where this happens.
- Lighting and camera (about a day). The artist sets up a virtual photo studio: softboxes, rim lights, reflection cards, a camera with a real focal length. This is where a render either looks like a product photo or looks like CAD.
- Rendering (hours, mostly machine time). The software calculates the final image. A path tracer such as Blender Cycles simulates light physically, which is why reflections and shadows look right.
- Retouching and output (about half a day). Small fixes, color matching to your brand values, background cleanup, and export in the sizes and formats you need.
- Revisions (one to two days). Usually two or three rounds. Each round is faster when feedback comes from one person, in one document.
Step 2 is where most of the cost sits. The clip above shows a CAD assembly coming into Blender as a STEP file, which is how most of our projects start. If that file is clean and complete, the model costs a fraction of what building it from scratch costs.
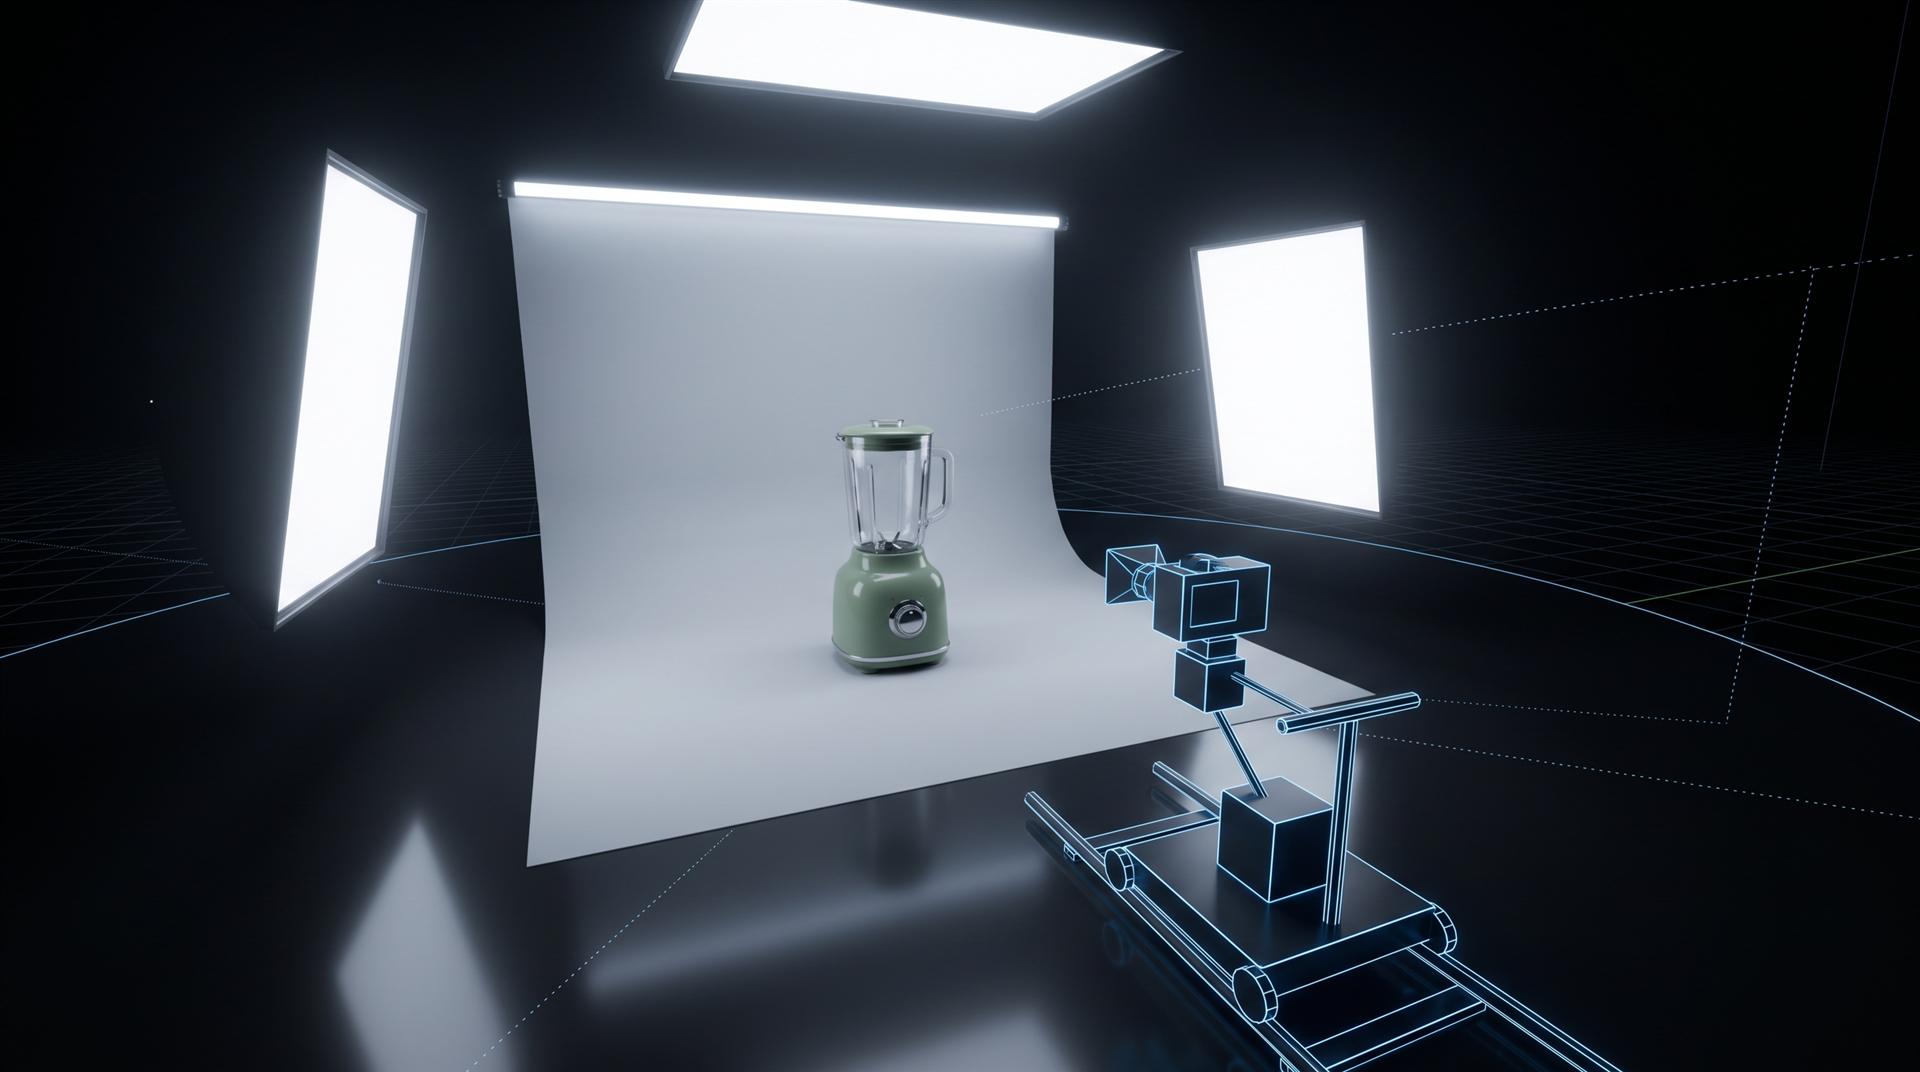
Steps 3 and 4 are where quality shows. Anyone can import a CAD file. Getting brushed metal, gloss black and translucent plastic right in the same frame takes experience, because those materials show every lighting mistake.
The clip above is a look development session in Blender: same headphones, same scene, different lighting and camera takes until the shot works.
What types of product renders are there?
Most product render sets mix three to five types, each made for a different place where the image will be used. All of them can come from the same 3D model.
| Render type | What it shows | Where it is used | More detail |
|---|---|---|---|
| Silo on white | The product alone on pure white or transparent | Amazon main image, Shopify catalog, spec sheets | What renders cost by type |
| Lifestyle | The product in a built 3D room or setting | Secondary listing images, social, email | Why photoreal matters |
| Hero shot | One art-directed image with dramatic light | Homepage banner, launch page, ads | Product hero shots |
| Exploded or cutaway | Internal parts, layers, how it is built | Feature callouts, B2B decks, crowdfunding | Exploded views from CAD |
| 360 spin | A full rotation, frame by frame | Interactive product viewers | 360 product spins |
| Packaging | The box or label before it is printed | Pre-orders, retailer pitches | 3D packaging rendering |
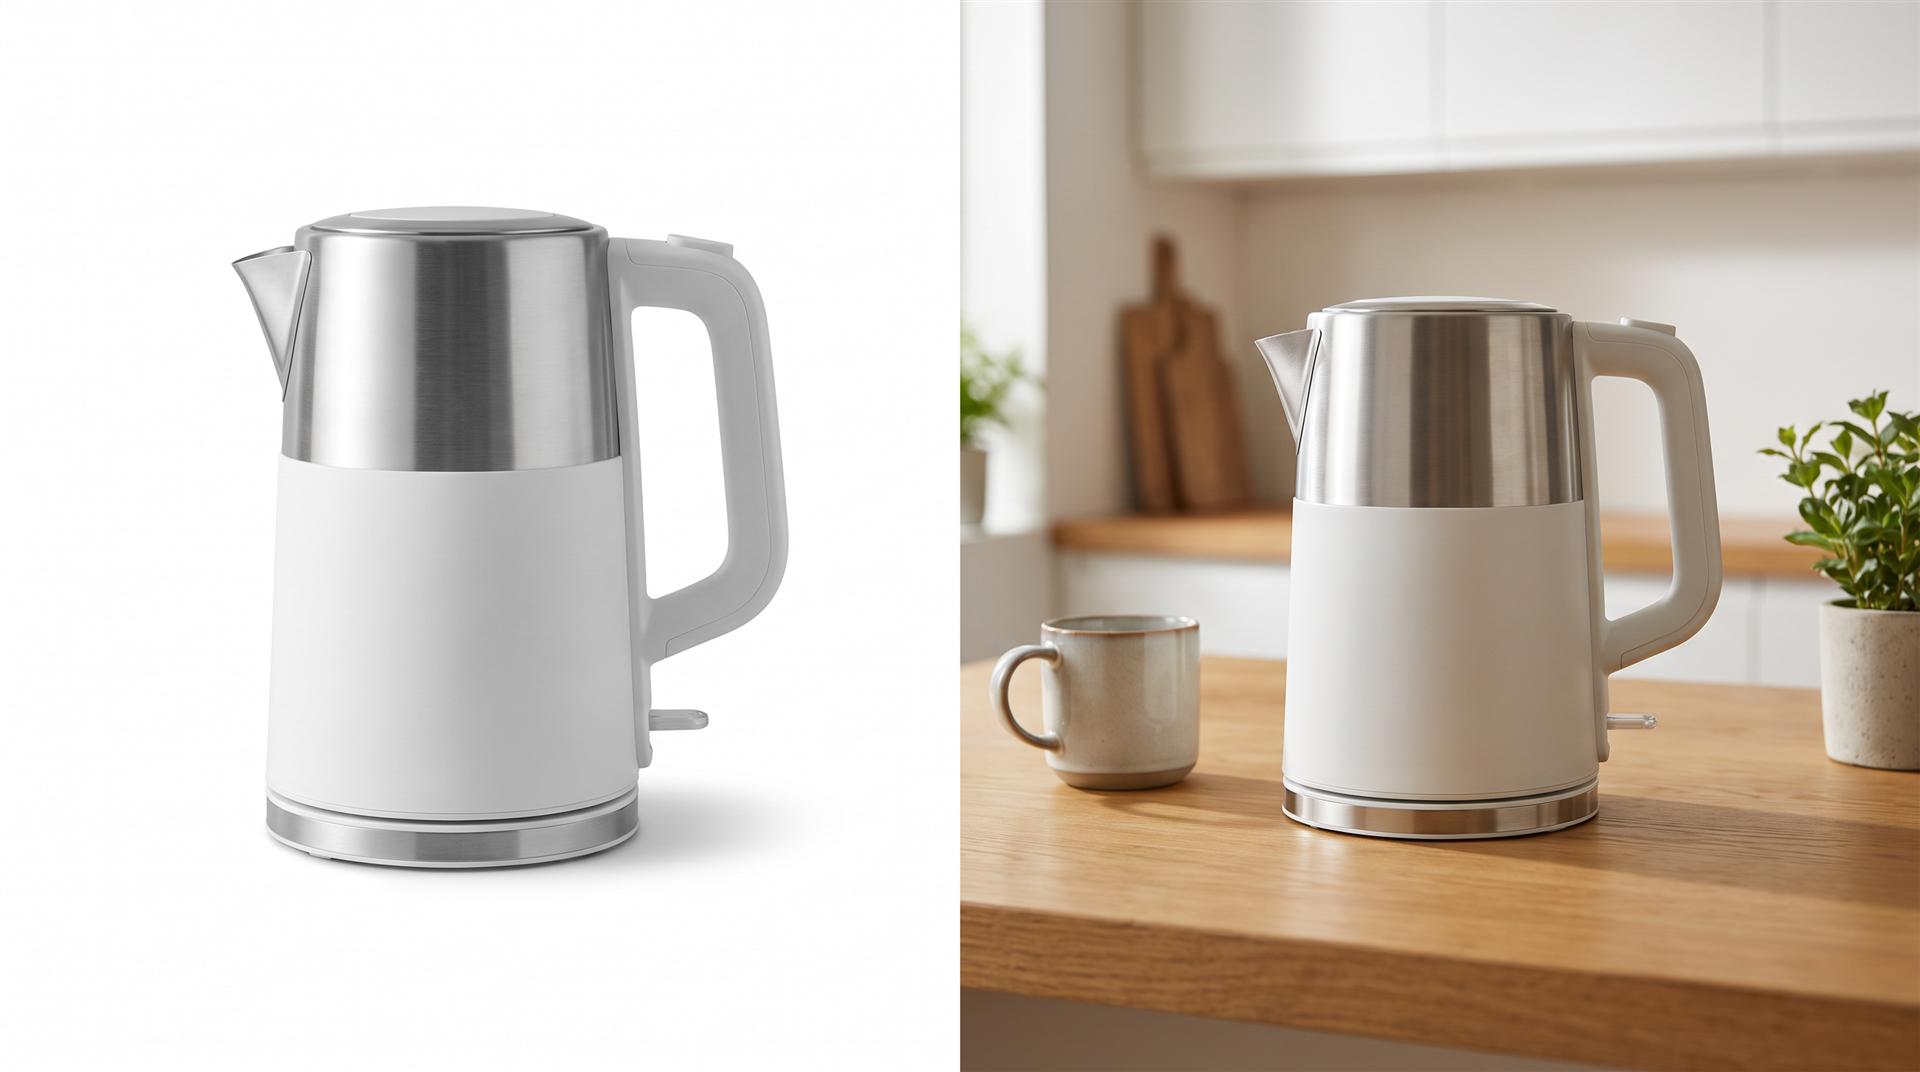
Colorways are not a separate type, they are a multiplier. Once a silo shot exists, showing the product in five finishes is a material swap on the same scene. This is where rendering pulls far ahead of photography for products sold in many colors.
Formats are also not free. A square or vertical version for social is not an automatic export of the 16:9 image. Someone has to recompose the camera for each format, so ask for them in the first quote.
What do you need to send for a product render?
The more accurate your files, the faster and cheaper the project. Here is the checklist we use.
What to send when you hand it off:
- CAD file in STEP, IGES, SolidWorks, Fusion or Rhino format. If you have no CAD, clear photos from all sides plus overall dimensions.
- The final version of the design. Changes after modeling usually mean a new quote.
- Color references: Pantone or RAL codes, or a physical sample if the finish is unusual.
- Material notes: which parts are matte, glossy, textured, transparent or metallic.
- Logo and label artwork as vector files (AI, EPS, SVG or PDF).
- A shot list: how many images, which angles, which backgrounds.
- Where the images will run (Amazon, your site, ads, print) so sizes and formats are right from the start.
- Two or three reference images whose look you like, from any brand.
- Your deadline, and the date you actually need the first images.
One more item to settle up front: who owns the 3D model. Owning the final images does not mean you own the 3D model and scene files. If you want to reuse the model later for animation, a configurator or another studio, agree on it in writing before the project starts.
Rendering vs photography: which one do you need?
For one simple product in one color, a photographer is often cheaper. Rendering starts to win when the product does not exist yet, when you sell many colorways, when the material is hard to photograph (glass, chrome, gloss black), or when you will also want animation from the same model later. Both have to follow the same marketplace rules, such as the pure white background (RGB 255, 255, 255) that Amazon’s product photo guide recommends.
How much does 3D product rendering cost, and how long does it take?
Market prices run about $50 to $700 per image for a silo shot on white, $500 to $3,000 for a lifestyle scene, and $700 to $1,500 for a hero shot. The 3D model is the biggest single cost. Once it exists, extra angles and colorways cost a fraction of the first image.
Our own pricing follows the same logic. The model is charged once, then images in tiers, then the background:
| Project | Model | Images | Background | Total |
|---|---|---|---|---|
| Up to 10 images, your CAD, white background | $200 | $250 | $100 | $550 |
| Up to 10 images, your CAD, 3D environment | $200 | $250 | $500 | $950 |
| Up to 10 images, modeled from scratch, white | $400 to $2,000 | $250 | $100 | $750 to $2,350 |
Timing: a set of up to 10 stills from your CAD file is typically delivered in about a week. A 3D environment instead of a plain background, or modeling from scratch, adds time.
The honest flip side: if you need one image, these numbers do not help you. Our minimum with your CAD file is $550 whether you take one image or ten. For a single shot, a freelancer is often the better deal. The full breakdown, including freelancer and studio ranges, is in our guide to 3D product rendering cost, and our pricing page has the calculator.
Should you use rendering software or hire a studio?
If you already have an in-house 3D designer, you may not need a studio for stills. A KeyShot Studio Professional license costs $1,299 per year at the time of writing, and a skilled designer can produce a full catalog with it. Blender is free and fully capable, though it takes longer to learn.
A studio makes sense when nobody on the team does lighting and materials every day, when you need a large set fast, or when you want the same model to carry into animation later. Our guide to CAD rendering compares rendering inside your CAD tool, a dedicated renderer and a studio side by side.
Common mistakes with product renders
- Sending an unfinished design. Every change after modeling costs time. Lock the design for the parts that will be visible.
- No color reference. “Dark blue” will not match your production part. Send Pantone or RAL codes, or a sample.
- Rendering with CAD default materials. Gray plastic with uniform shine is what makes a render look like a render.
- Forgetting formats until the end. Square and vertical versions need their own camera work. Ask for them at the start.
- Feedback from five people in five emails. That is how two revision rounds turn into five.
- Assuming you own the model. You own what the contract says. Ask before you sign.
- Using a loose approximation of the product. Google’s Merchant Center image rules do not accept mockups that fail to show the physical product. A render from your real CAD file shows the exact item. A rough look-alike does not.
FAQ
What is 3D product rendering?
It is the process of creating photorealistic images of a product from a 3D model instead of photographing it. The model gets real materials, studio lighting and a composed camera, then software renders the final image.
How much does a 3D product render cost?
Market prices run about $50 to $700 per image for a silo shot on white and $500 to $3,000 for a lifestyle scene. With our pricing, up to 10 images from your CAD file on white cost $550 in total.
How long does 3D product rendering take?
With a clean CAD file, a set of up to 10 stills typically takes about a week. Modeling from scratch, 3D environments and extra revision rounds add time.
Do I need a CAD file for product rendering?
No, but it helps a lot. Without CAD, the product is modeled by hand from photos and dimensions, which costs more and takes longer. With our pricing, the model is $200 from your CAD and $400 to $2,000 from scratch, depending on complexity.
What is the best program for 3D product rendering?
For product stills, KeyShot is the most common choice among industrial designers because it is fast to learn. Blender is free and handles both stills and animation. The tool matters less than the person using it, especially for lighting and materials.
Not sure what you need?
If you have a CAD file and a launch date, send them over. We will tell you which images are worth rendering, which are better photographed, and whether your own designer could handle it, along with a quote for our 3D product rendering services.
Send us your file and we will suggest the right route