
CAD Rendering for Products: How to Turn a CAD Model Into Photorealistic Images (Software vs Studio)
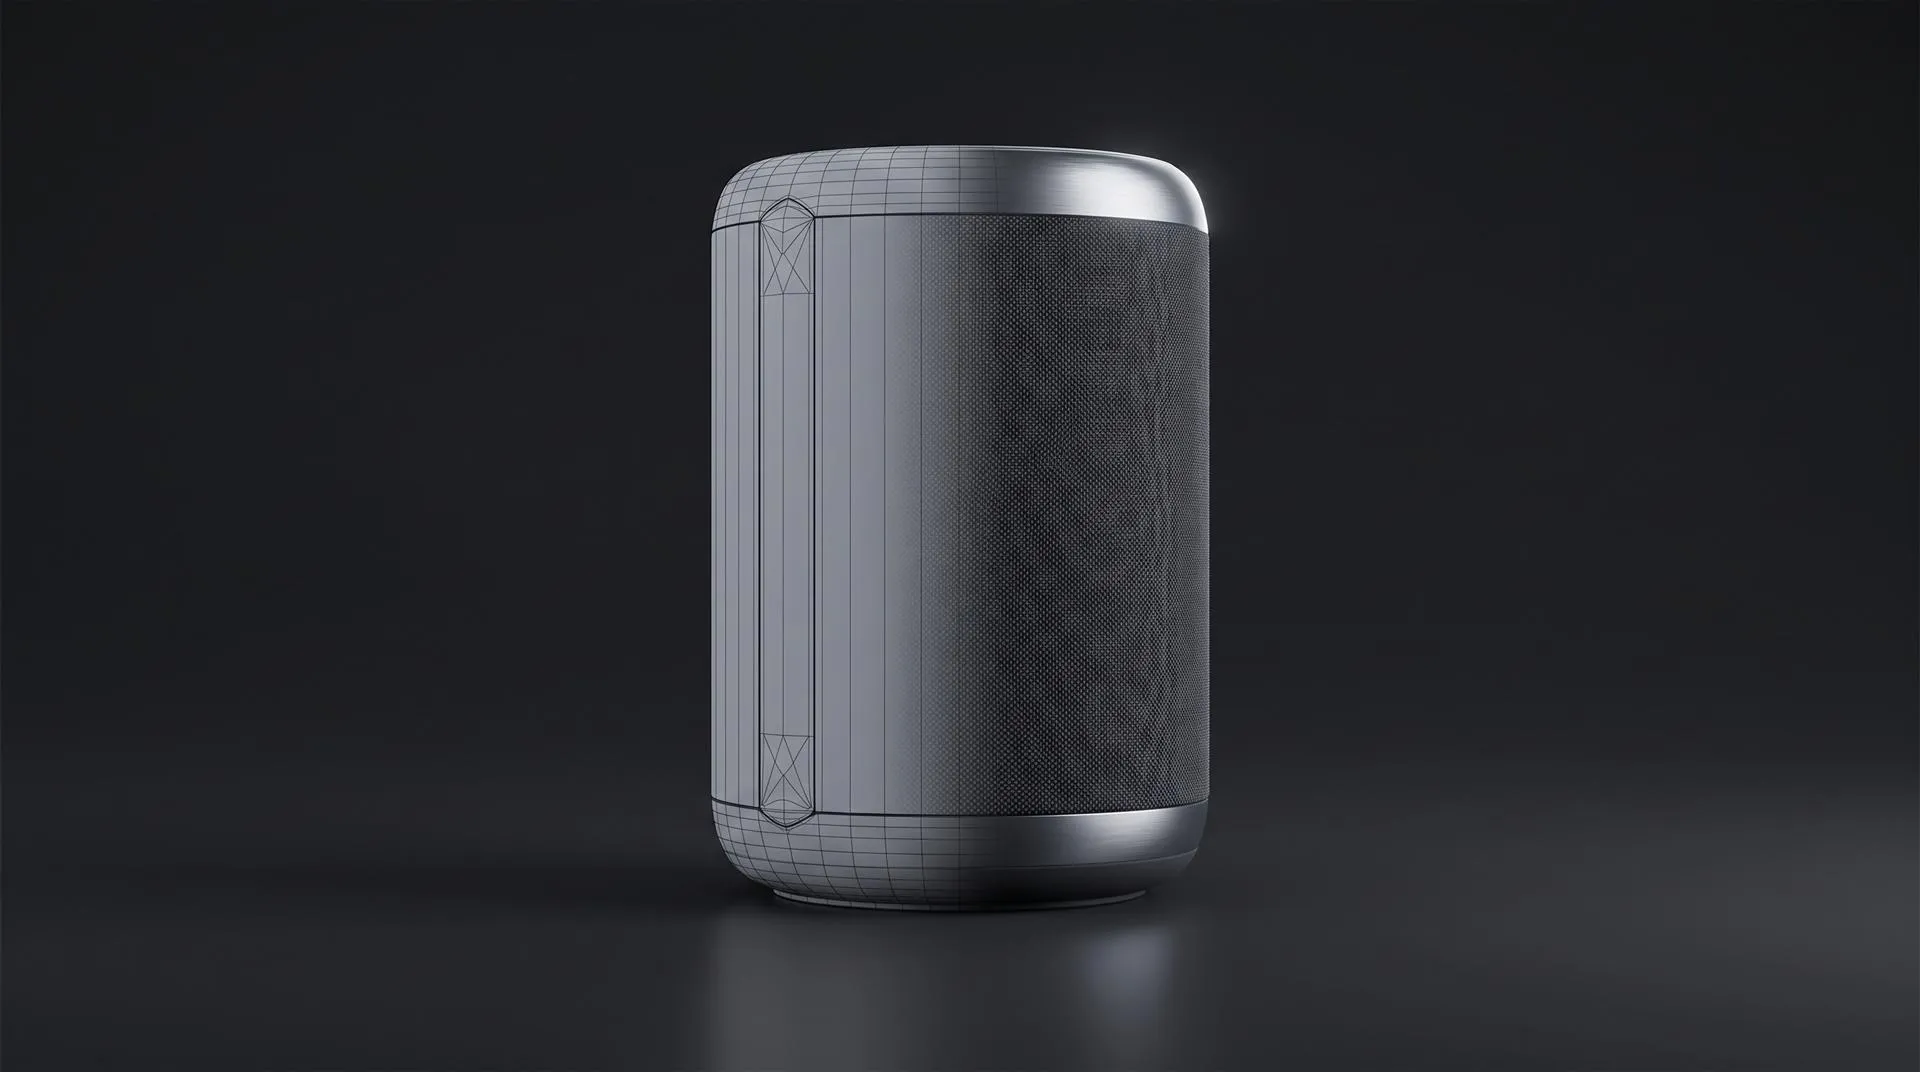
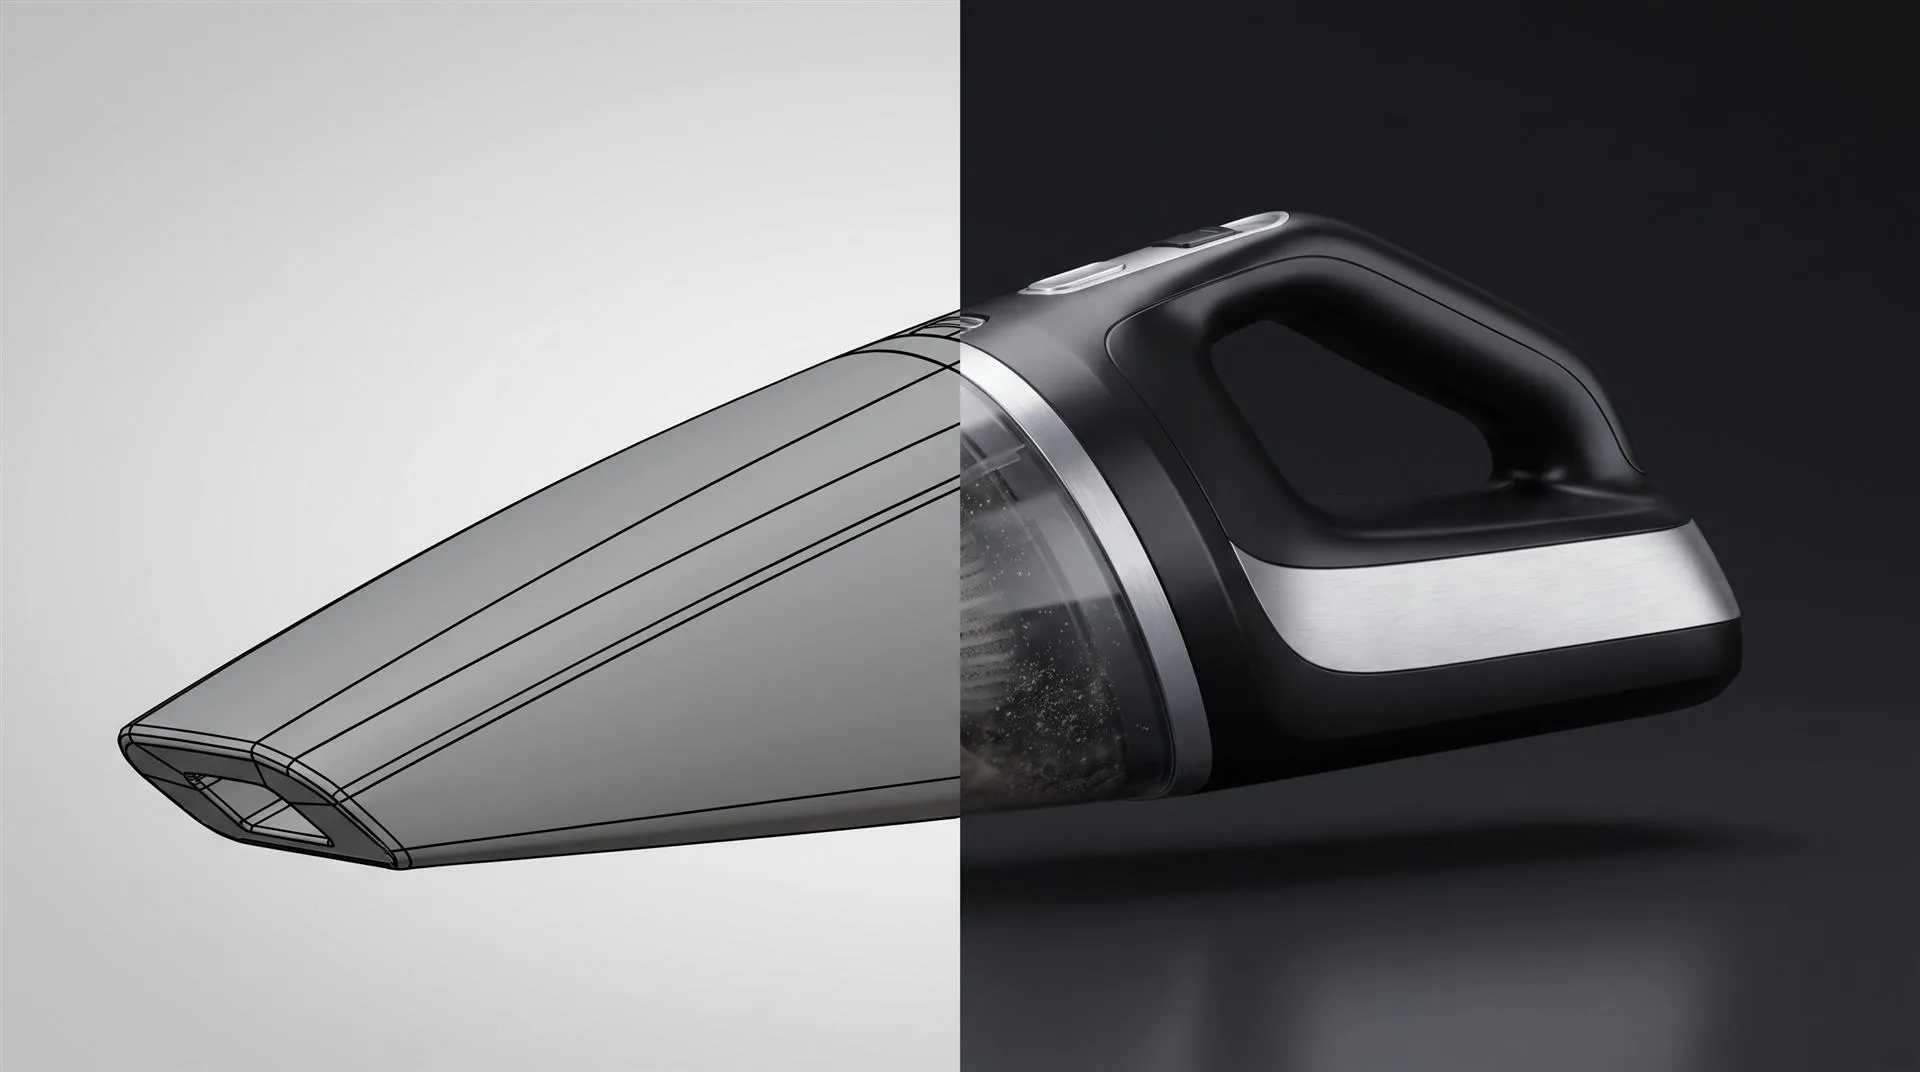
CAD rendering turns a 3D CAD model into a photorealistic image by adding real materials, lighting and a camera to the geometry your engineers already built. You can do it inside your CAD tool, in a dedicated renderer like KeyShot or Blender, or hand the file to a studio. The right route depends on how the image will be used.
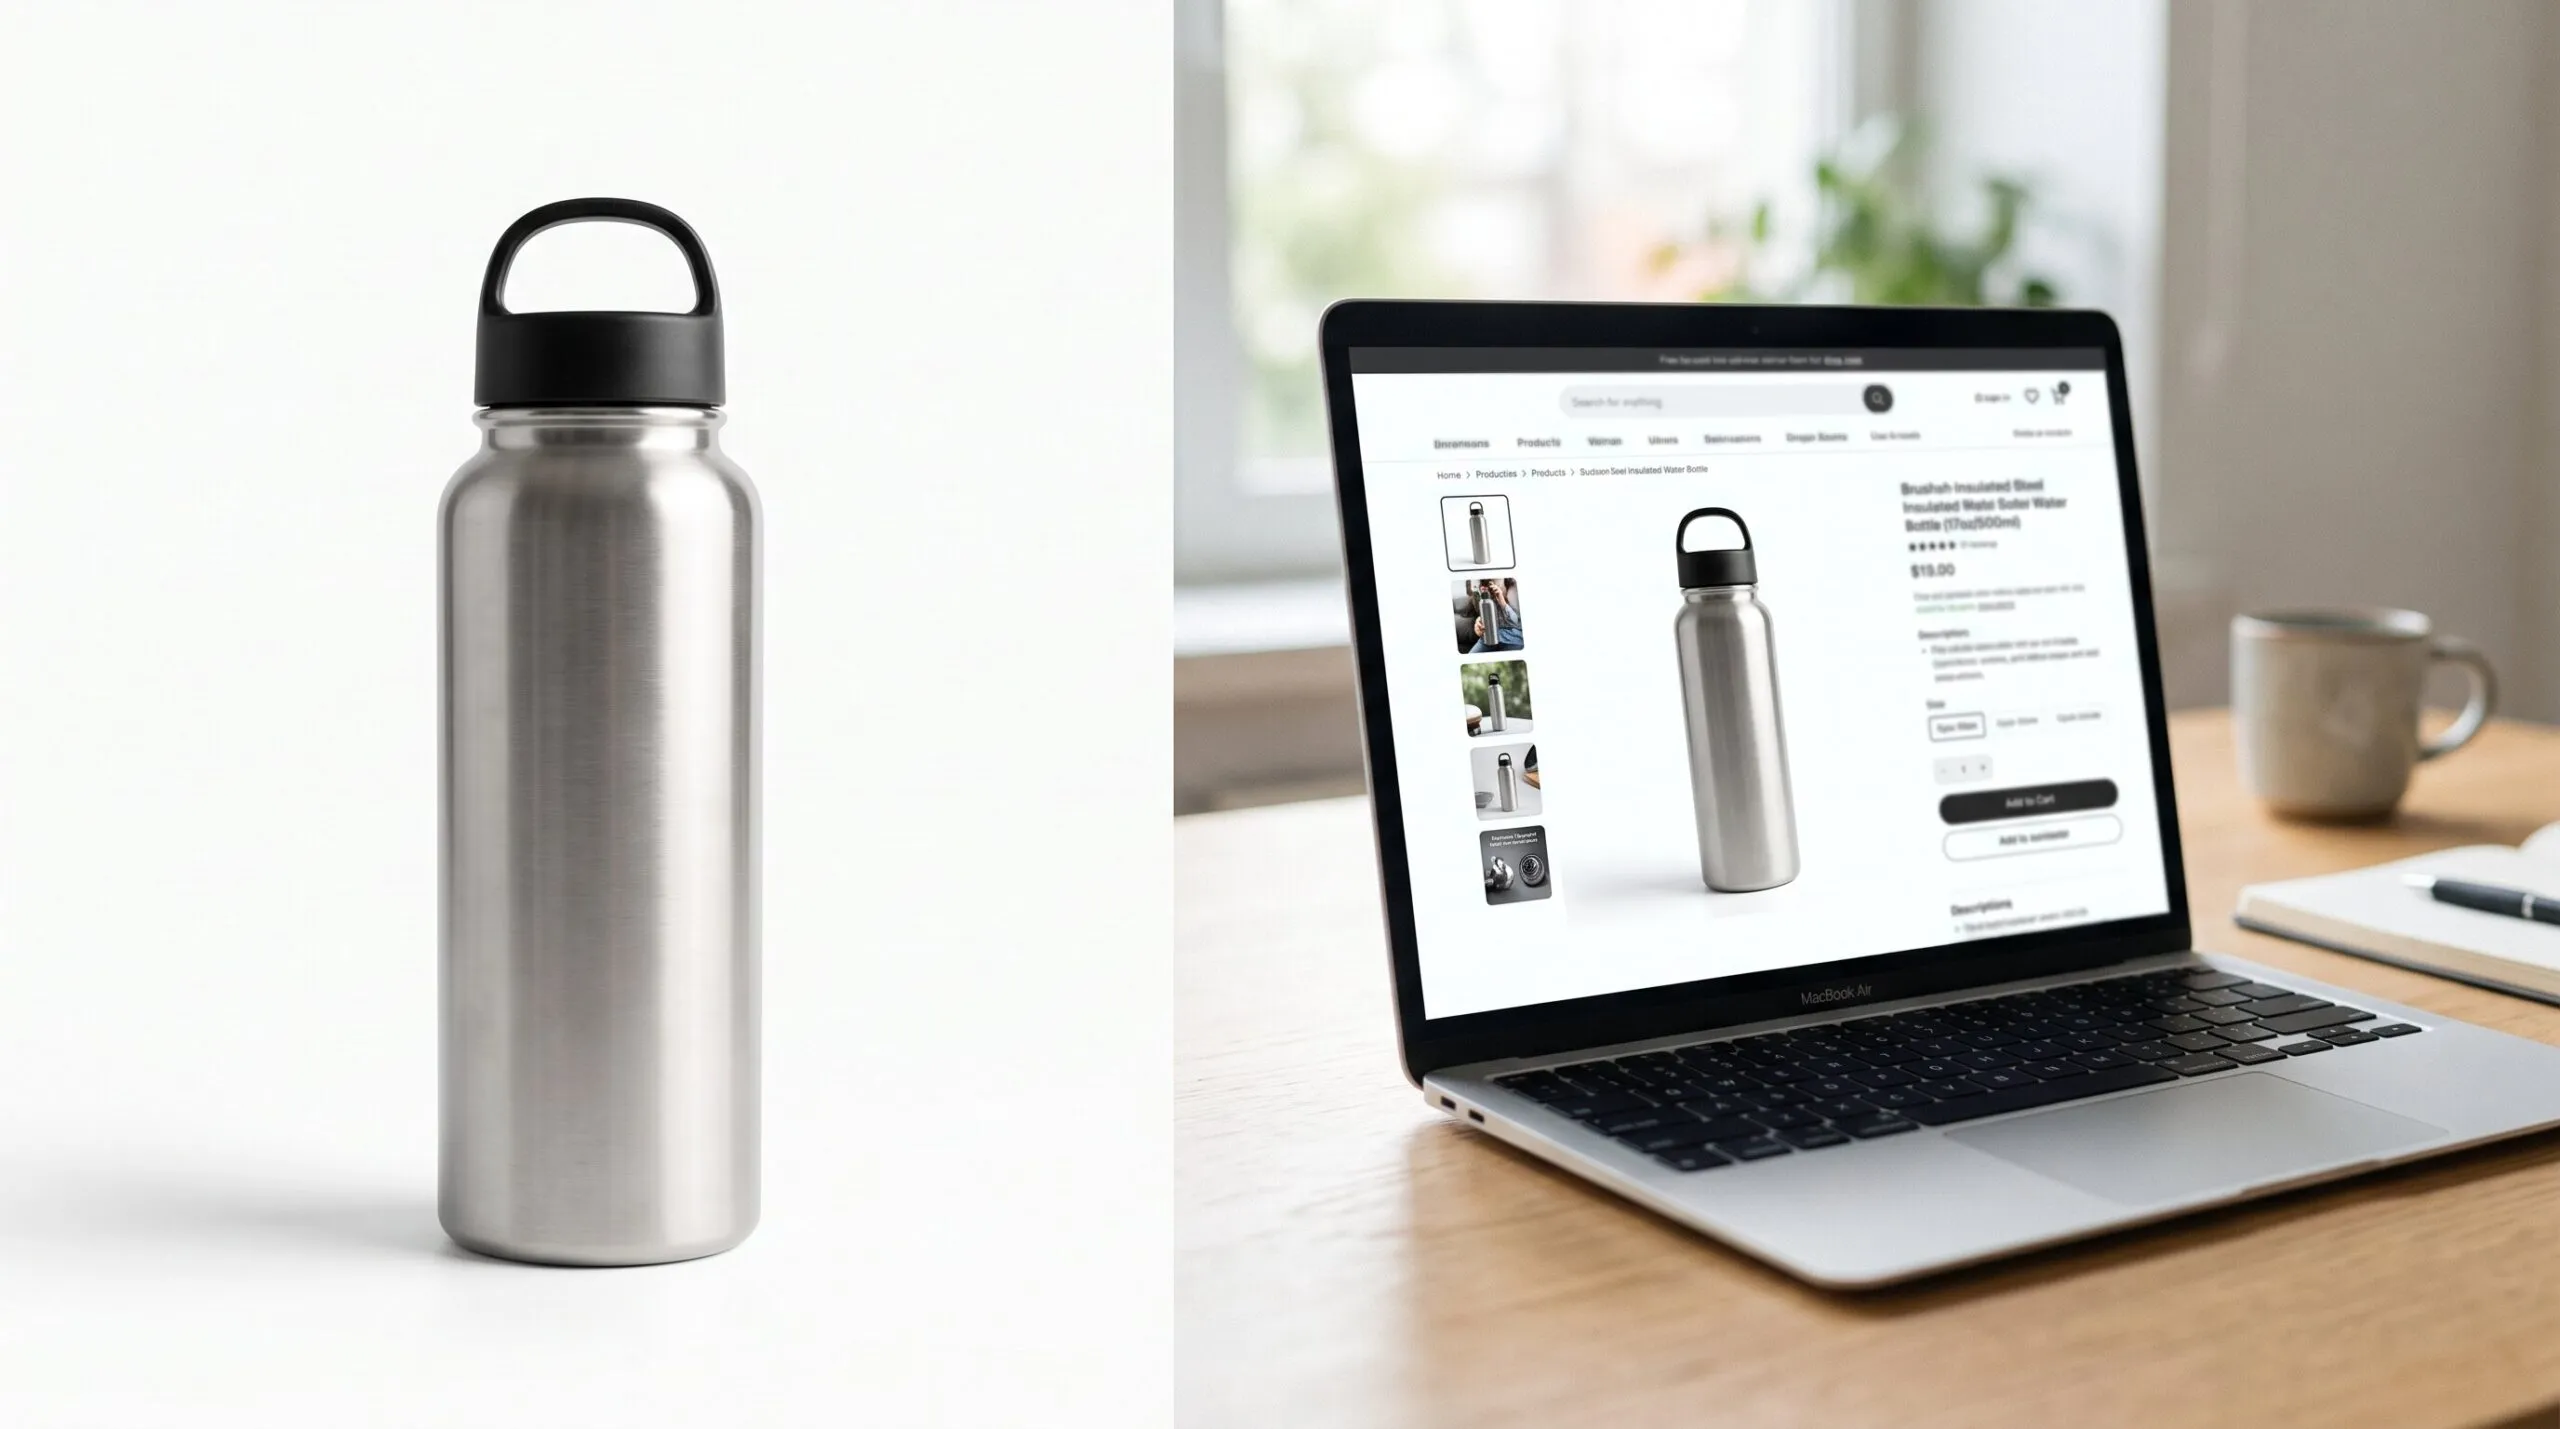
Here is the usual situation. The product is designed. The CAD assembly is clean, the tooling is ordered, and marketing needs images for the website, the Amazon listing or the investor deck before a single physical unit exists. Someone exports a screenshot from SolidWorks or Fusion, and it looks exactly like what it is: an engineering model on a gradient background.
The good news is that the hard part, the accurate geometry, is already done. This guide walks through what CAD rendering actually involves, the five steps from file to finished image, how the main tools compare, and when it makes more sense to send the file out.
What is CAD rendering, and how is it different from CAD modeling?
CAD modeling builds the shape of the product. CAD rendering makes a picture of that shape that looks like a photograph. They are two separate jobs, often done in separate software by different people.
A CAD model is built for manufacturing. It knows wall thickness, tolerances and how parts mate. It does not know what brushed aluminum looks like under a softbox, how light scatters through a frosted lens, or where a highlight should run along an edge. The viewport you see while modeling is a quick preview, made so an engineer can work fast, not so a customer feels anything.
Rendering adds the missing layers:
- Materials. Real surface behavior: matte plastic, anodized metal, rubber, glass, fabric, with the right color, roughness and texture.
- Lighting. A designed light setup, usually a studio environment plus key and rim lights, so the form reads clearly.
- Camera. A chosen angle, lens and depth of field, like a product photographer would pick.
- Ray tracing. The renderer simulates how light bounces between surfaces. That is what makes shadows, reflections and highlights look real.
So “is CAD just 3D modeling?” Mostly, yes. The rendering step is what turns the model into marketing.
From CAD file to photorealistic render in 5 steps
Every good CAD render follows the same five steps: prepare the model, assign materials, light it, place the camera, then render and retouch. The tools change, the order does not.
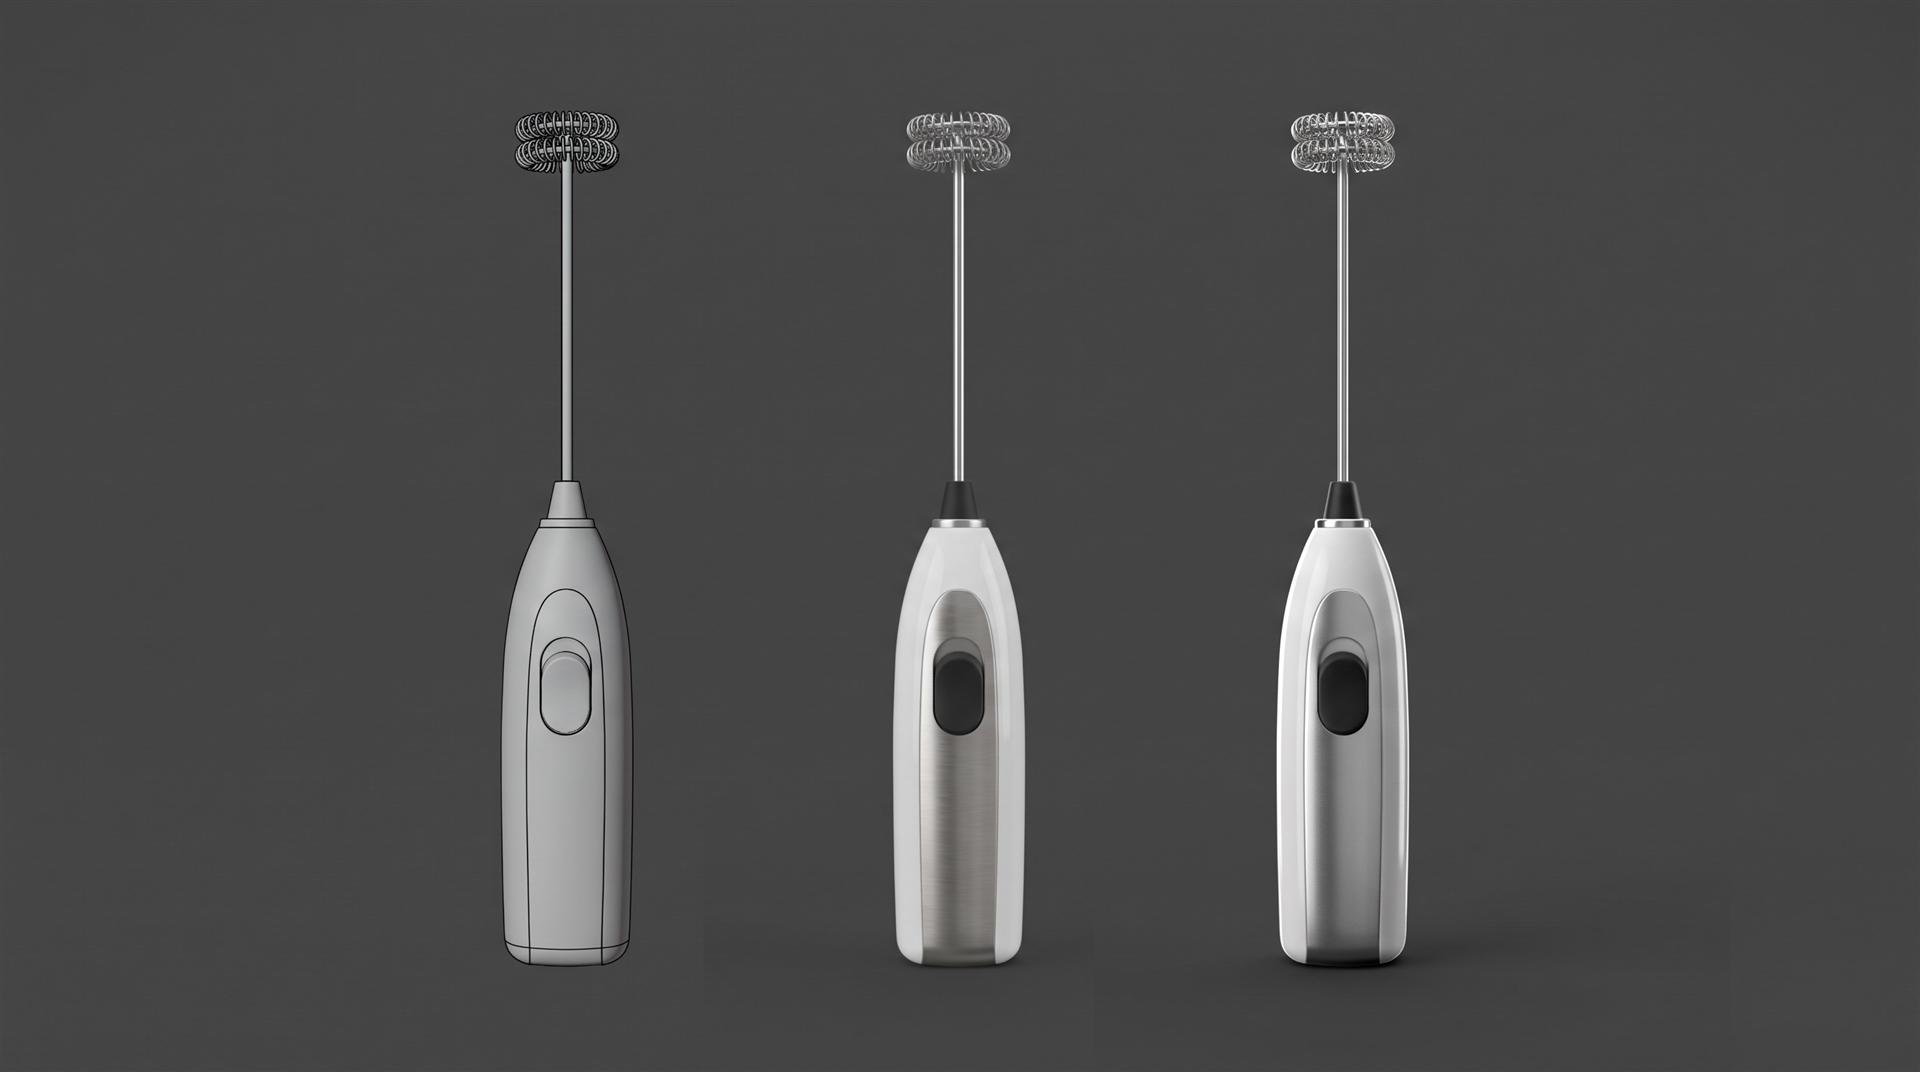
- Prepare the model. Remove internal parts nobody will see (PCBs, screws, wiring) unless the shot needs them. Check that parts are split the way materials change: if the grille and the housing are one body, they cannot get two different materials. Fix gaps and overlapping surfaces.
- Assign materials. Replace CAD appearances with physically based materials. Add the real surface finish, texture and the printed graphics: logos, icons, labels. This is where most of the realism comes from.
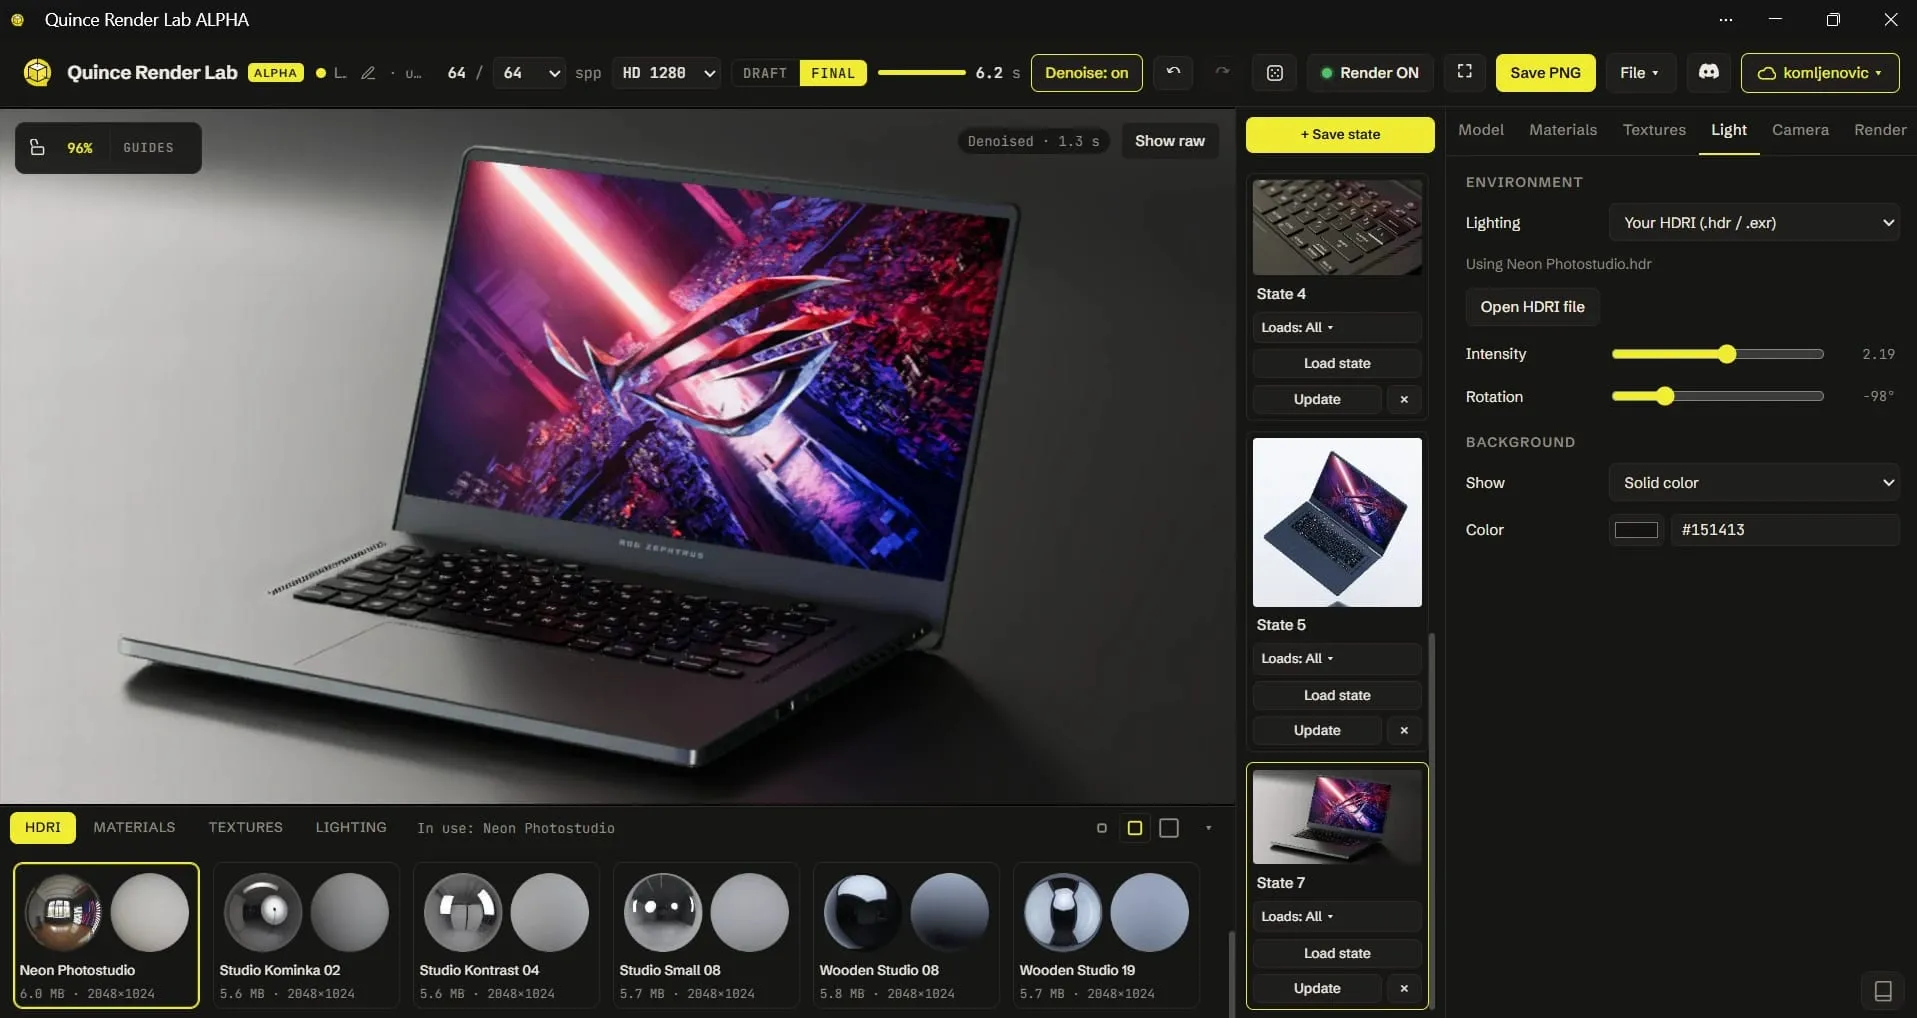
- Light the scene. Start with an HDRI studio environment, then add lights that shape the product: a large soft key, a rim light to separate it from the background, a fill to keep shadows readable.
- Set the camera. Pick a focal length that does not distort the product (longer lenses look more like product photography), set the angle and frame for the final aspect ratio. A 1:1 Amazon image and a 16:9 web banner are different compositions, not crops of one another.
- Render and retouch. Render at full resolution with enough samples to remove noise, then do light post work: color, contrast, small cleanups, background.
A first render can take an afternoon. Getting to an image that sits next to real product photography without standing out usually takes several rounds of materials and lighting tweaks.
Rendering inside your CAD tool vs a dedicated renderer vs a studio
Rendering inside your CAD tool is fine for design reviews and quick visuals. Dedicated renderers give you marketing quality if someone on your team knows them. A studio makes sense when you need a consistent set of images on a deadline and nobody in house has the time or the eye.
| Route | Image quality ceiling | Learning curve | Cost to you | Best for |
|---|---|---|---|---|
| SolidWorks Visualize | High | Moderate | Visualize Standard comes with some SolidWorks licenses | SolidWorks teams, design reviews, clean product shots |
| Fusion Render workspace | Medium to high | Low | Part of Fusion; check your plan for cloud rendering | Quick renders from Fusion models |
| Onshape Render Studio | Medium to high | Low | Professional and Enterprise plans | Onshape teams who want renders without exporting |
| AutoCAD RENDER | Basic to medium | Moderate | Full AutoCAD, not LT | Simple visuals, mostly architecture and layouts |
| KeyShot | High | Low to moderate | Separate license | In-house designers making catalog and hero stills |
| Blender | Very high | Steep | Free | Teams with a 3D generalist on staff |
| Studio | Very high, plus art direction | None for you | Per project quote | Launch sets, listings, ads, when consistency matters |
A few practical notes on each:
SolidWorks has moved rendering to Visualize. PhotoView 360 is gone, and Visualize is the route for photoreal images. The Standard edition covers stills; animation tools sit in Visualize Professional.
Fusion renders in three ways. Autodesk’s own rendering walkthrough for Fusion covers in-canvas, local and cloud rendering, each with its own quality settings. In-canvas is the quick preview; local or cloud is for the final image.
Onshape keeps rendering in the browser. Render Studio builds scenes from your Part Studios and Assemblies, stays linked to the model so you can update it after a design change, and exports JPG or PNG images.
Yes, you can render with AutoCAD. The RENDER command creates a photorealistic or realistically shaded image of a 3D solid or surface model. It works, but AutoCAD is a drafting tool first, and product teams rarely use it for marketing images.
KeyShot is the usual next step for product teams. It opens most CAD formats directly. Its supported file formats list STEP, native SolidWorks, Creo and NX files, with Onshape through a plugin. Many hardware brands already have one designer who is good in it.
Blender is free and has no ceiling, but it is not a CAD tool. It does not open STEP files out of the box, so the model has to be converted to a mesh first. That conversion step is where most people new to Blender lose a day.
That is what our own pipeline looks like at the start of a job: the client’s STEP assembly comes into Blender, and we check every part before materials go on.
If you want to try a render without installing anything, our free Render Station opens a STEP or GLB file in the browser, lets you assign materials and saves PNG renders.
What does a CAD model need before rendering?
A CAD model is ready to render when it is a clean, complete assembly in a neutral format, split by material, with the internal parts you do not need removed. Most delays on render projects come from the file, not the rendering.
Use this checklist before you render it yourself or send it out:
- STEP (.stp/.step) export of the full assembly, or the native file if the renderer reads it. STEP is the safest choice for a studio.
- Parts split by material. Every surface that has a different finish is its own body or face group.
- Internal components removed or flagged, unless the shot is a cutaway or exploded view.
- Real fillets on visible edges. If the production part has a 0.5 mm edge radius, model it.
- Color and finish references. Pantone or RAL codes, physical samples, photos of prototypes, or finish callouts (matte, satin, gloss, texture name).
- Artwork as vector files. Logos, icons and labels as SVG, AI or PDF, with placement drawings.
- A shot list. Angles, backgrounds, aspect ratios and where each image will be used.
- Ownership agreed up front. Owning the final images is not the same as owning the 3D scene and the prepared model. If you want those files, put it in the agreement before work starts.
Mistakes that make renders look like CAD
Renders look like CAD when they keep CAD materials, flat lighting and razor-sharp edges. These are the most common reasons an image gets called “fake” in the first half-second.
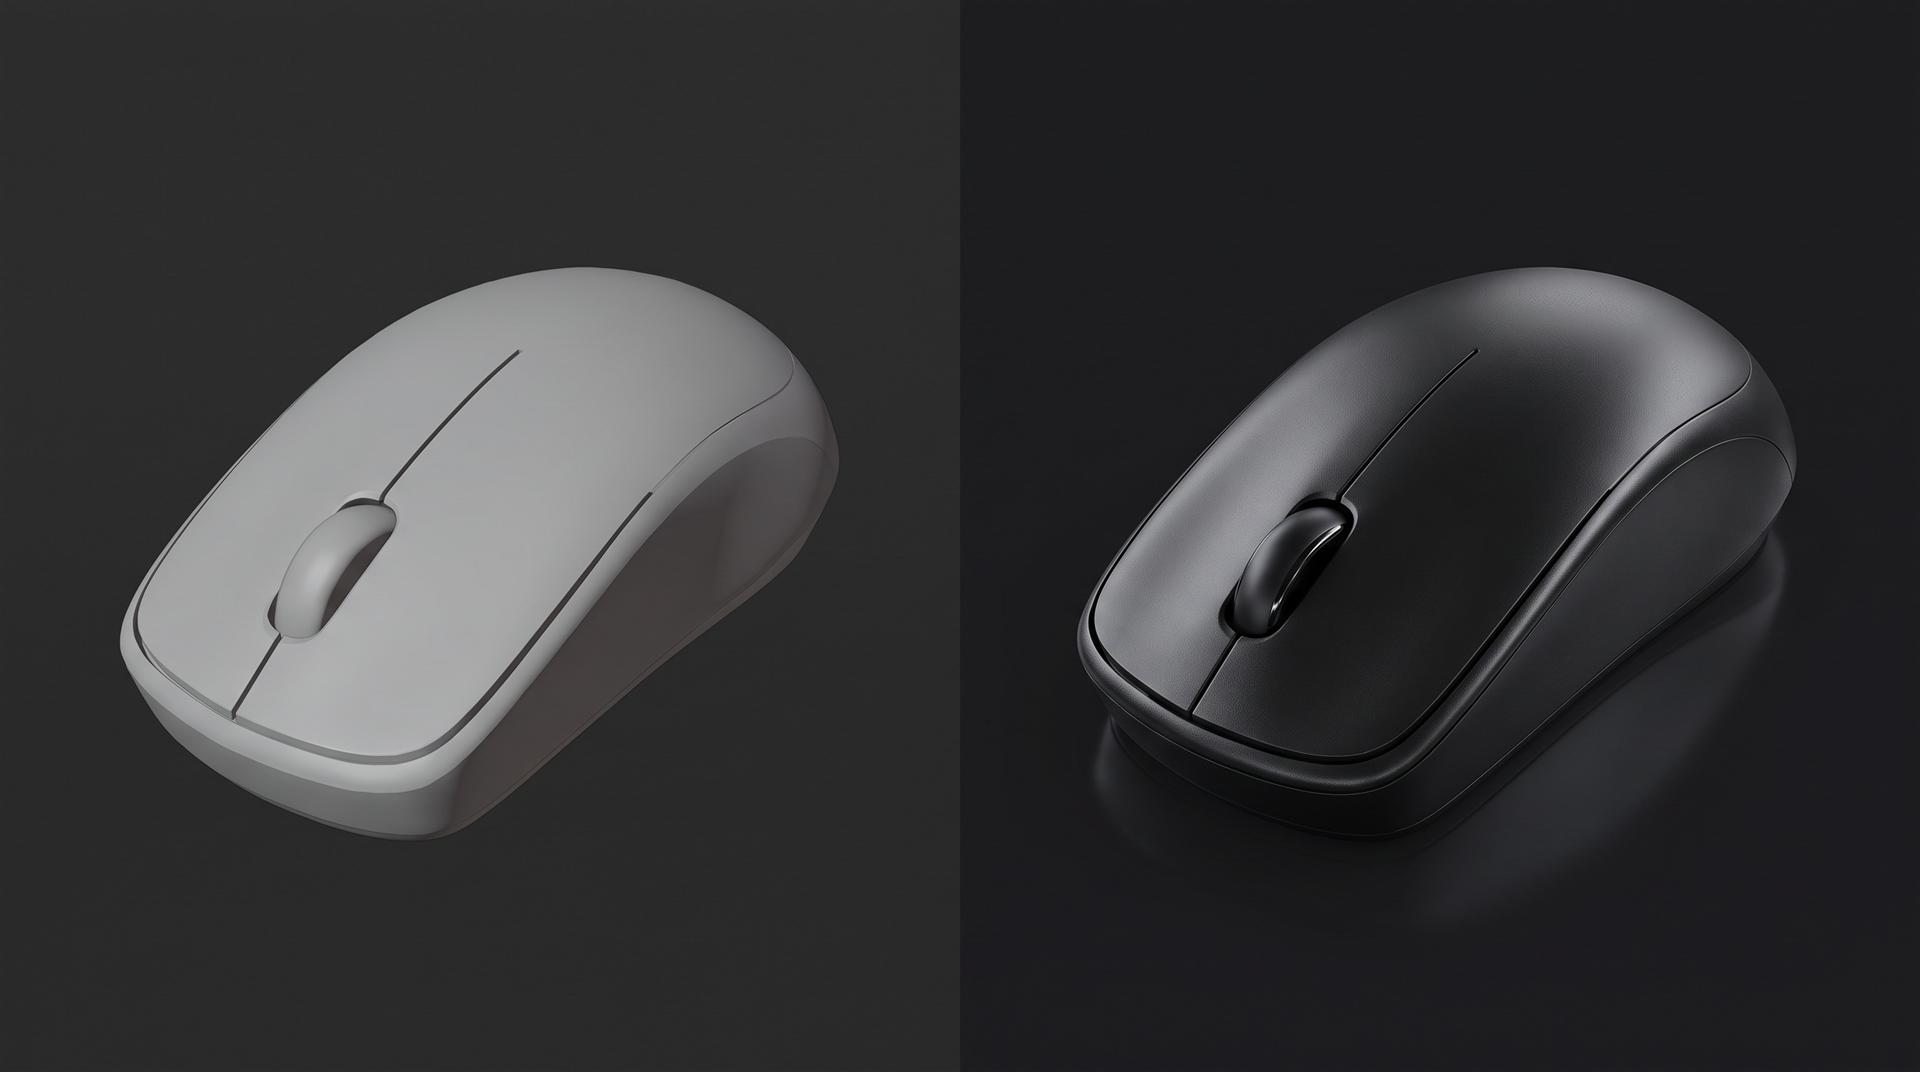
- Keeping CAD appearances. Default plastics and metals from the CAD library are built for quick identification, not realism. Replace them all.
- Flat, even lighting. Light from everywhere means no shape. Products need contrast: one side brighter, one side falling into shadow, a rim light tracing the silhouette.
- No edge rounding. Real parts never have perfectly sharp edges. Without small fillets or bevels, edges cannot catch the thin highlights that make a product look manufactured.
- Perfectly clean surfaces. Real plastic has slight texture, real metal has brushing or micro scratches. Zero imperfection reads as computer-made.
- Floating products. Without a contact shadow, the product hovers. Ground it.
- Wrong scale cues. Huge depth of field blur on a small product, or a wide lens on a large one, makes the size feel off.
- Missing or blurry graphics. A product without its logo and labels looks like a prototype. Use the vector artwork, not a screenshot.
Fixing these is most of the gap between a CAD screenshot and the 3D product images brands put on a listing or a launch page.
When should you hand the CAD file to a studio?
Hand the CAD to a studio when you need a consistent set of marketing images on a fixed date and nobody in house has both the rendering skill and the free time. If you have a capable KeyShot or Blender person with room in their week, you probably do not need us.
Reasons to keep it in house:
- You need a few images for a design review, a pitch or internal sign-off.
- Your designer already makes good stills and has time for this.
- The product changes weekly, and a linked render in Onshape or Visualize keeps up with it.
Reasons to send it out:
- A launch set. Ten or twenty images in one consistent style, plus square and vertical versions for listings and social.
- Lifestyle scenes. A product in a kitchen, on a desk, on a trail. Building believable 3D environments is a separate skill from rendering a product on white.
- Tight deadlines. A studio renders on its own machines, not on the workstation your engineer needs for tooling changes.
- You will need video later. If an animation is coming, the same prepared model and materials can be reused, so doing stills and video with one team saves money.
If there is no CAD file at all, for example an older product or a supplier part, a studio can build the model from photos and drawings. That is a 3D modeling job first and a render job second.
How much does CAD rendering cost?
If you do it yourself, the cost is the software plus your designer’s time. If a studio does it, expect a per-project price that depends on the number of images, the background and whether a usable CAD file exists.
At Quince, a set of up to 10 still images from your CAD file on a plain or transparent background costs $550 ($200 to prepare your model, $250 for the images, $100 for the background). The same set with a complex 3D environment is $950. Without a CAD file, the model costs $400 to $2,000 depending on how technical the product is. A set of up to 10 renders from your CAD is typically delivered within a week.
For market-wide price ranges and what drives them, see our full guide to 3D product rendering cost.
FAQ
What is CAD rendering?
CAD rendering is the process of turning a 3D CAD model into a photorealistic image by adding materials, lighting and a camera, then letting a renderer simulate how light behaves. It is used for marketing images, product listings, presentations and design reviews.
Can you render with AutoCAD?
Yes. Full AutoCAD has a RENDER command that creates a photorealistic or realistically shaded image of 3D solids and surfaces. AutoCAD LT does not include it. For product marketing images, most teams use a dedicated renderer instead.
How do I render a SolidWorks model?
Use SolidWorks Visualize, which is included with some SolidWorks licenses. Open the model in Visualize, assign materials, choose an environment and camera, then render. KeyShot also opens native SolidWorks files directly.
What file format do I send a studio?
Send a STEP export of the full assembly, plus the native file if you have it. Add color and finish references, logo artwork as vector files and a shot list. A studio can work from OBJ or FBX, but STEP keeps the accurate geometry.
How much does CAD rendering cost?
Doing it in house costs the software license and your designer’s time. A studio quotes per project. With Quince, up to 10 images from your CAD on a plain background is $550, or $950 with a 3D environment.
Not sure which route fits?
Send us the CAD file and tell us where the images will be used. We will tell you whether your own tools can get you there or whether it makes sense to have us render it. Get in touch.
Related Articles
Render Station: Free Online 3D Rendering for Product Shots
SolidWorks Animation vs a Marketing Product Video: What You Can Make in SolidWorks and When to Hand the CAD to a Studio
What Software Can You Use to Create 3D Product Images for Amazon Listings?
Product Hero Shots: What They Are, Why Brands Now Render Them in CGI, and What They Cost
How Much Does 3D Product Rendering Cost in 2026? Per-Image Prices, What Drives Them and How to Pay Less
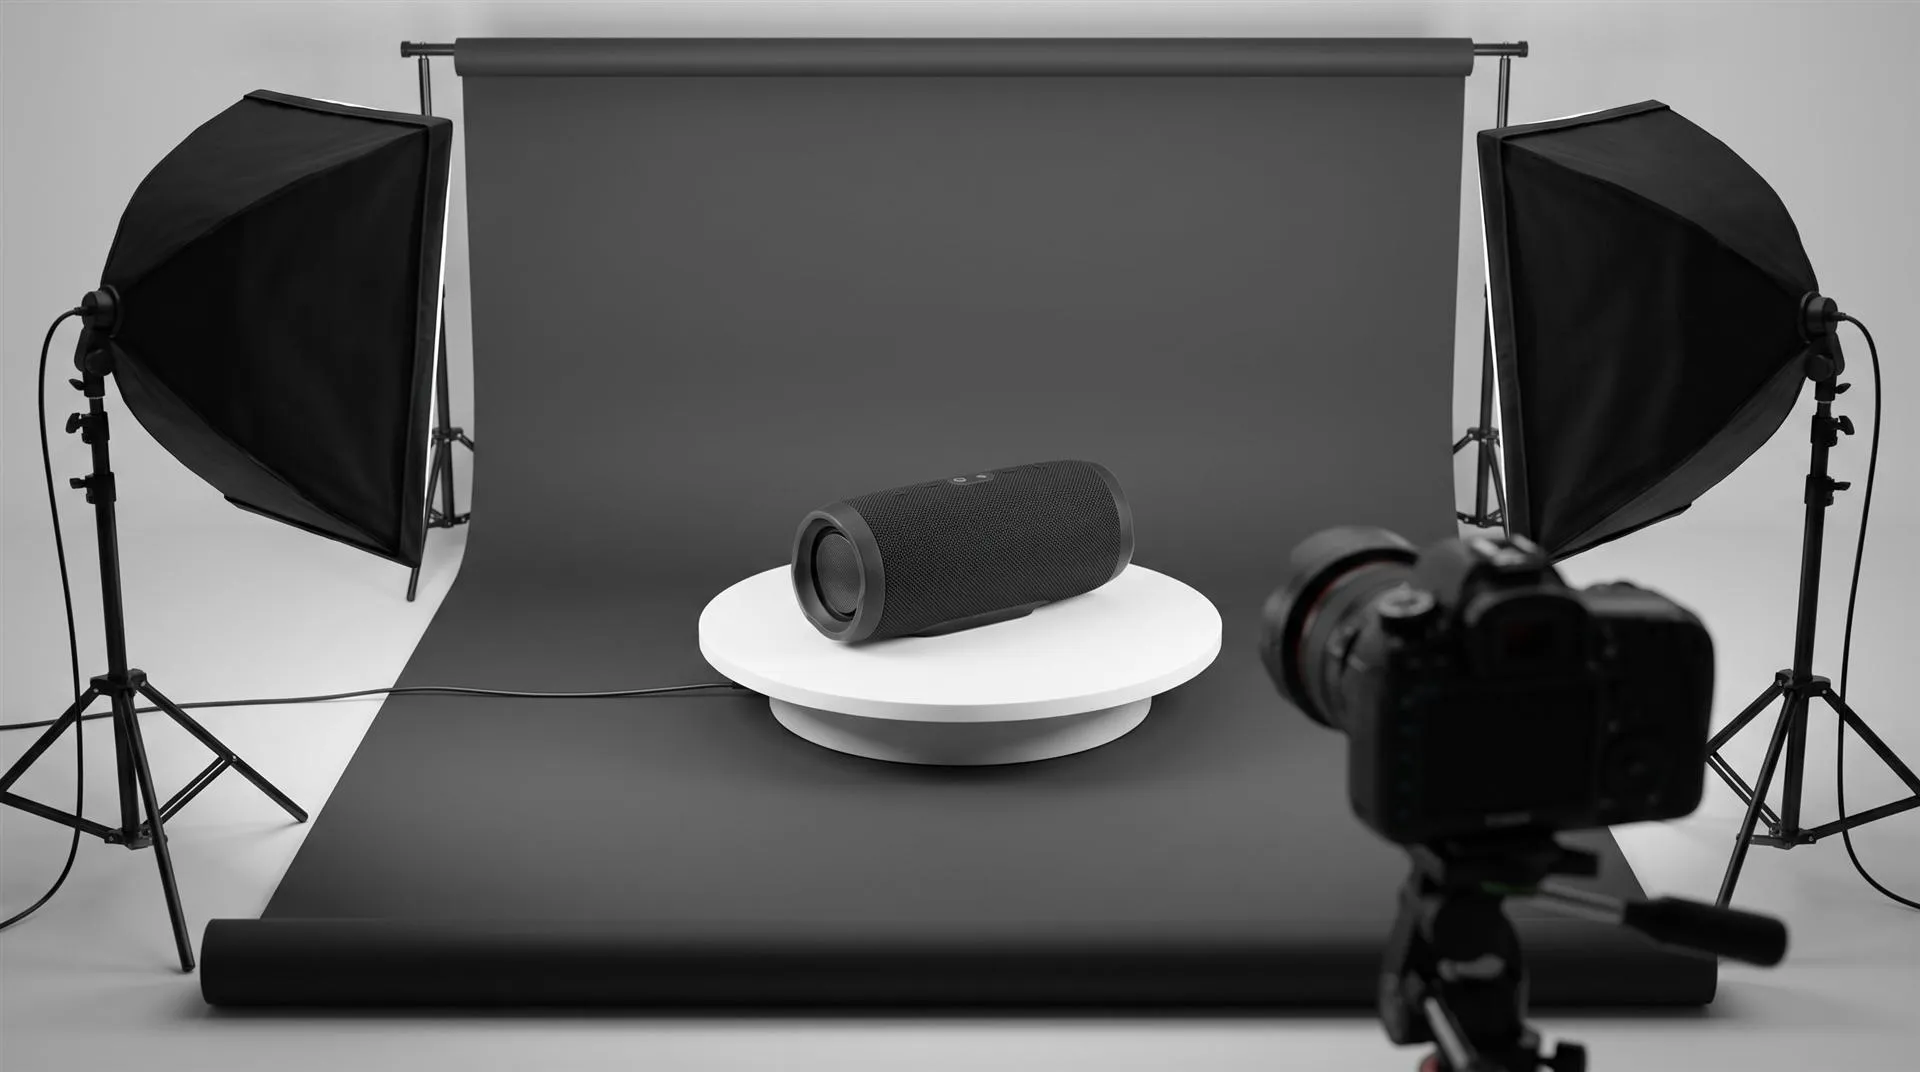
360 Product Spins: Photographed on a Turntable vs Rendered From CAD (Cost, Frames, Where to Use Them)


 Rachel A