
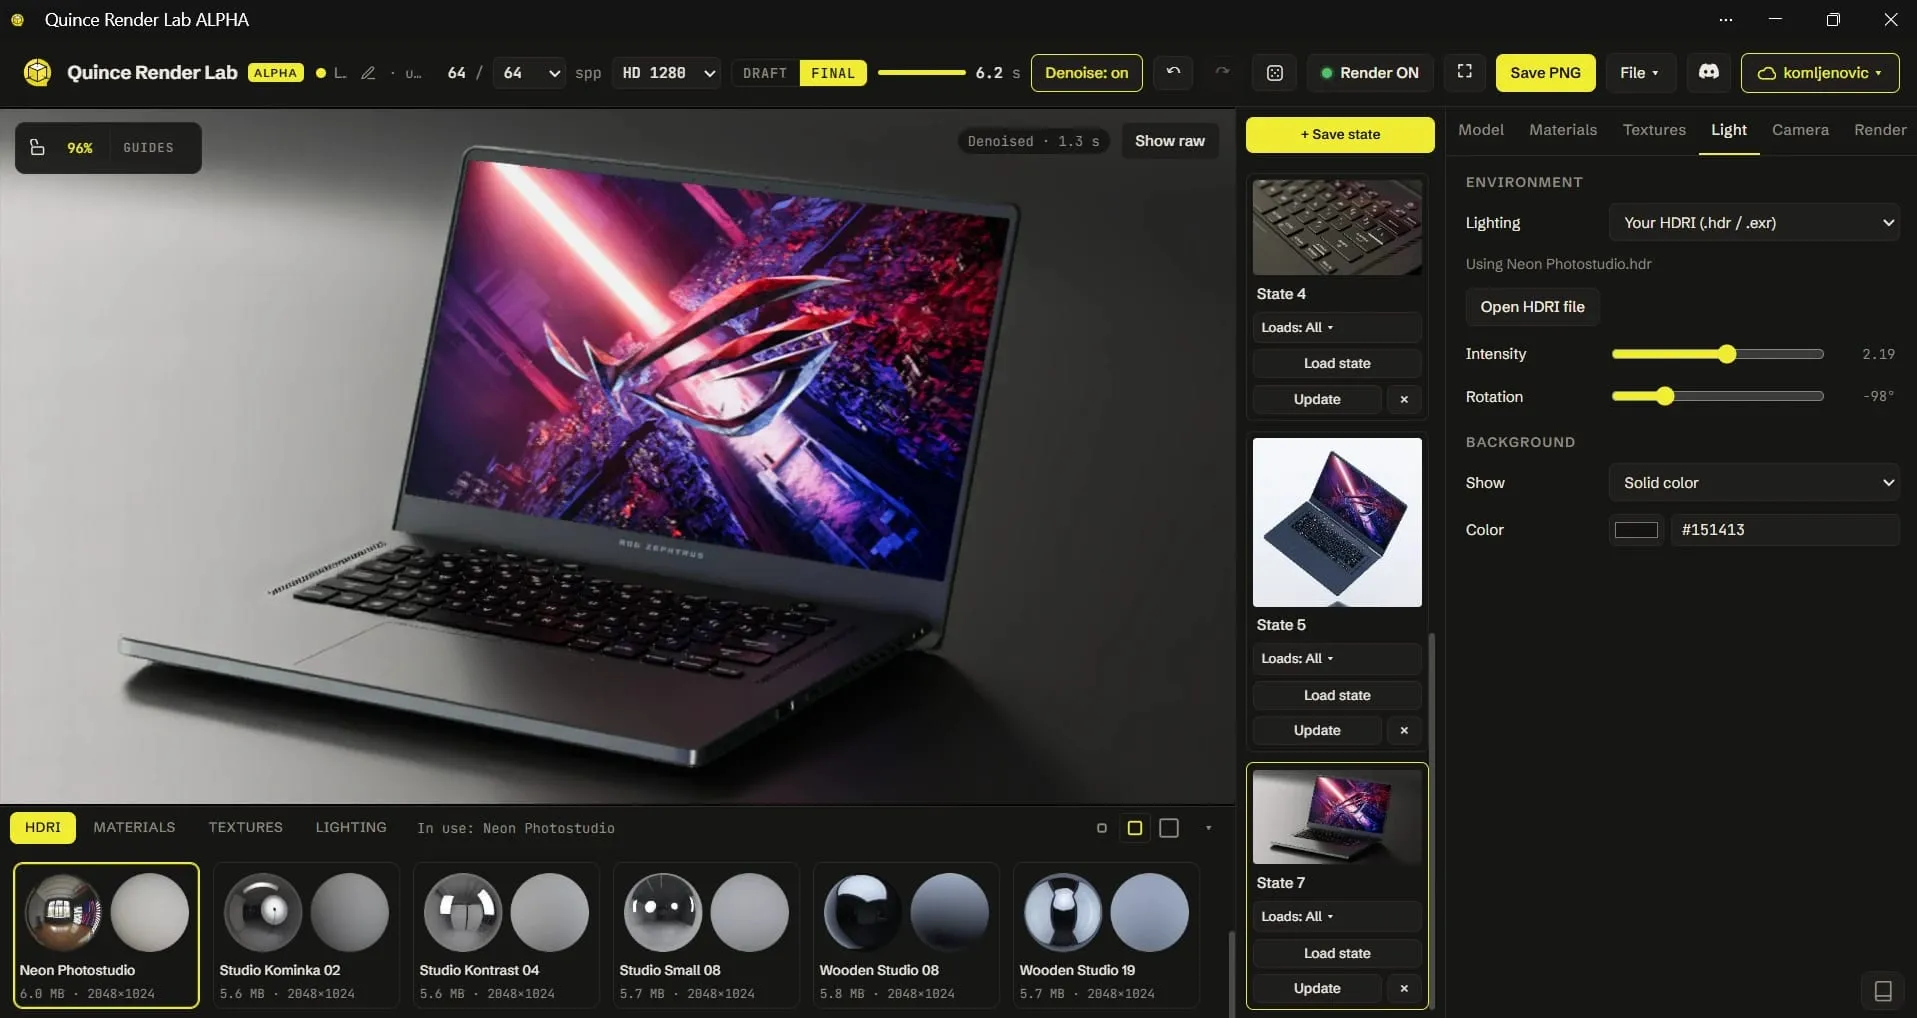
Quince Render Lab: Free Online 3D Rendering for Product Shots
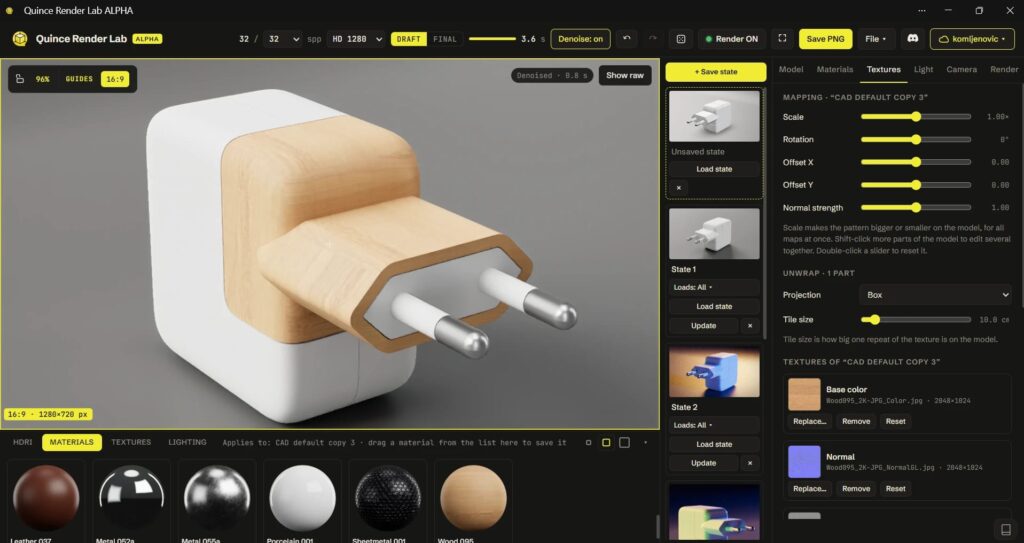
Quince Render Lab is a free web app for making photoreal product renders in your browser. You open a CAD or GLB file, give each part a material, light it like a photo studio, and save a PNG. It path traces on your own graphics card, so nothing is installed and your files stay on your computer.
We build 3D product animation and renders for a living. We made the lab for the many times a team has a good CAD model and nobody with the software, the license or the time to turn it into a picture. It is in public alpha, which means it works, it changes often, and we want to hear what breaks.
What is Quince Render Lab?
It is a path tracer that runs in a browser tab. Path tracing follows light as it bounces around the scene, the way it does in a real studio, so reflections, soft shadows, glass and liquids come out right instead of looking like a game.
Renderers that work this way usually need a desktop install. The lab is one of the first product renderers that path traces directly in the browser, on the graphics card already in your computer. It is built on the open source three-gpu-pathtracer library, and it cleans the last grain from the finished image with Intel’s Open Image Denoise, the denoiser used in many production renderers.
What you get in the browser:
-
Files: STEP, STP and IGES from CAD, plus GLB, glTF, OBJ, FBX and STL.
-
Materials: click any part and set its color, metalness, roughness, clearcoat, sheen or glass. One-click presets cover chrome, brushed aluminum, gold, gloss and matte plastic, rubber, ceramic, clear and frosted glass.
-
Light: a built-in softbox studio (key, fill, rim strips, overhead), studio HDRIs from Poly Haven, or your own HDR file.
-
Camera: focal length in millimeters, depth of field, and crop guides for 1:1, 4:5 and 9:16, so you see what a square or vertical crop will cut before you render.
-
Output: PNG up to 4K, with a transparent background if you need one, plus optional bloom, vignette and a watermark.
Who is it for?
Anyone who has a 3D model of a product and needs a good picture of it without buying and learning a desktop renderer. In practice that is three kinds of people.
Marketing and product teams with CAD but no renderer. The engineers have the STEP file. Nobody in marketing has KeyShot or knows Blender. The lab gets them a clean studio shot for a deck, a landing page or an internal review the same afternoon.
Designers who need to share a look, not a license. A designer can set up the materials and the light, save the project, and send teammates a link. They open it in a browser and see exactly the same scene.
Teams that need a GLB. The lab is also a converter. It turns CAD into GLB with the materials already assigned, which is the format web viewers, AR and product configurators use. More on that below.
How do you turn a CAD file into a render?
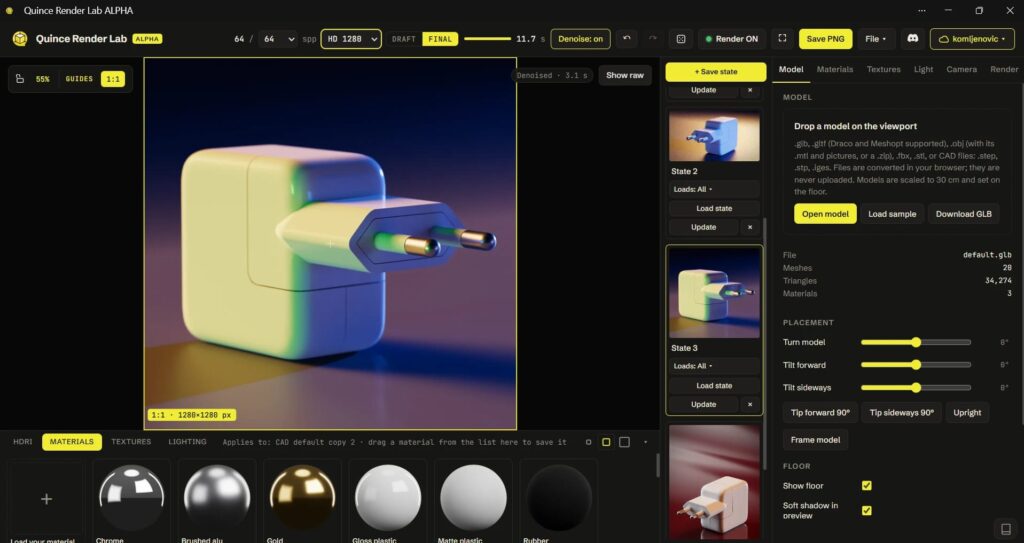
Open the file, give it materials and light, then switch to Final and save. With a file at hand it takes a few minutes.
-
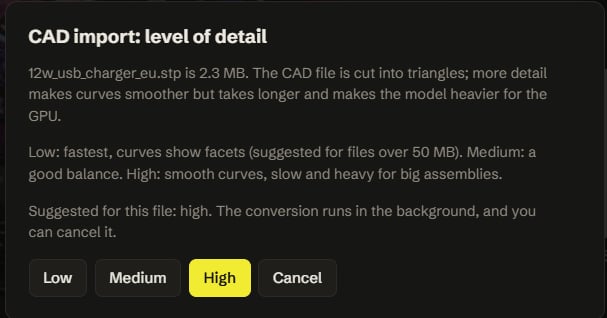
Open the model. Drag the STEP file onto the viewport and choose the level of detail. High gives smooth curves, Low is faster and suggested for files over 50 MB. The CAD is converted to triangles in your browser, and the product is scaled to tabletop size and set on a studio floor.
-
Stand it up. CAD is often drawn seen from above. If the product lies on its side, use Tip forward 90° in the Model tab.
-
Assign materials. Click a part, pick a preset, adjust the roughness. If two parts share a material and should not, split them with one click.
-
Light it. Start with the studio softboxes, then turn the light slowly and watch the highlights slide along the product until they draw its shape.
-
Frame the shot. Set the focal length and the frame shape. Turn on the crop guides if the same picture will also be used square or vertical.
-
Render in Final. Draft answers quickly while you set things up. Final renders at full size, with more samples, and runs the denoiser at the end.
-
Save PNG. You can embed the render settings in the file, so the same look can be loaded back onto the model later.
How do you convert CAD to GLB with materials?
Open the STEP file, assign the materials, and press Download GLB. The lab writes a GLB at the product’s original size, with your materials on the right parts.
That matters because the usual route from CAD to GLB is awkward. Most CAD exports carry geometry and little else, so somebody has to open the file in a 3D tool, separate the parts and set up every material before the model is useful on a website. In the lab, the conversion and the material work happen in one place, and the STEP import keeps the parts apart so each one can get its own finish. The conversion runs on OpenCascade, the open source CAD kernel, compiled to run in the browser.
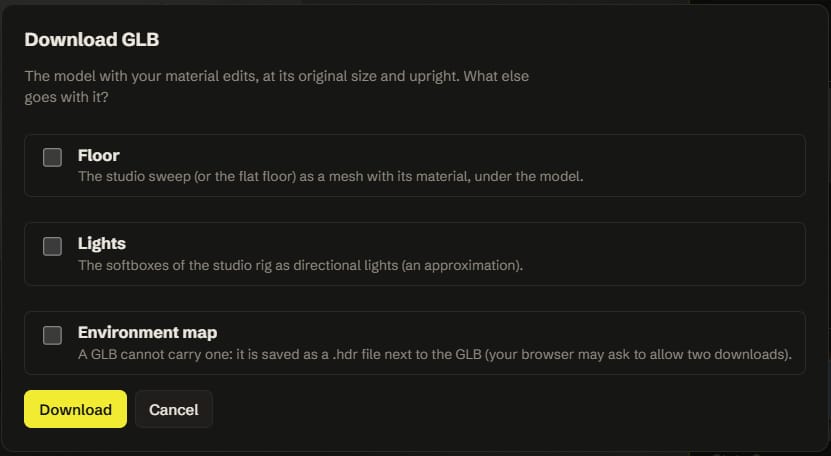
glTF, and GLB as its single-file form, is the standard for 3D on the web, and it is what most web viewers, AR tools and configurators expect. Before the download you can also add:
-
the floor as a mesh under the product,
-
the studio lights as directional lights aimed at the model,
-
the environment as an HDR file next to the GLB, because a GLB cannot carry one.
Two honest notes. CAD models often have no texture coordinates, so a label or a wood grain will look smeared until you give the parts a projection (box, planar or cylindrical) in the Textures tab. And a GLB carries the triangles of the level of detail you chose at import. High looks best in a render but makes a heavy file, so for a lighter GLB import at Medium or Low. For a real-time 3D product configurator or AR on a phone, that model usually still needs to be optimized.
Are my files uploaded?
No. Models, textures and HDRIs are opened and rendered on your computer. Nothing leaves it when you open, edit, render or export a file. A file goes to our servers only when you choose Save to Cloud, or share a project or a render.
For unreleased products this is the point. You can render a client’s CAD without sending it anywhere. When you embed the render settings in a PNG, the model’s file name is left out unless you tick the box to include it. The details are in the privacy policy.
What do you get with a free account?
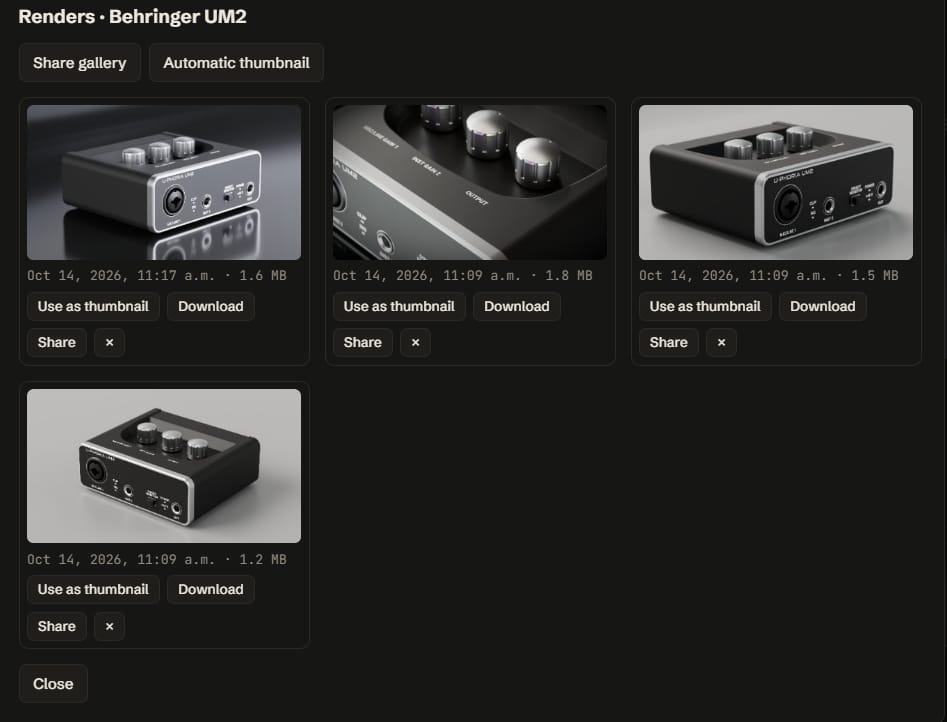
Cloud projects, a render gallery for each project, and share links, within a free storage allowance. Everything else works without an account.
| Free account | Allowance |
|---|---|
| Cloud storage | 150 MB (models, textures, thumbnails and saved renders together) |
| Cloud projects | 5 |
| Saved renders per project | 20 |
| Largest single file | 50 MB |
Sign in with Google or with a link sent to your email. Three things can be shared:
-
A project, with teammates by email address, as can edit or can view. Only one person edits at a time, and the others see it read-only until they are done.
-
A gallery, one link to every saved render of a project.
-
A single render, as a link to one picture.
Gallery and render links open without an account and give access to the pictures only, never to the model. You can switch a link off at any time. Without an account, save the whole scene as a .qproj file and send that instead.
How does it compare to KeyShot, Blender or a studio?
The lab is the quickest route from a CAD file to a good still. It is not a replacement for a desktop renderer or for animation.
| Quince Render Lab | KeyShot | Blender | A studio | |
|---|---|---|---|---|
| Cost | Free | Paid license | Free | Per project |
| Install | None, runs in the browser | Desktop app | Desktop app | None |
| CAD import | STEP and IGES built in | Built in | Needs conversion or an add-on | They handle it |
| Learning curve | Minutes | Days | Weeks | None |
| Animation | No | Yes | Yes | Yes |
| Best for | Stills, CAD to GLB, quick reviews | In-house rendering at volume | Full control, any kind of shot | Launch films and campaign work |
If you already have KeyShot and someone who knows it, keep using it. The lab is for everyone else on the team, and for the moments when the KeyShot seat is busy.
What does it not do?
It renders still pictures, on your own hardware, and that sets its limits.
-
No video. The lab does not render animation. If a GLB carries an animation, you can pick a frame and render that one.
-
About 13 megapixels at most. 4K fits. 5K and 8K are lowered to fit.
-
It needs a decent graphics card. A recent laptop works, a dedicated GPU is faster. The first render of a visit compiles the path tracer for your card, which takes from a few seconds to a minute.
-
A phone is a viewer only. On a phone you see your projects and renders, not the 3D studio.
-
It is an alpha. Keep a
.qprojfile of work you care about.
When should you hire a studio instead?
When the product has to move, or when the picture is the campaign. A launch film, an exploded view from CAD, a vertical cut for social that needs the camera reframed rather than cropped, a full catalog that has to match across dozens of products, or a product with no CAD that has to be modeled first. That is our work, and you can see what it costs on the pricing page. If there is no usable model at all, start with 3D modeling.
For a clean still of a product you already have in CAD, try the lab first. If it does the job, you do not need us.
Before you open your file
-
Export STEP from SolidWorks, Fusion, Creo or similar, with the parts kept separate.
-
Know the real finishes: which parts are metal, which are gloss or matte plastic, which are glass.
-
Decide the formats you need (16:9, 1:1, 4:5, 9:16) before you frame the shot.
-
Use Chrome or Edge on a computer with a dedicated graphics card if you have one.
-
On a laptop with two graphics cards, make sure the browser runs on the faster one.
Common mistakes
Setting up the shot in Final. Final is slow on purpose. Stay in Draft until the angle, light and materials are right.
Too few glass bounces. Bottles and glassware that look dark or speckled need more glass bounces, 8 to 12 for most glassware.
Judging the grain too early. The picture starts noisy and cleans up with every sample. Wait for the denoiser before deciding.
Sending one merged part. If the CAD is exported as a single body, every part shares one material. Export the assembly.
Expecting a crop to be a new format. A crop guide shows what a square or vertical crop will cut. If the product does not fit, move the camera, do not just crop.
Renders made in the lab
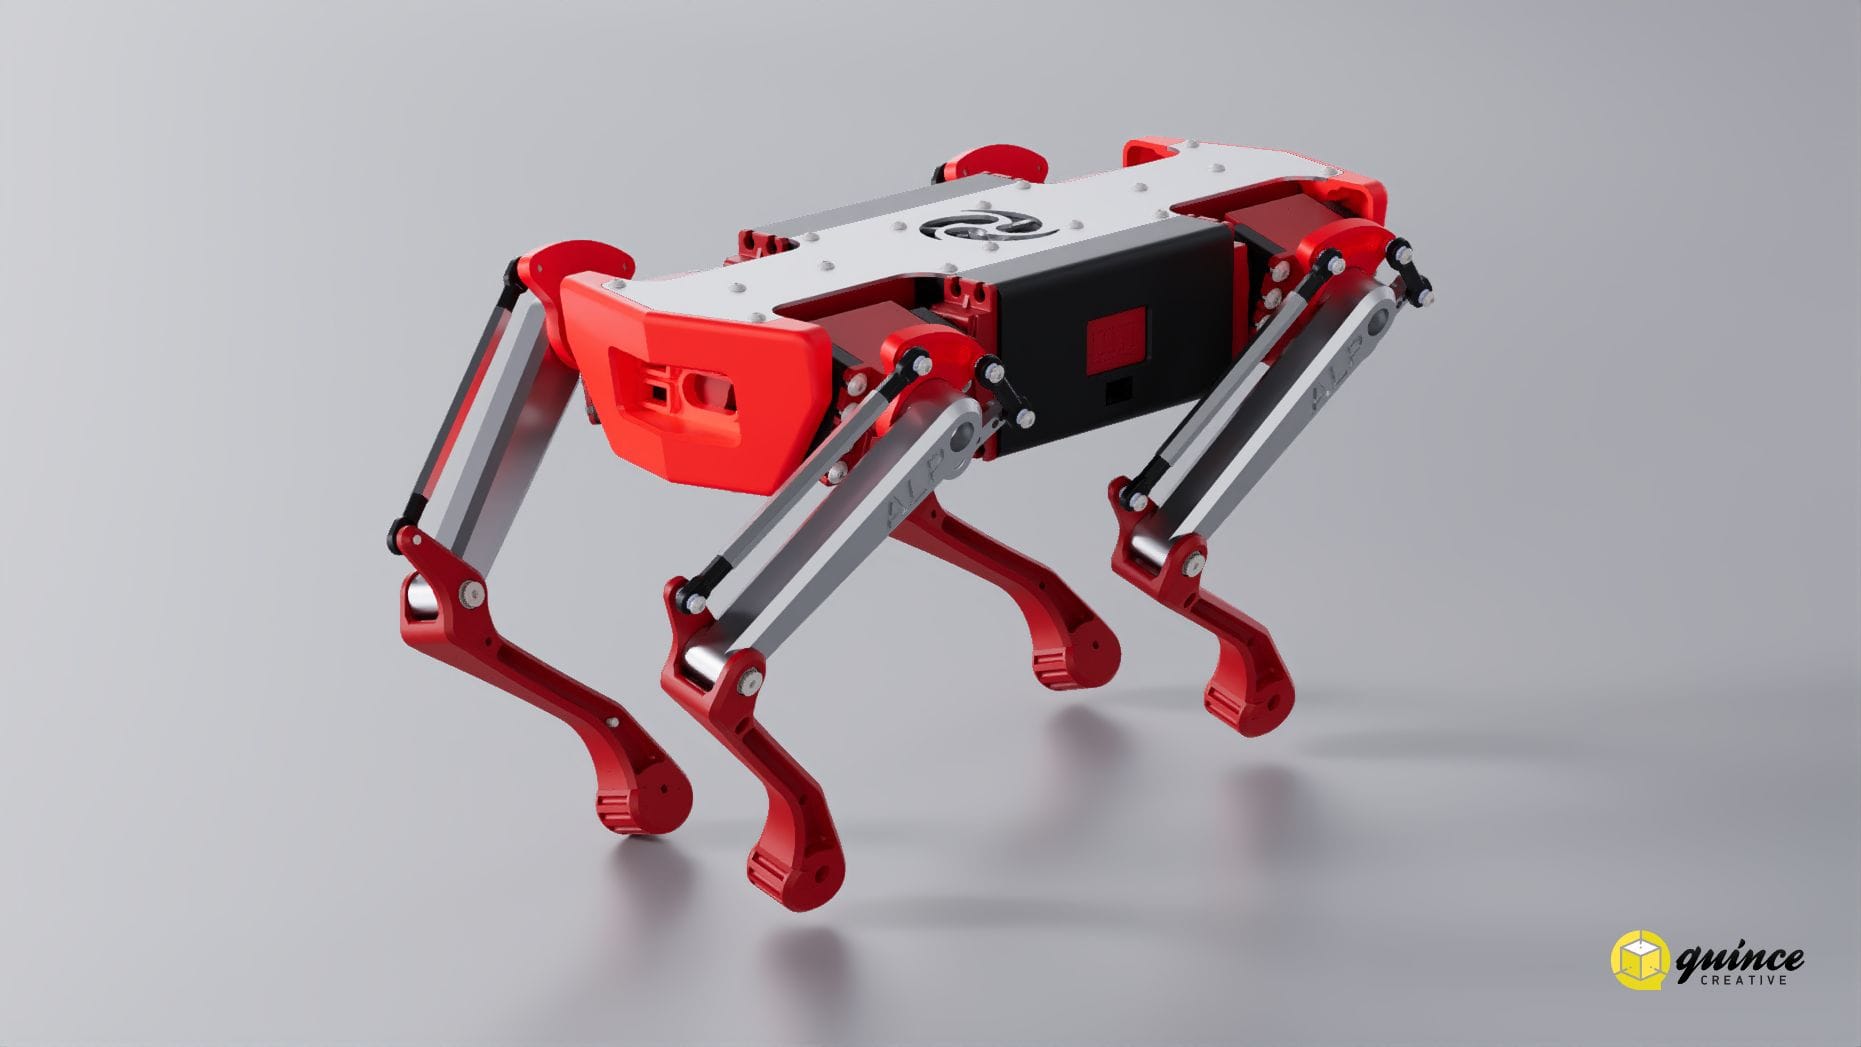
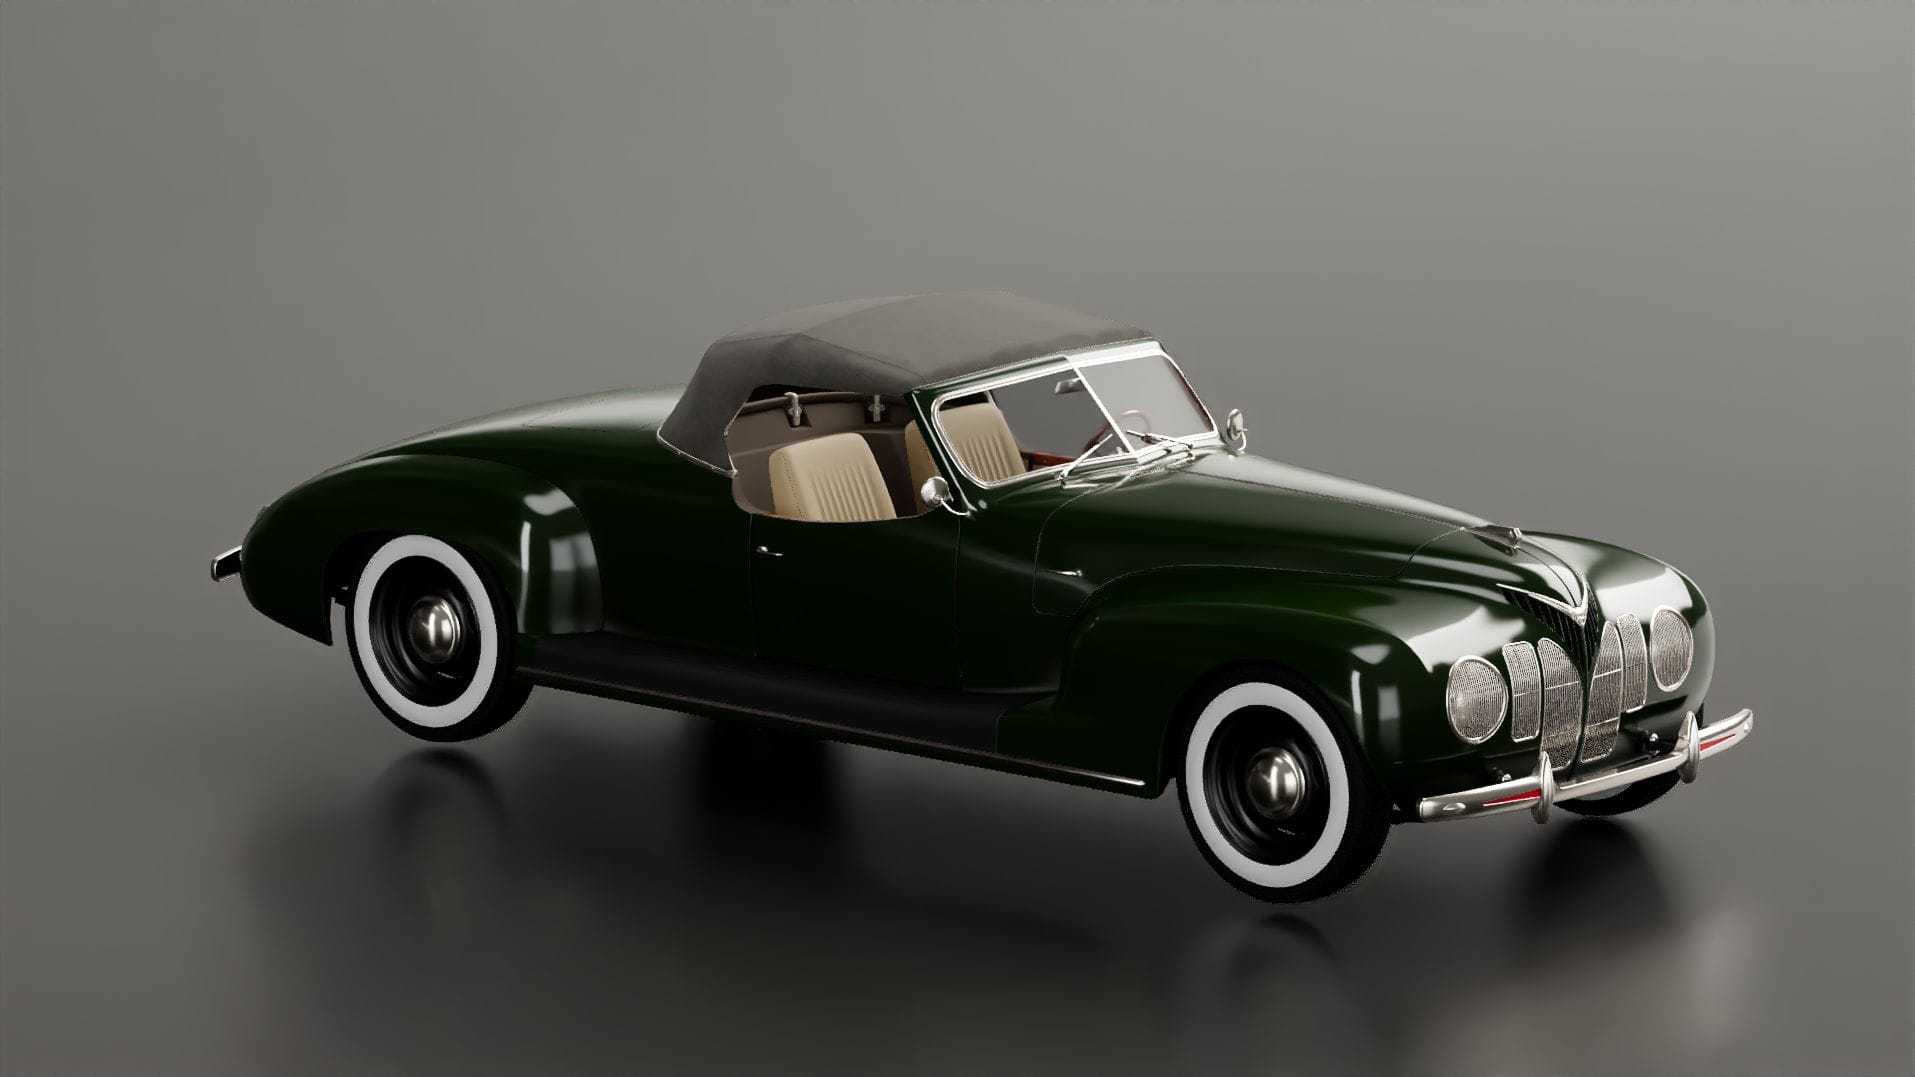
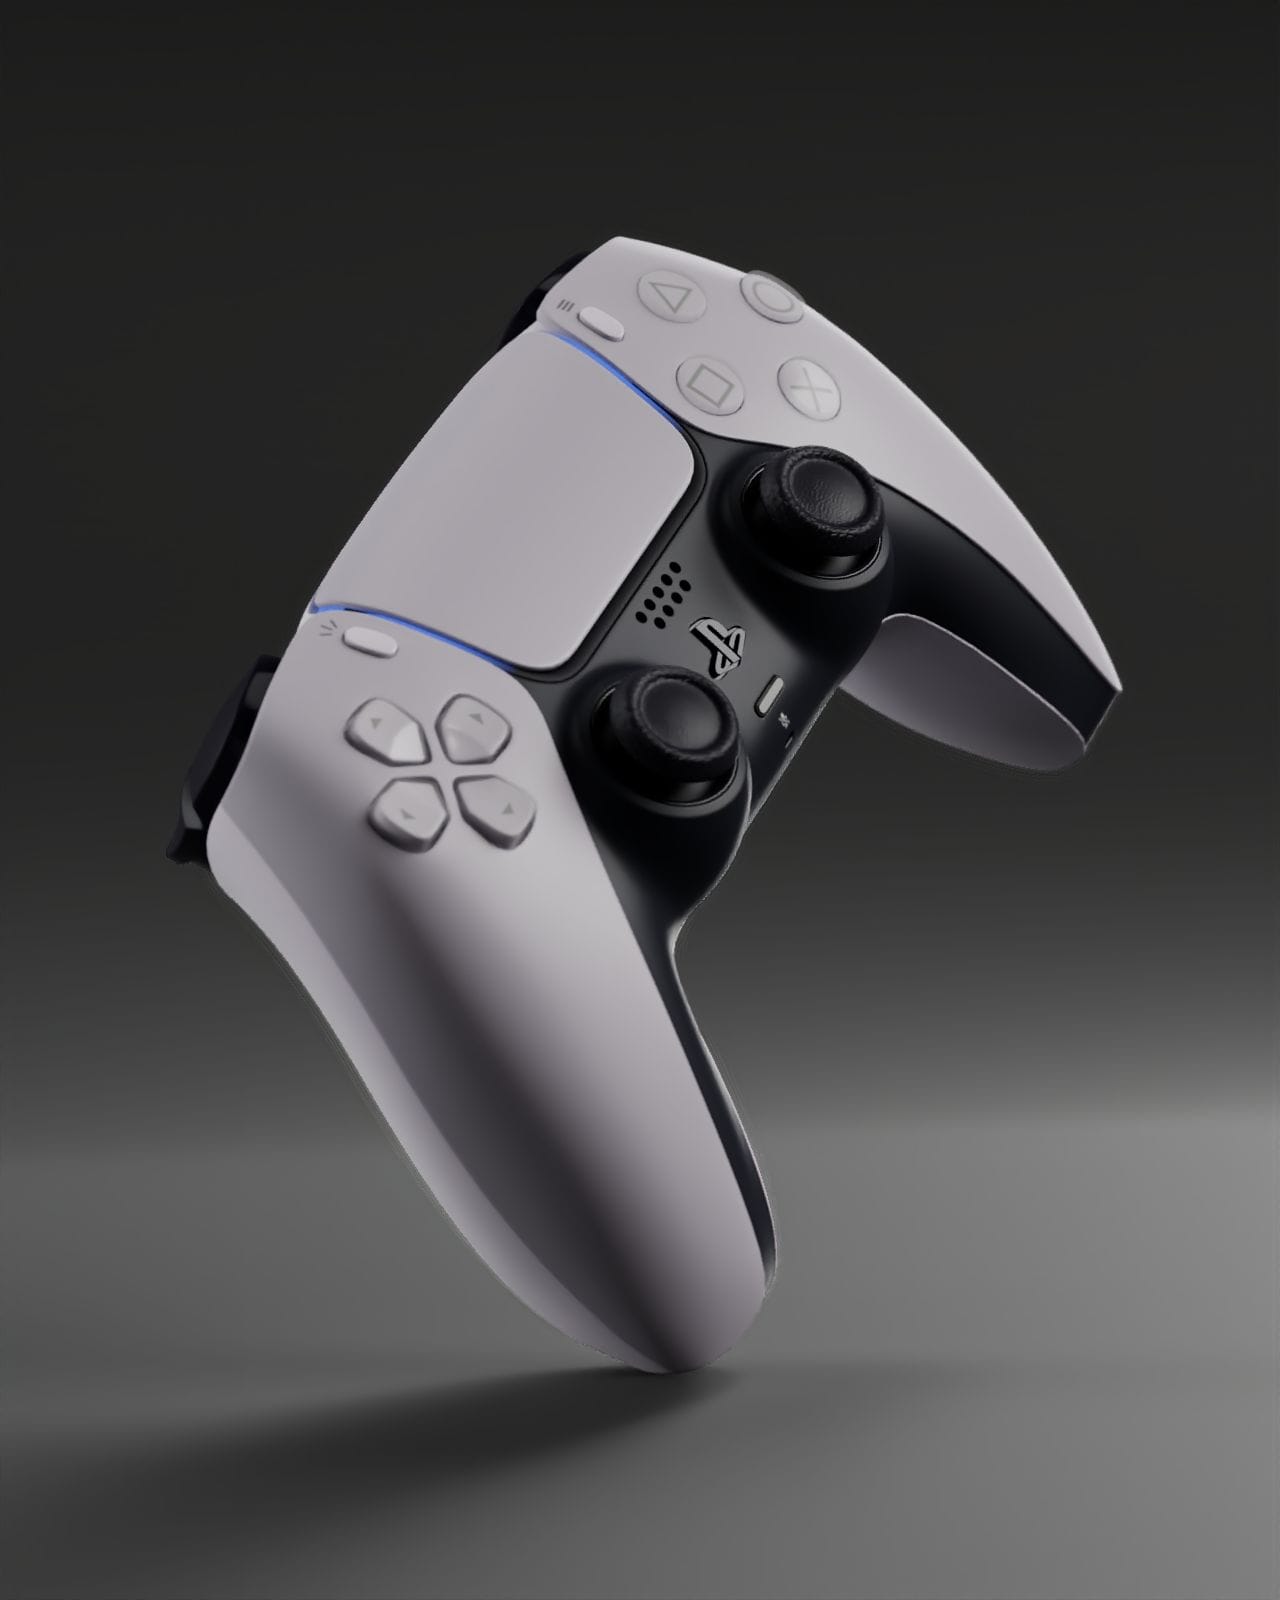
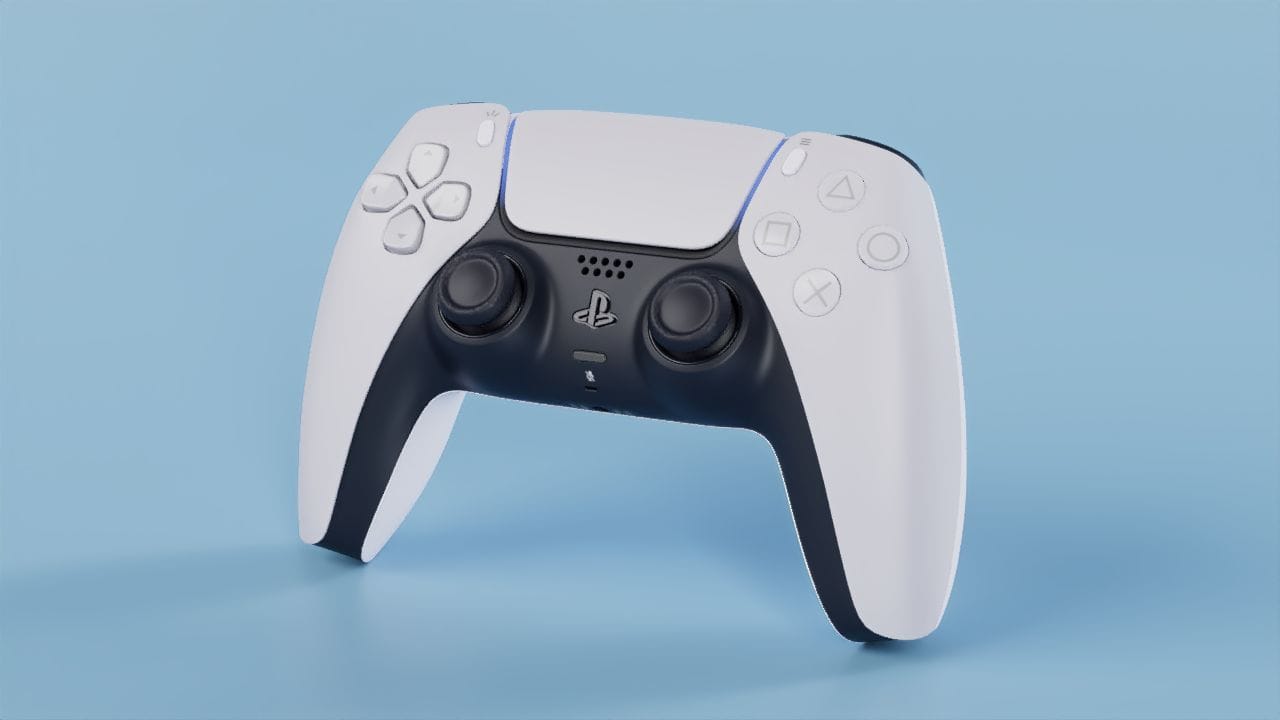
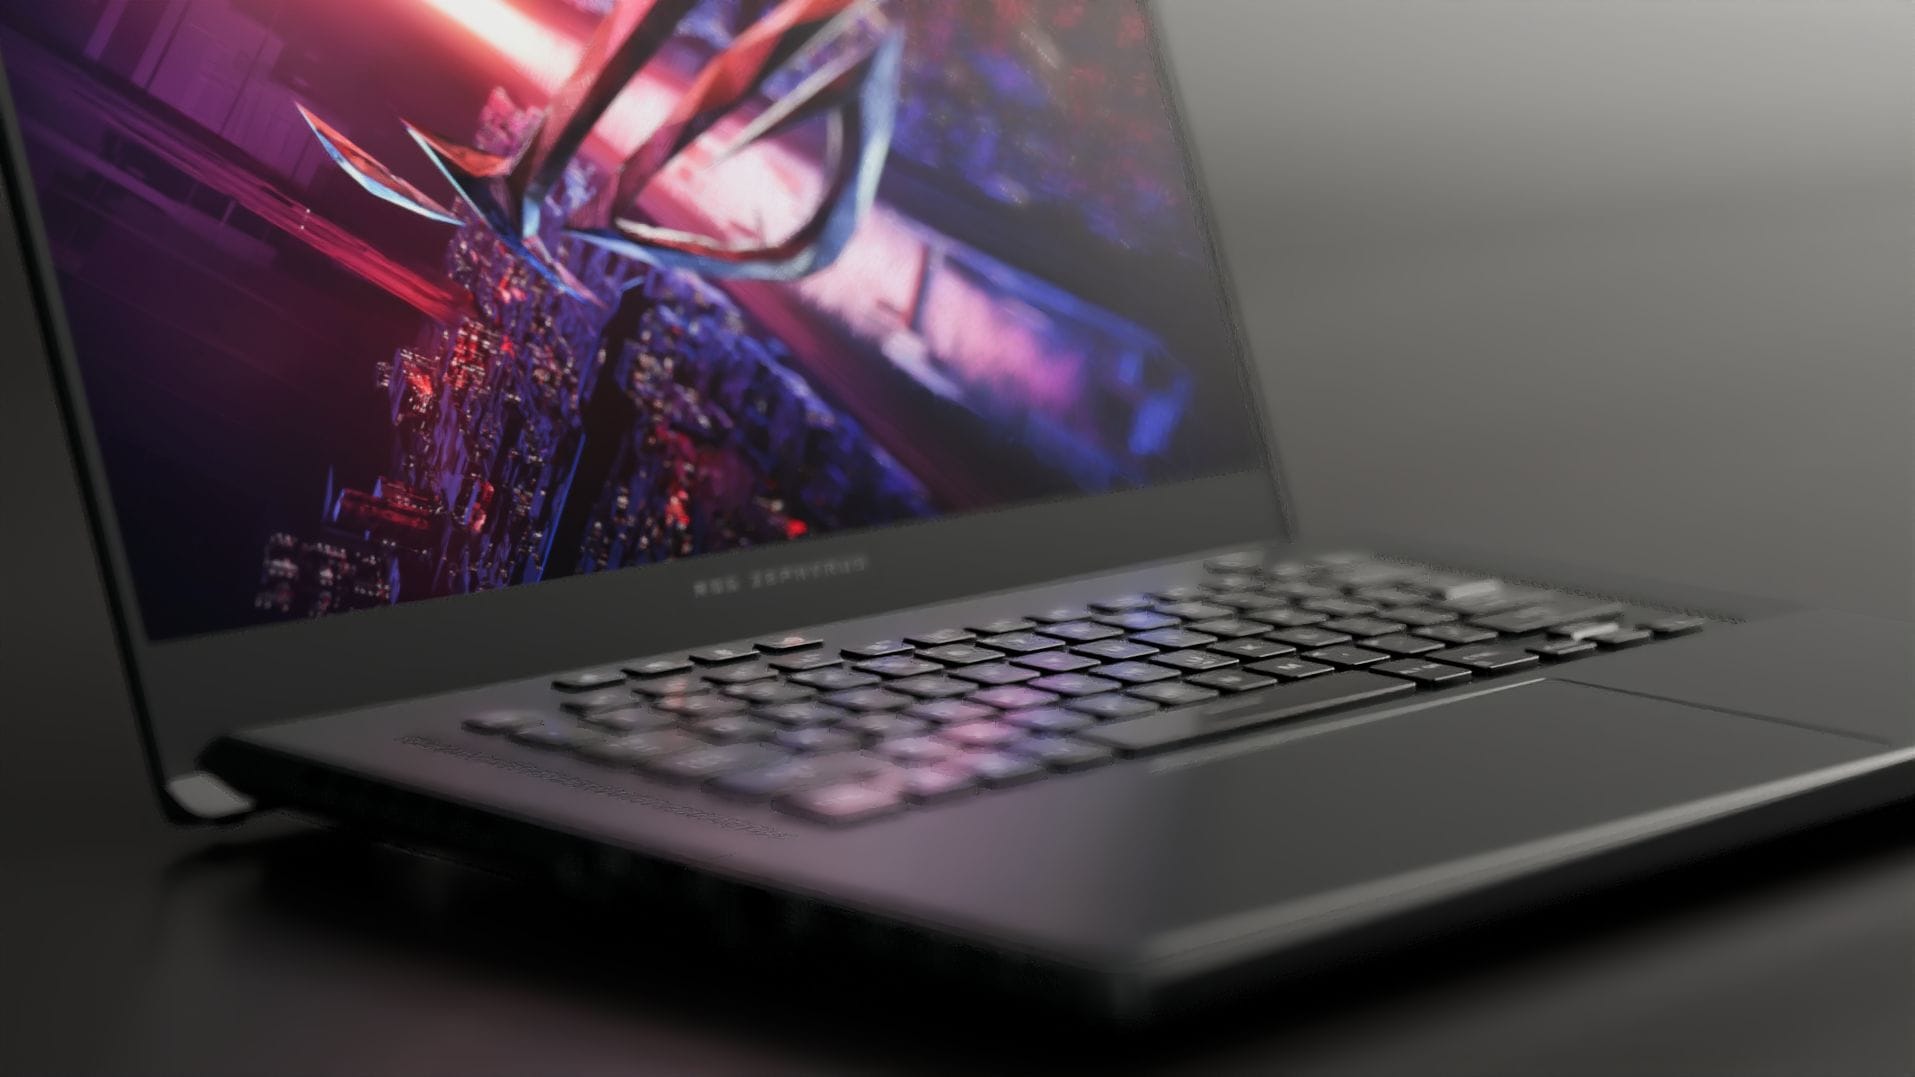
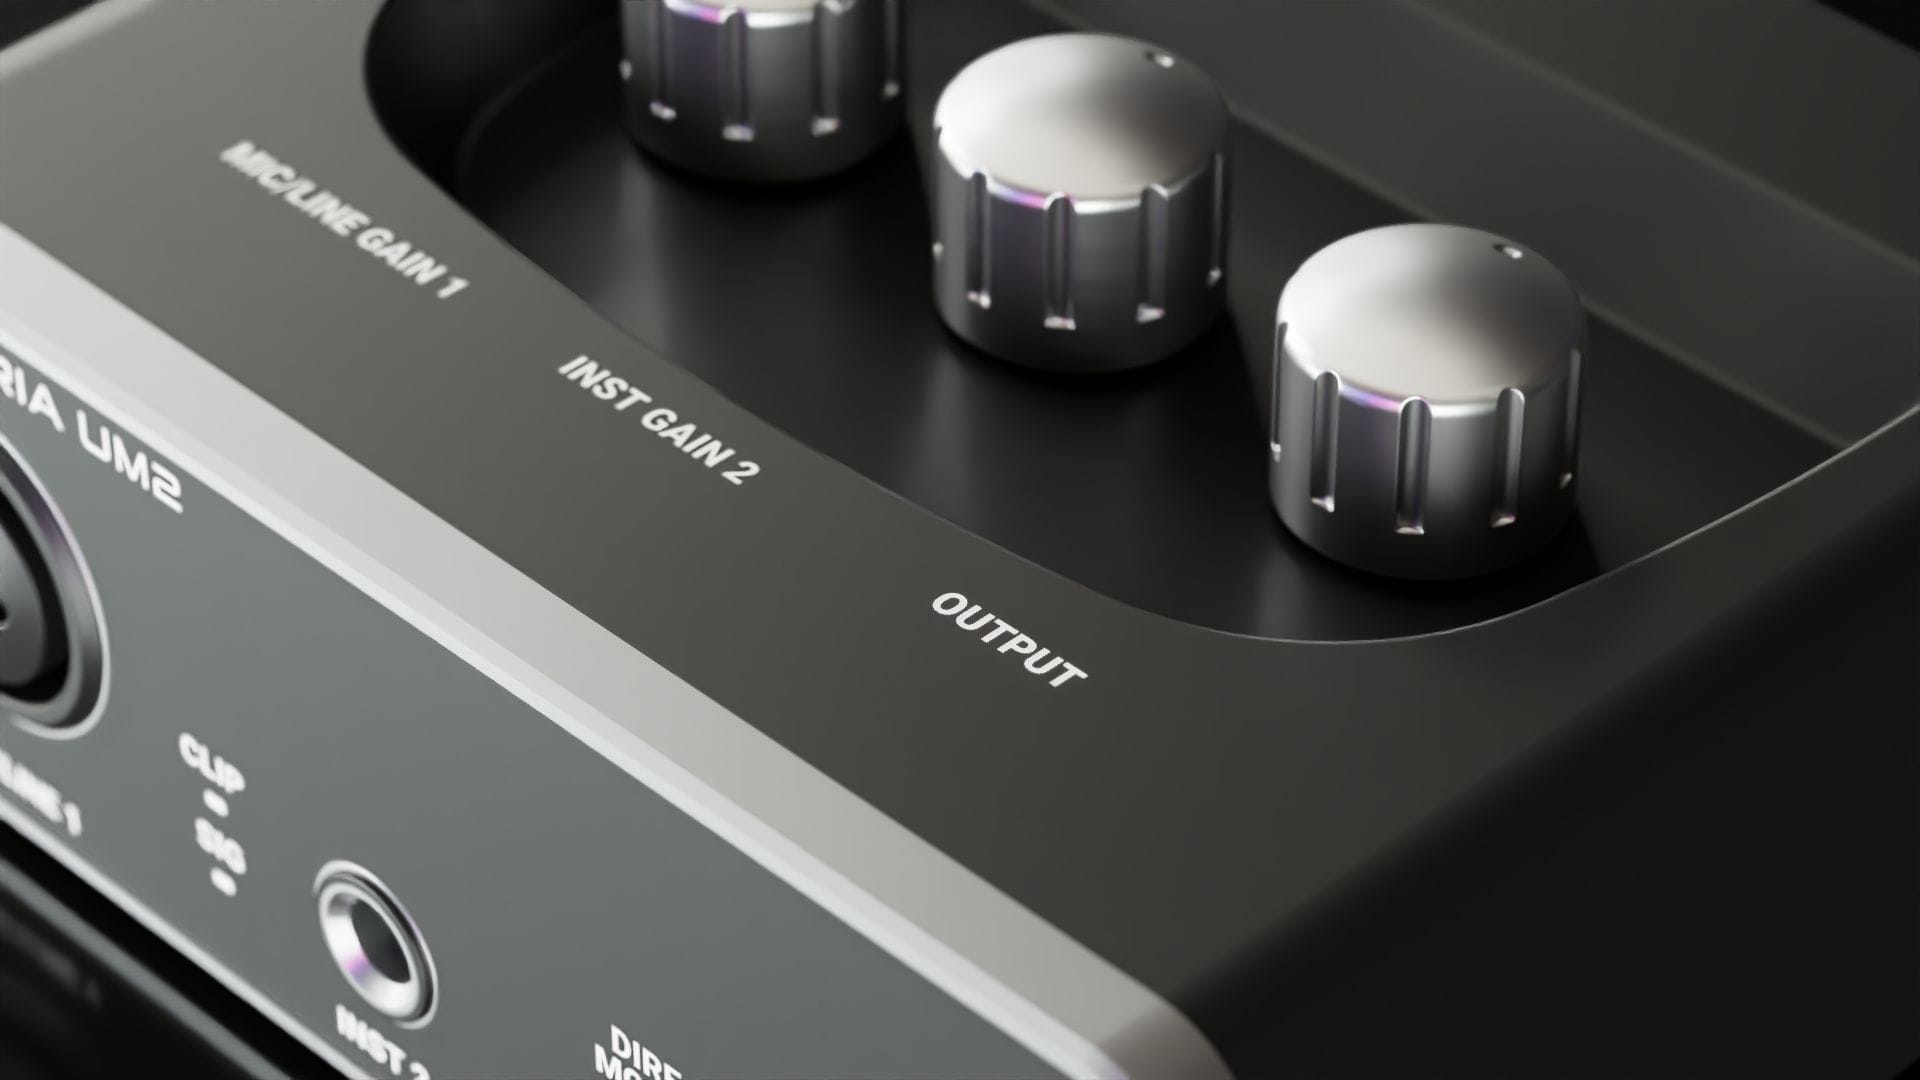
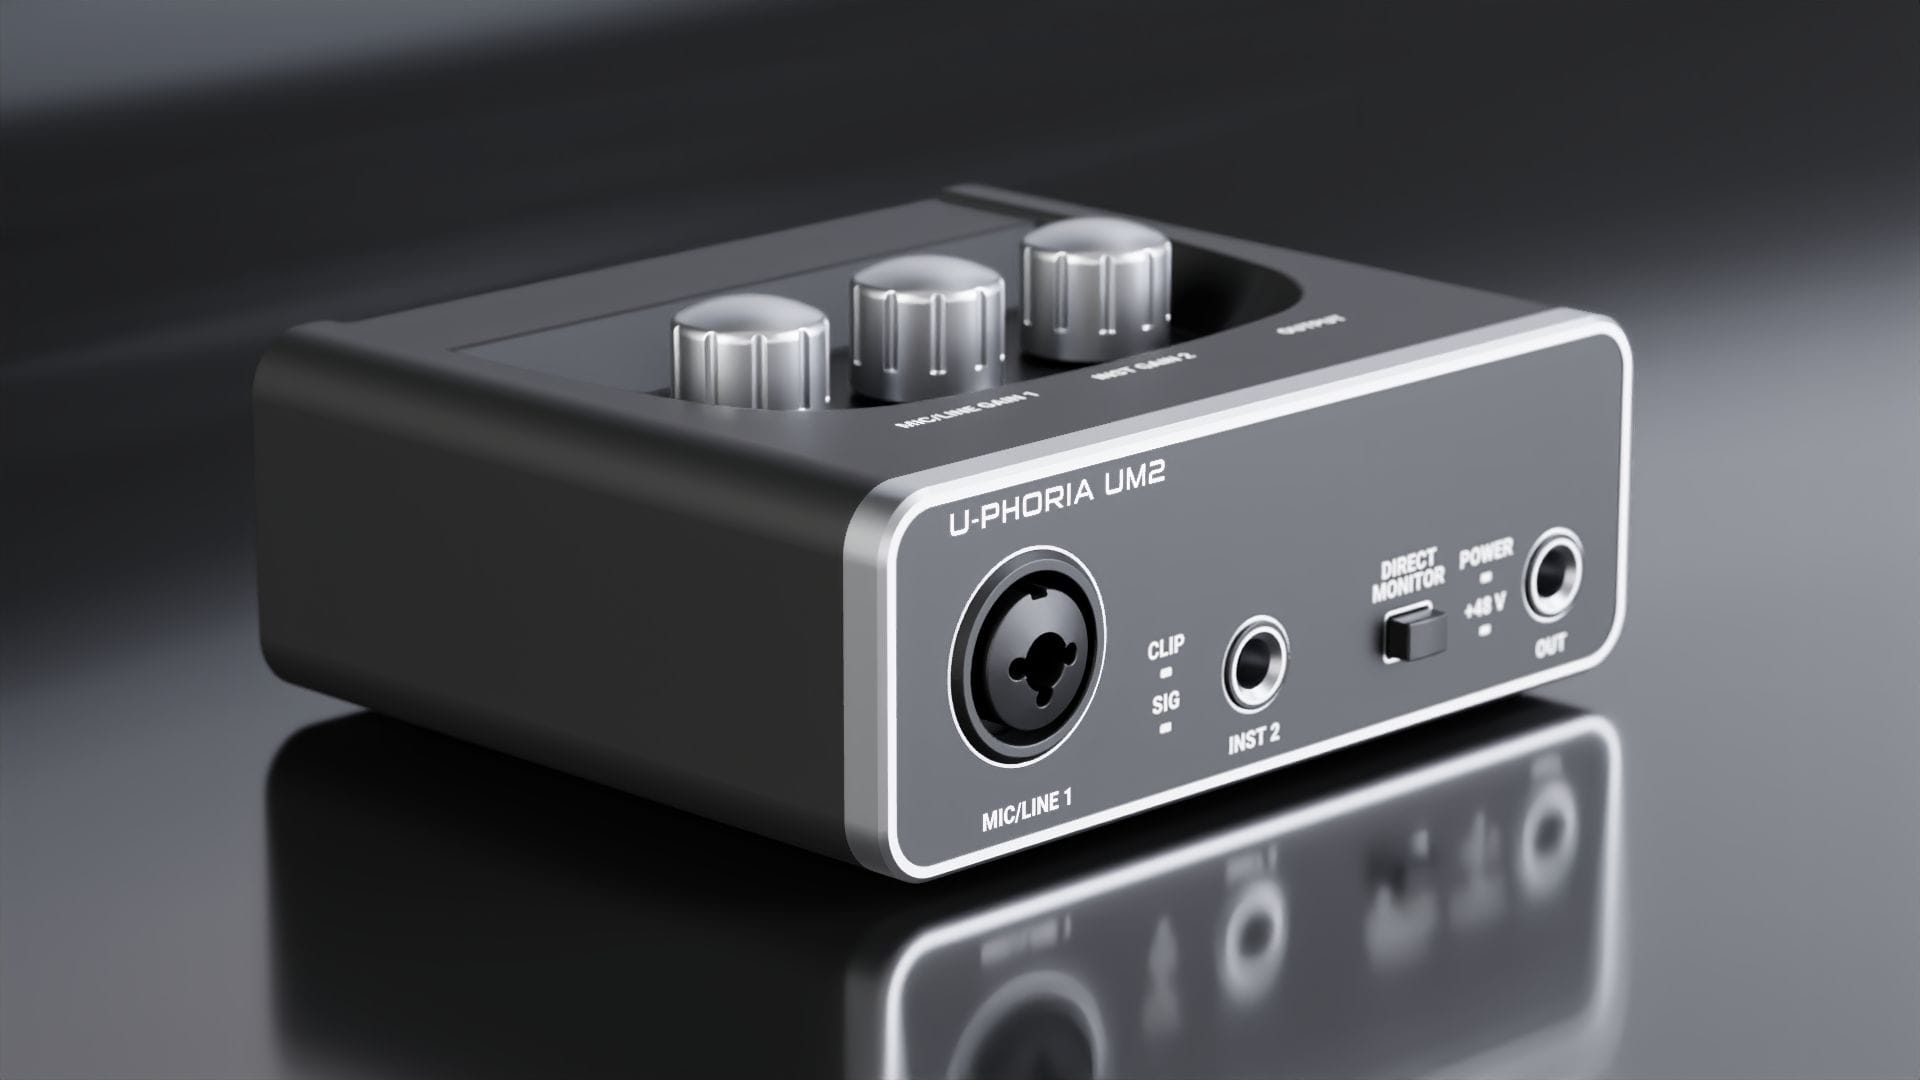
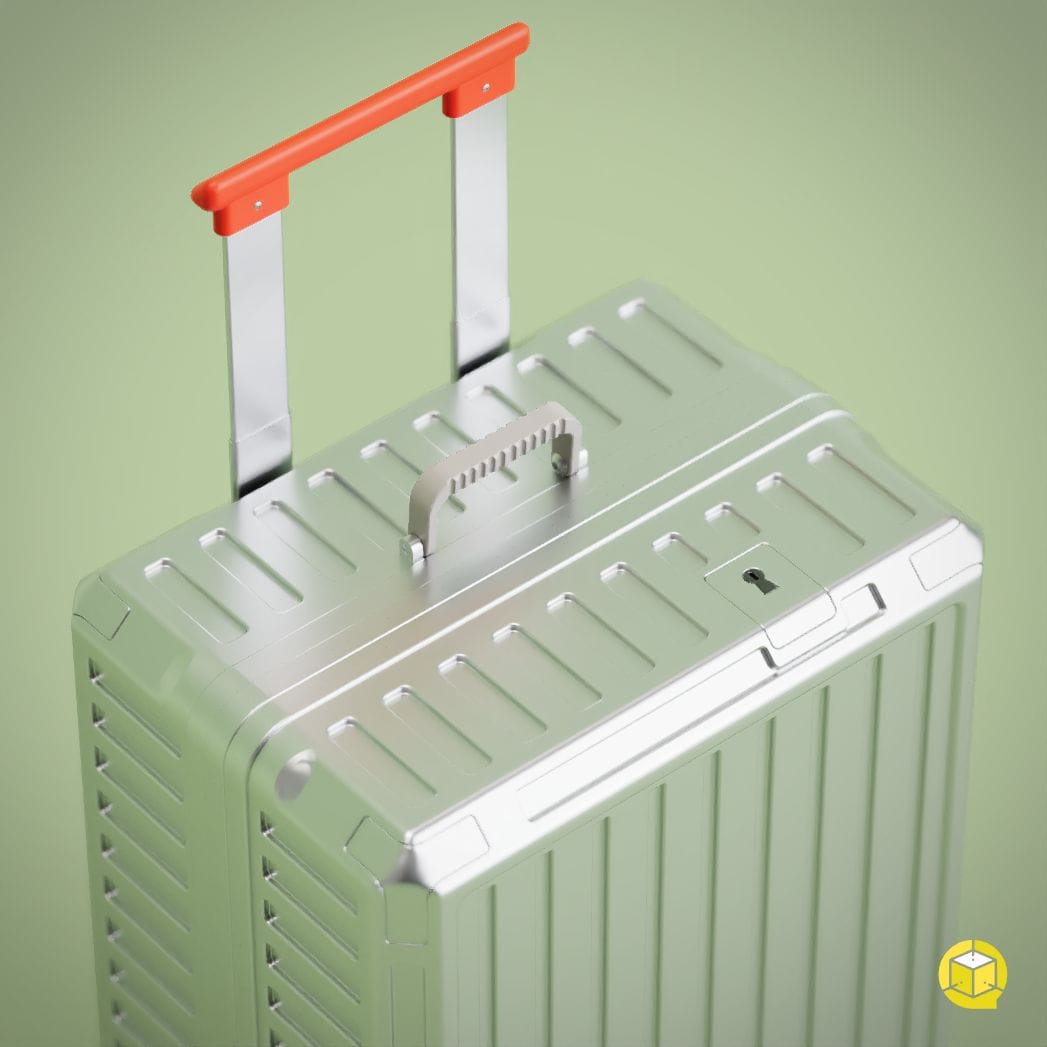
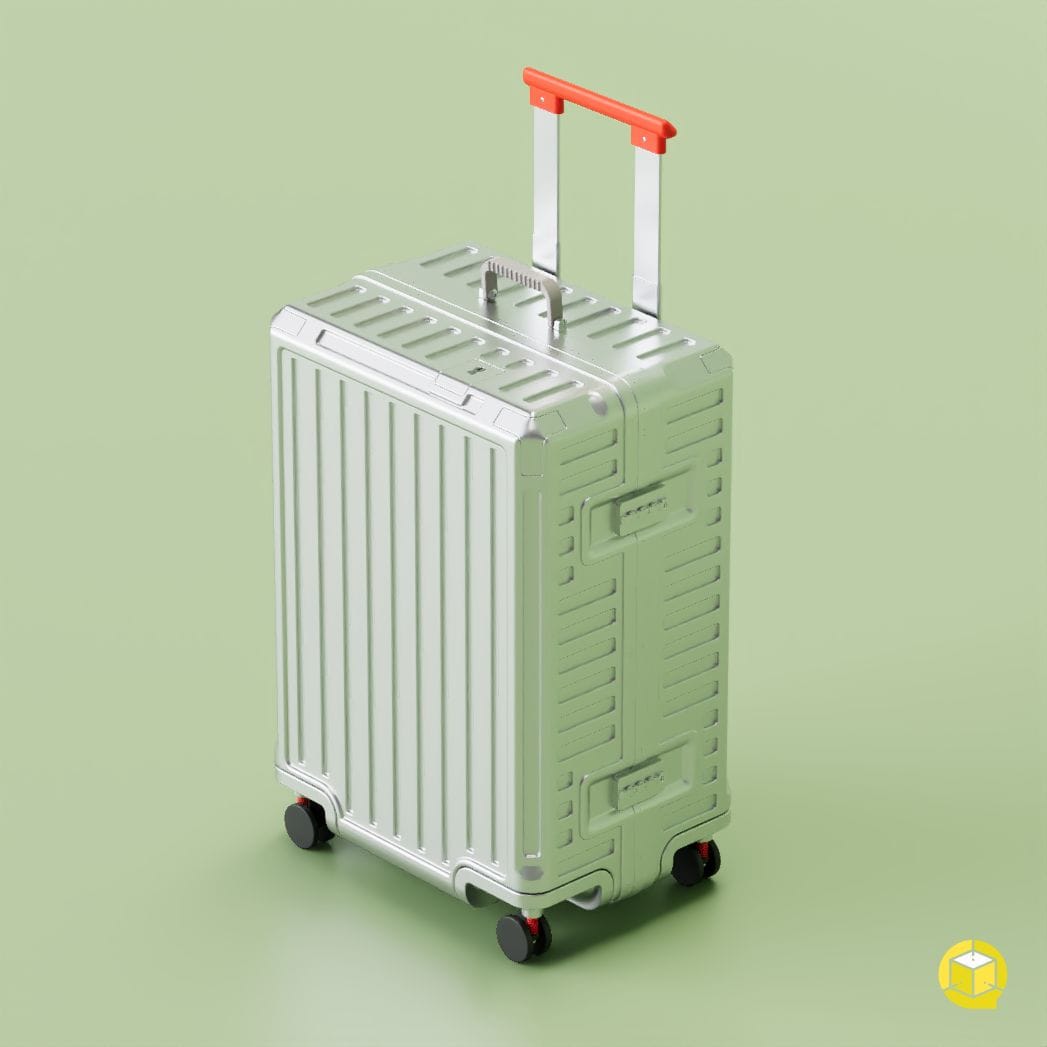
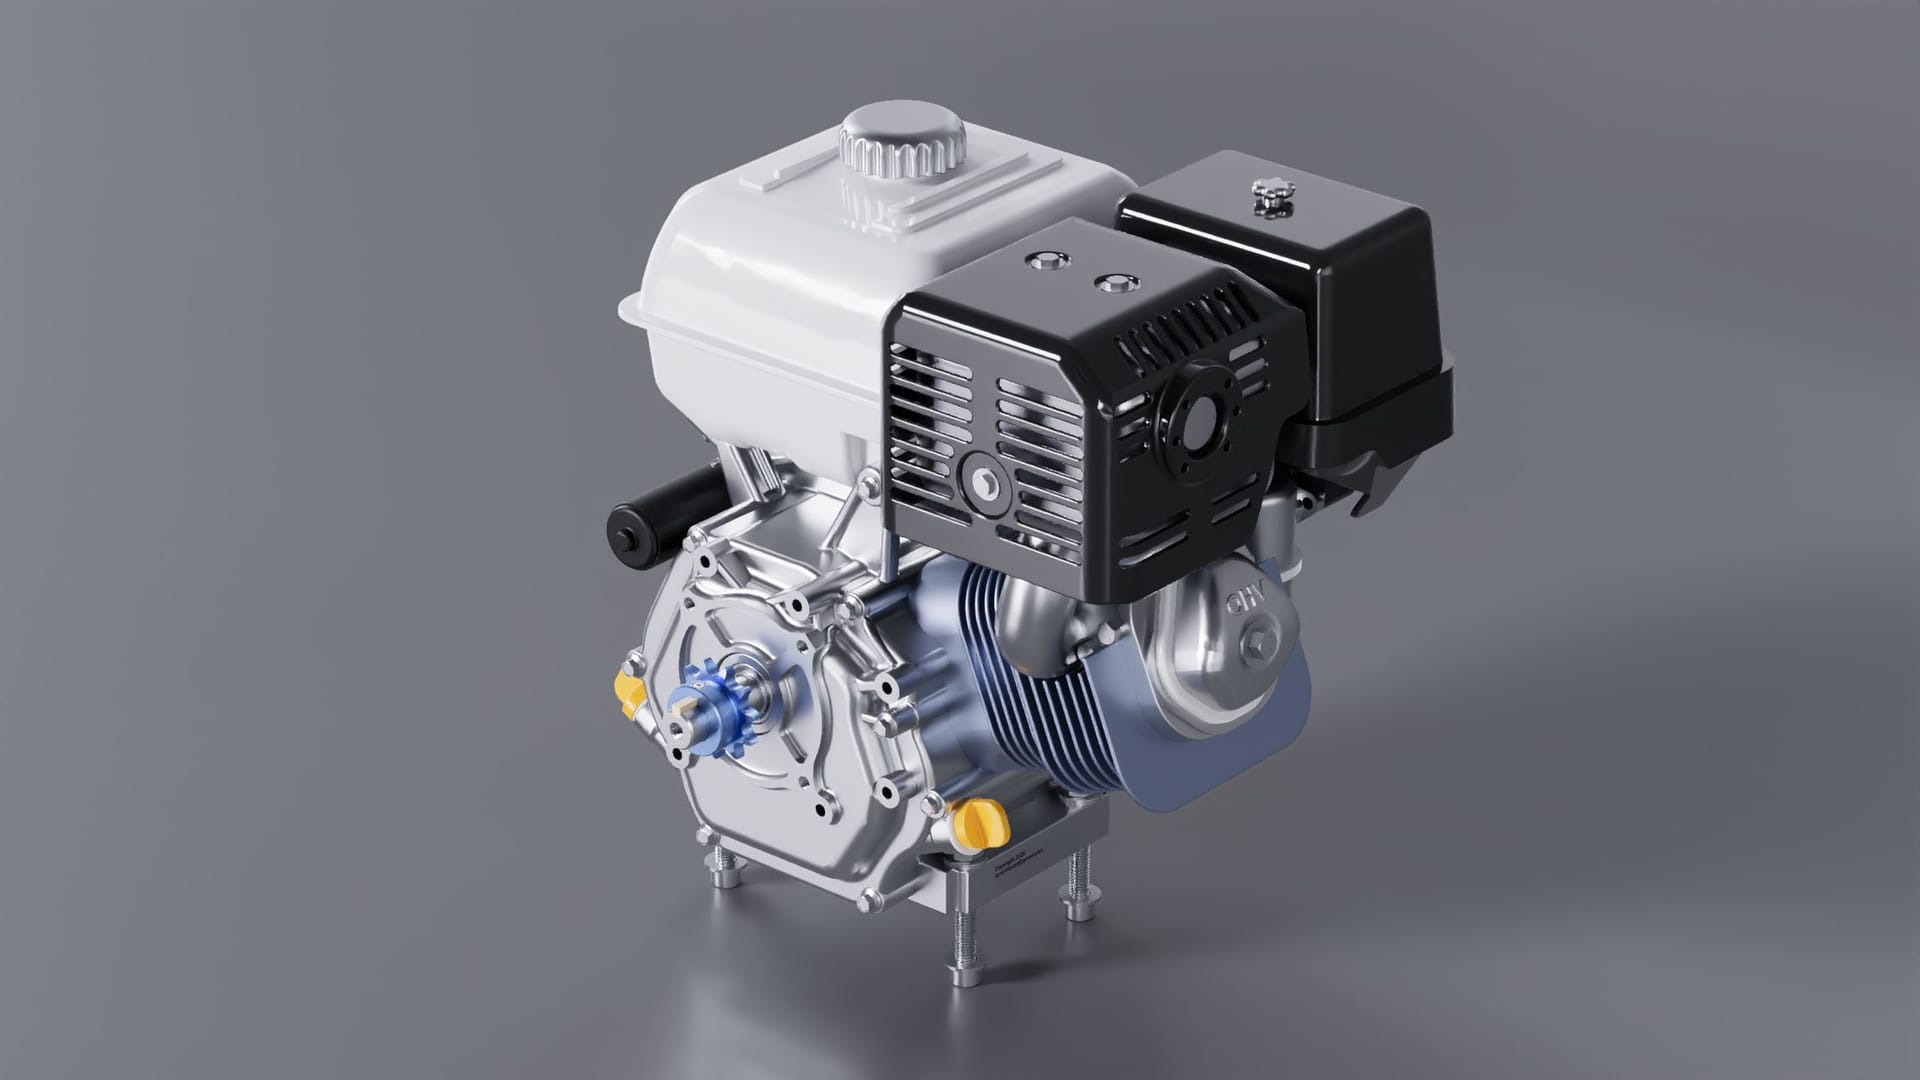
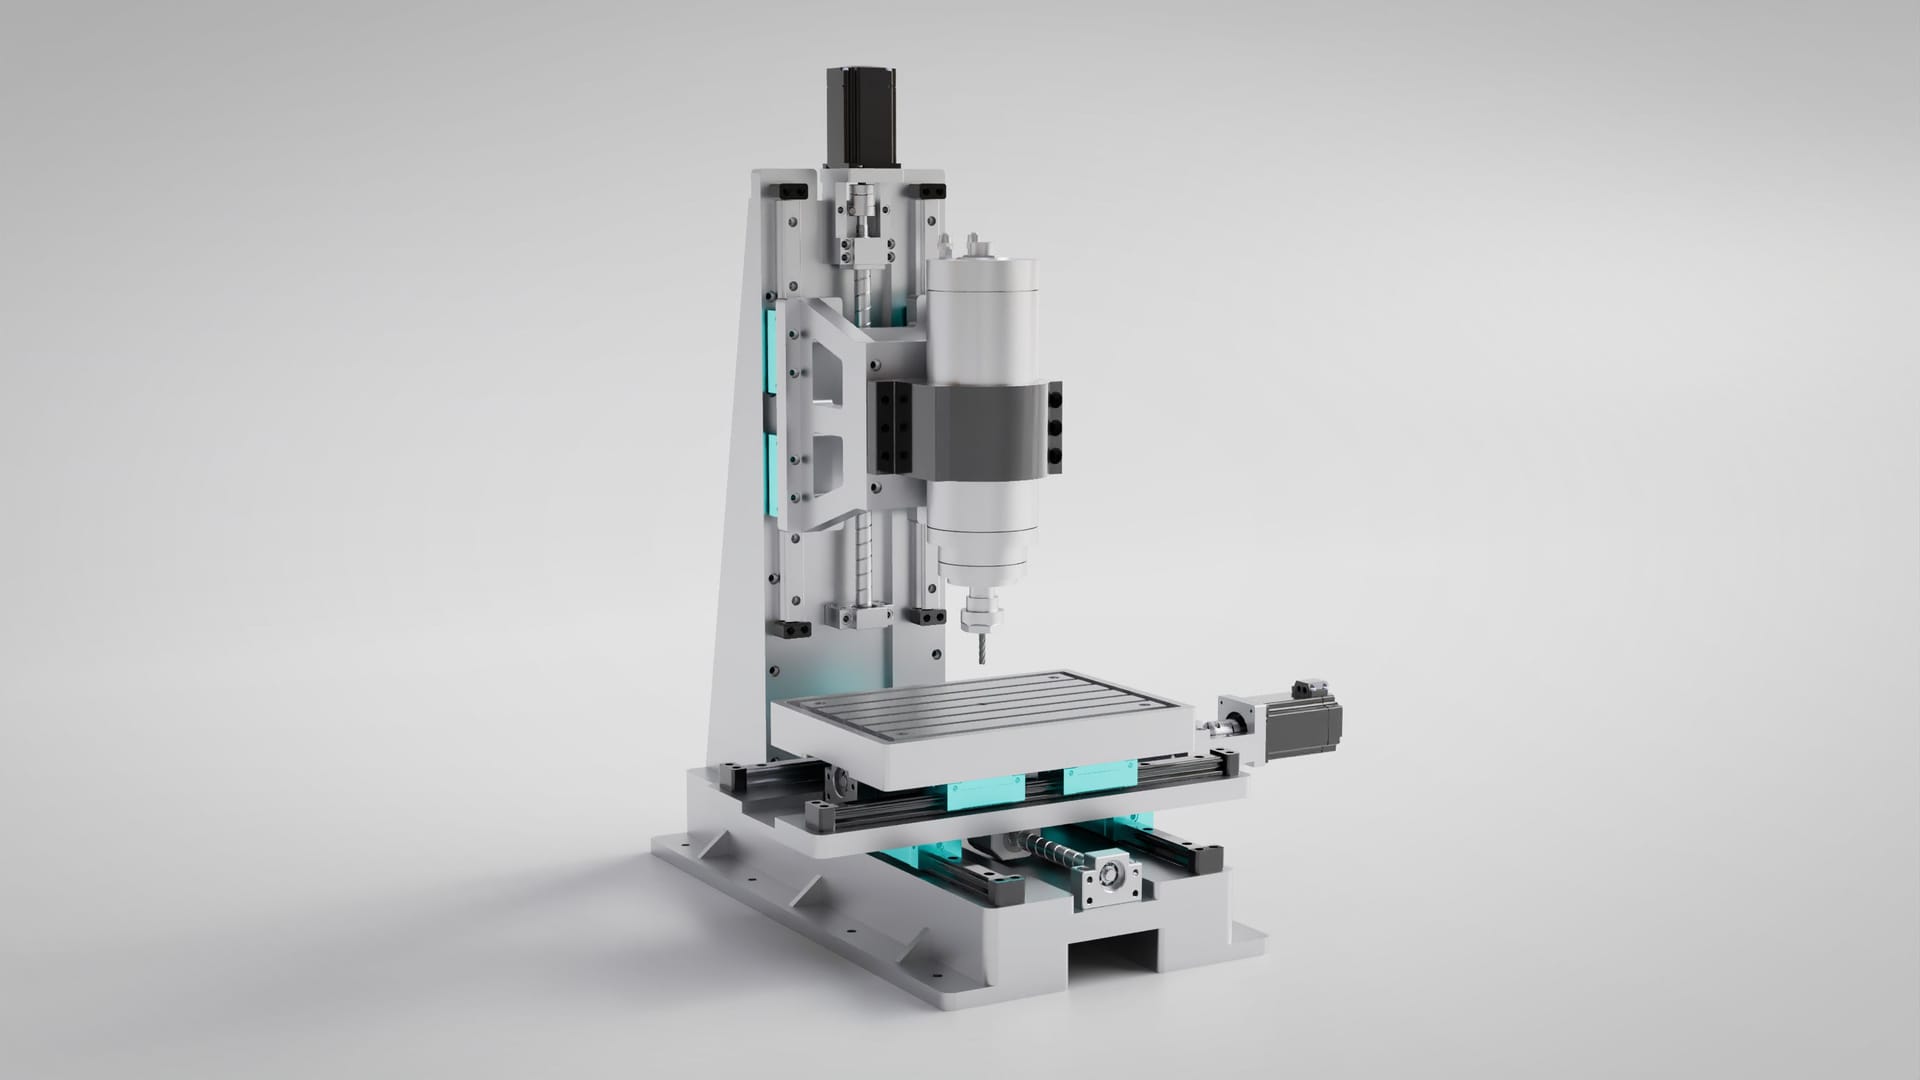
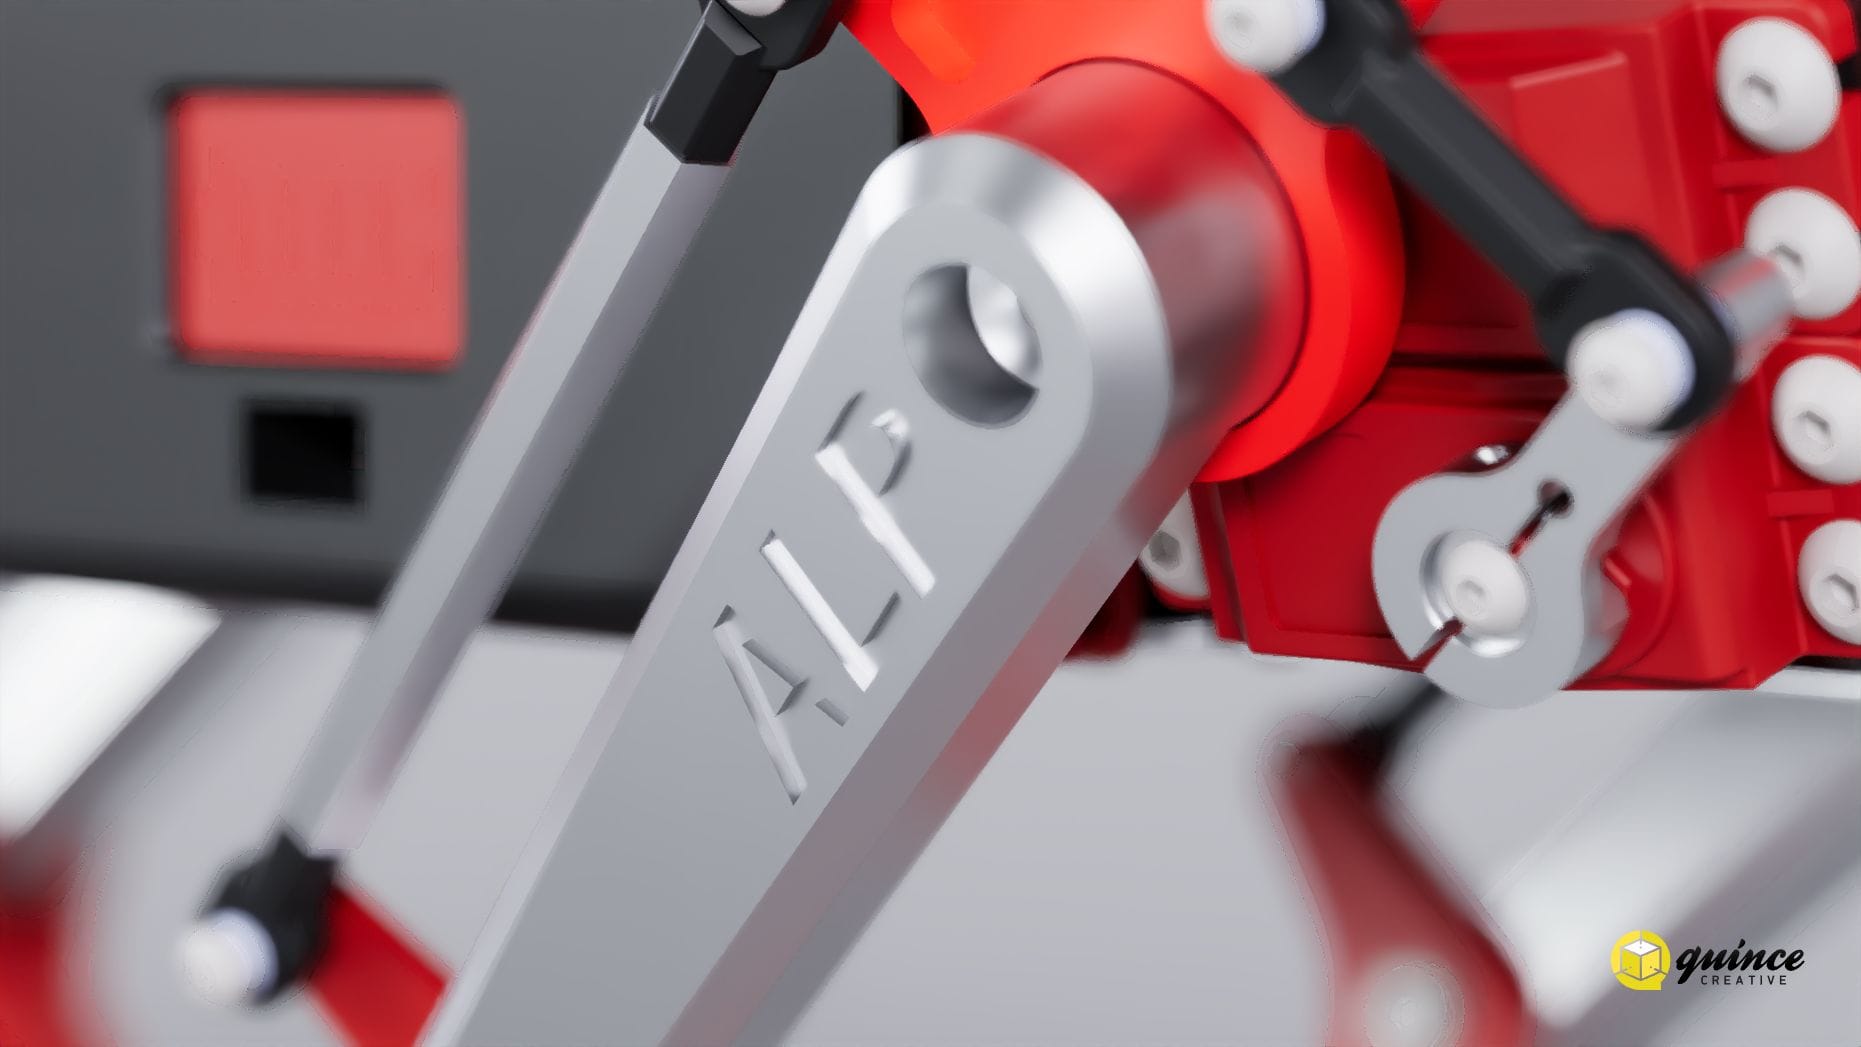
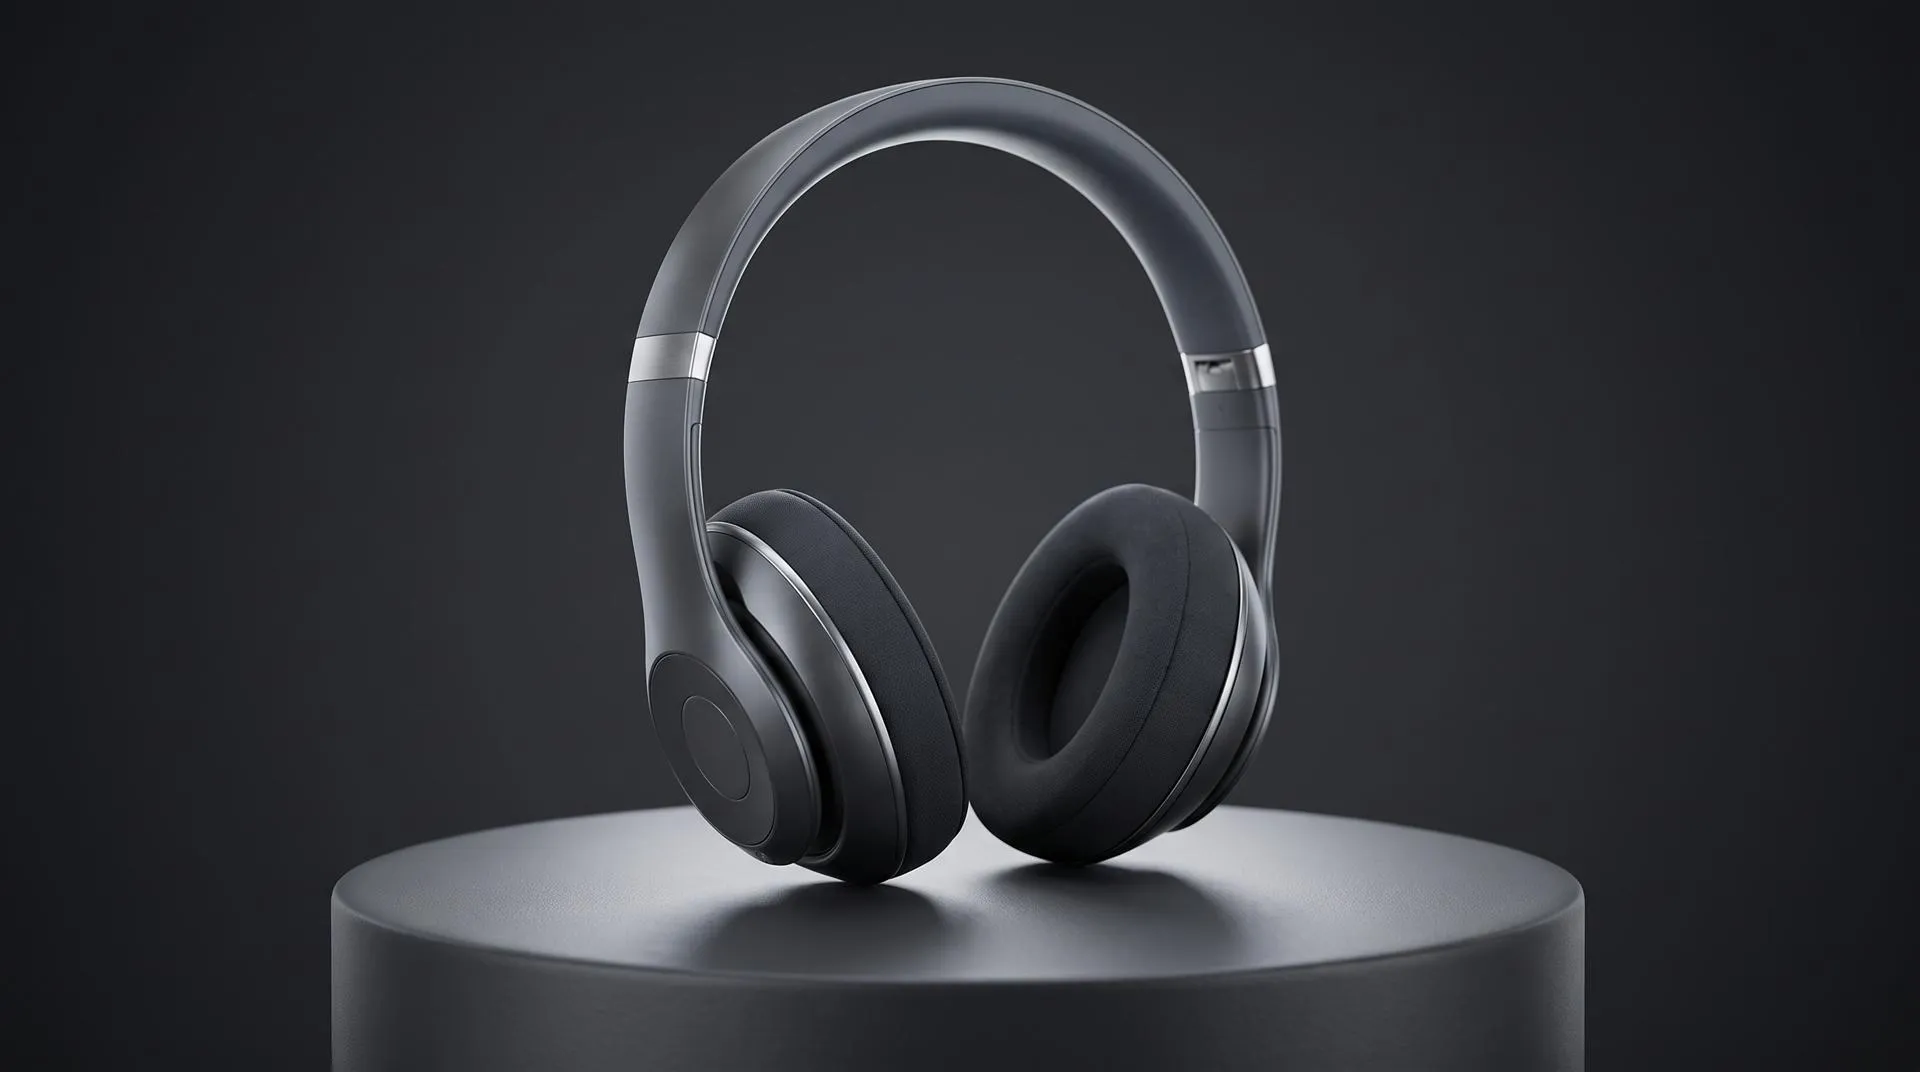
Every picture here was rendered in the lab, in a browser, and saved straight from it. Brushed and anodized metal, glossy and matte plastic, glass screens, painted bodywork and depth of field, all from the same tools described above.
FAQ
Is Quince Render Lab free?
Yes. Rendering is free and needs no account. A free account adds 150 MB of cloud storage and 5 cloud projects. If you need more room, you can ask about the Pro plan from your account settings.
Are my CAD files uploaded?
No. Files are opened, converted and rendered on your computer. They are uploaded only if you save a project to the cloud or share it.
Which files can I open?
STEP, STP and IGES from CAD, and GLB, glTF, OBJ, FBX and STL meshes.
Can I convert a STEP file to GLB?
Yes. Open the STEP file, assign the materials, and use Download GLB. The GLB keeps the original size and your materials.
Can it make an animation?
No. The lab renders stills. For a product animation, send us the file.
Do I need a powerful computer?
A computer with a graphics card from the last few years. Chrome or Edge is fastest. Firefox and Safari work, but more slowly.
Who owns the renders?
You do. Your models, projects and renders are yours, as the terms of service say.
Try it on your own file
Open a STEP file in the Render Lab and see what you get in ten minutes. When you need it to move, or need a whole launch built around it, send us the file. We will tell you honestly whether the lab already does the job.
Related Articles
Compress Video Without Uploading It: A Free Browser Compressor for Product Videos
What Software Can You Use to Create 3D Product Images for Amazon Listings?
360 Product Spins: Photographed on a Turntable vs Rendered From CAD (Cost, Frames, Where to Use Them)
You Have a KeyShot File but No Animator. Here Is How to Get a Product Video Made
Is Blender 3D Good Enough for Professional Product Animation?
How Much Does 3D Product Rendering Cost in 2026? Per-Image Prices, What Drives Them and How to Pay Less
 Rachel A